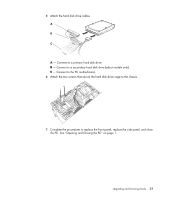
HP Pavilion a6000 Upgrading and Servicing Guide - Page 24
AA BB, back of the chassis, and then slide it down toward the bottom of the chassis until
 |
View all HP Pavilion a6000 manuals
Add to My Manuals
Save this manual to your list of manuals |
Page 24 highlights
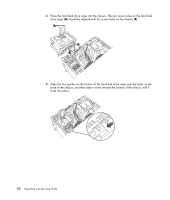
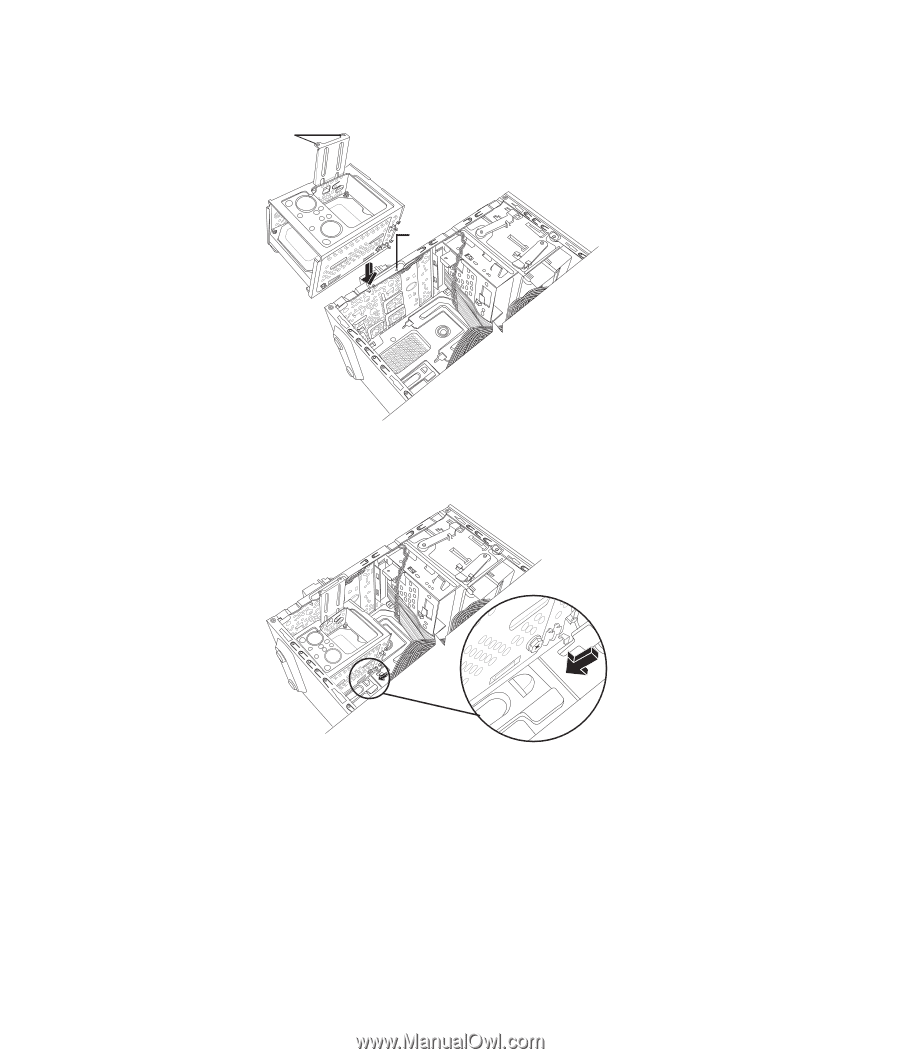
3 Place the hard disk drive cage into the chassis. The two screw holes on the hard disk drive cage (A) should be aligned with the screw holes on the chassis (B). A B 4 Align the four guides on the bottom of the hard disk drive cage with the holes on the back of the chassis, and then slide it down toward the bottom of the chassis until it locks into place. 20 Upgrading and Servicing Guide
-
 1
1 -
2
-
3
-
4
-
5
-
6
-
7
-
8
-
9
-
10
-
11
-
12
-
13
-
14
-
15
-
16
-
17
-
18
-
 19
19 -
 20
20 -
 21
21 -
 22
22 -
 23
23 -
 24
24 -
 25
25 -
 26
26 -
 27
27 -
 28
28 -
 29
29 -
30
-
31
-
32
 |
 |
20
Upgrading and Servicing Guide
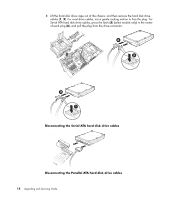
3
Place the hard disk drive cage into the chassis. The two screw holes on the hard disk
drive cage (
A
) should be aligned with the screw holes on the chassis (
B
).
4
Align the four guides on the bottom of the hard disk drive cage with the holes on the
back of the chassis, and then slide it down toward the bottom of the chassis until it
locks into place.
A
B