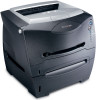
Lexmark E232 User's Guide - Page 124
the print cartridge assembly in as far as it will go
 |
View all Lexmark E232 manuals
Add to My Manuals
Save this manual to your list of manuals |
Page 124 highlights
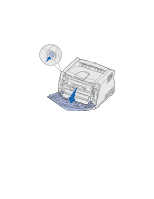
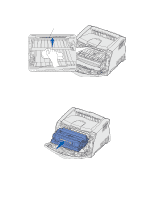
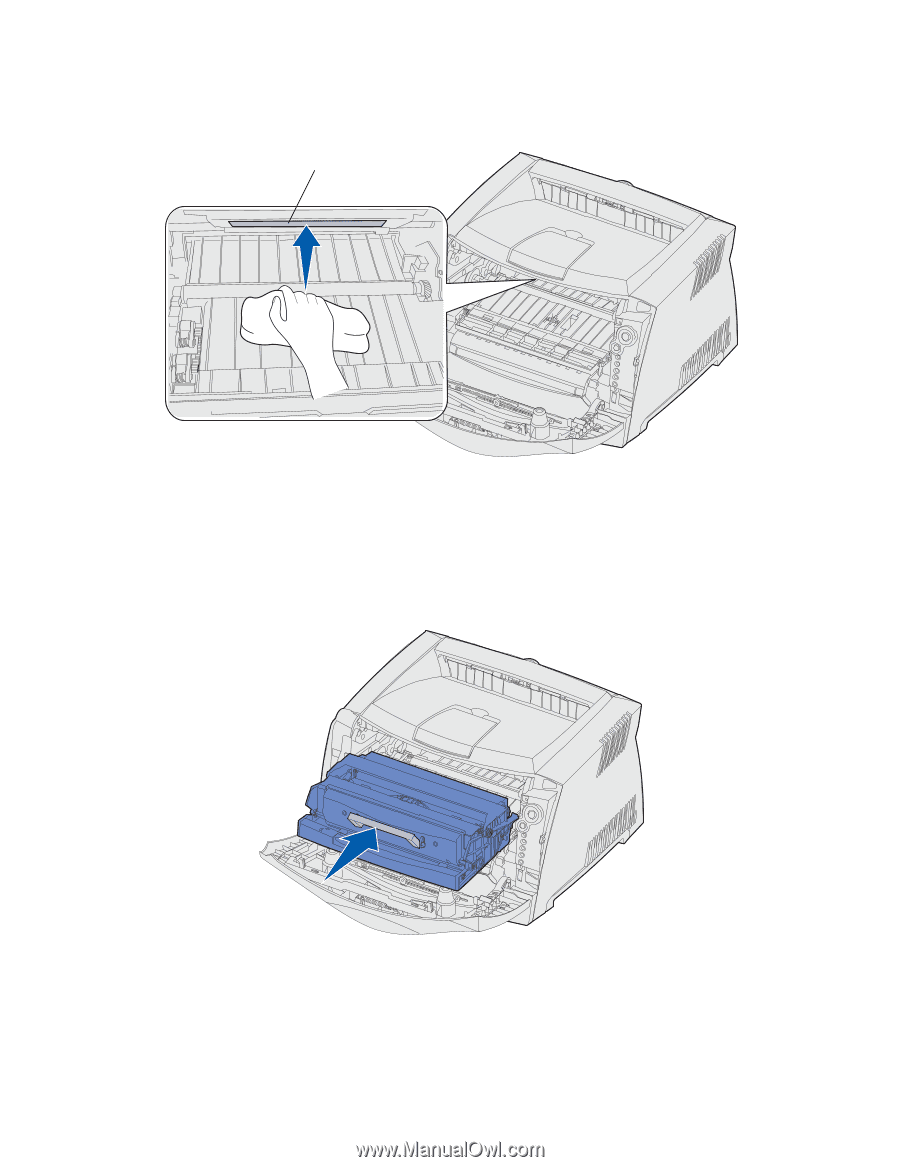
4 Locate the glass printhead lens, which is located within the recessed area in the top of the printer. Printhead lens 5 Gently wipe the printhead lens with a clean, dry, lint-free cloth. Warning: Not using a clean, dry, lint-free cloth may result in damage to the printhead lens. 6 Install the print cartridge assembly into the printer by aligning the green arrows on the guides of the print cartridge assembly with the green arrows on the tracks in the printer and pushing the print cartridge assembly in as far as it will go. 7 Close the front cover. 8 Turn the printer on. Troubleshooting 124
-
 1
1 -
2
-
3
-
4
-
5
-
6
-
7
-
8
-
9
-
10
-
11
-
12
-
13
-
14
-
15
-
16
-
17
-
18
-
19
-
20
-
21
-
22
-
23
-
24
-
25
-
26
-
27
-
28
-
29
-
30
-
31
-
32
-
33
-
34
-
35
-
36
-
37
-
38
-
39
-
40
-
41
-
42
-
43
-
44
-
45
-
46
-
47
-
48
-
49
-
50
-
51
-
52
-
53
-
54
-
55
-
56
-
57
-
58
-
59
-
60
-
61
-
62
-
63
-
64
-
65
-
66
-
67
-
68
-
69
-
70
-
71
-
72
-
73
-
74
-
75
-
76
-
77
-
78
-
79
-
80
-
81
-
82
-
83
-
84
-
85
-
86
-
87
-
88
-
89
-
90
-
91
-
92
-
93
-
94
-
95
-
96
-
97
-
98
-
99
-
100
-
101
-
102
-
103
-
104
-
105
-
106
-
107
-
108
-
109
-
110
-
111
-
112
-
113
-
114
-
115
-
116
-
117
-
118
-
 119
119 -
 120
120 -
 121
121 -
 122
122 -
 123
123 -
 124
124 -
 125
125 -
 126
126 -
 127
127
 |
 |
Troubleshooting
124
4
Locate the glass printhead lens, which is located within the recessed area in the top of the
printer.
5
Gently wipe the printhead lens with a clean, dry, lint-free cloth.
Warning:
Not using a clean, dry, lint-free cloth may result in damage to the printhead lens.
6
Install the print cartridge assembly into the printer by aligning the green arrows on the guides
of the print cartridge assembly with the green arrows on the tracks in the printer and pushing
the print cartridge assembly in as far as it will go.
7
Close the front cover.
8
Turn the printer on.
Printhead lens