Lexmark E232 User's Guide - Page 47
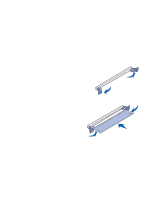
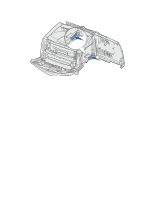
Reattach the system board cover see, system board.
 |
View all Lexmark E232 manuals
Add to My Manuals
Save this manual to your list of manuals |
Page 47 highlights
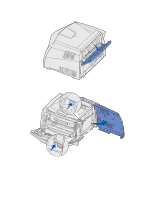
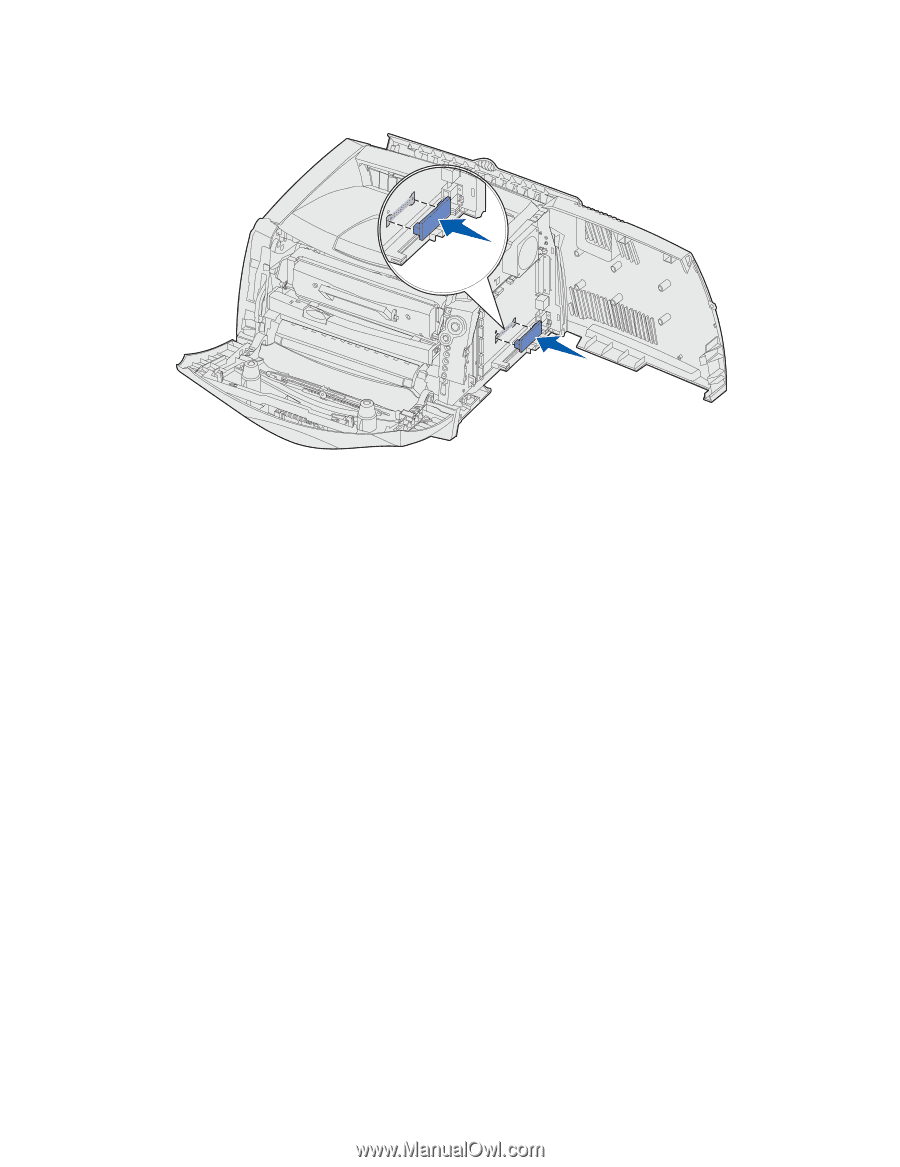
4 Push the flash card firmly into place. The entire length of the connector on the flash card must touch and be flush against the system board. Be careful not to damage the connectors. 5 Reattach the system board cover (see How to reattach the system board cover). 6 See How to get the printer driver to recognize installed options. How to install options 47
-
 1
1 -
2
-
3
-
4
-
5
-
6
-
7
-
8
-
9
-
10
-
11
-
12
-
13
-
14
-
15
-
16
-
17
-
18
-
19
-
20
-
21
-
22
-
23
-
24
-
25
-
26
-
27
-
28
-
29
-
30
-
31
-
32
-
33
-
34
-
35
-
36
-
37
-
38
-
39
-
40
-
41
-
 42
42 -
 43
43 -
 44
44 -
 45
45 -
 46
46 -
 47
47 -
 48
48 -
 49
49 -
 50
50 -
 51
51 -
 52
52 -
53
-
54
-
55
-
56
-
57
-
58
-
59
-
60
-
61
-
62
-
63
-
64
-
65
-
66
-
67
-
68
-
69
-
70
-
71
-
72
-
73
-
74
-
75
-
76
-
77
-
78
-
79
-
80
-
81
-
82
-
83
-
84
-
85
-
86
-
87
-
88
-
89
-
90
-
91
-
92
-
93
-
94
-
95
-
96
-
97
-
98
-
99
-
100
-
101
-
102
-
103
-
104
-
105
-
106
-
107
-
108
-
109
-
110
-
111
-
112
-
113
-
114
-
115
-
116
-
117
-
118
-
119
-
120
-
121
-
122
-
123
-
124
-
125
-
126
-
127
 |
 |
How to install options
47
4
Push the flash card firmly into place.
The entire length of the connector on the flash card must touch and be flush against the
system board.
Be careful not to damage the connectors.
5
Reattach the system board cover (see
How to reattach the system board cover
).
6
See
How to get the printer driver to recognize installed options
.