Marantz DV7600 DV7600 User Manual - Page 28
Video Adjust
 |
View all Marantz DV7600 manuals
Add to My Manuals
Save this manual to your list of manuals |
Page 28 highlights
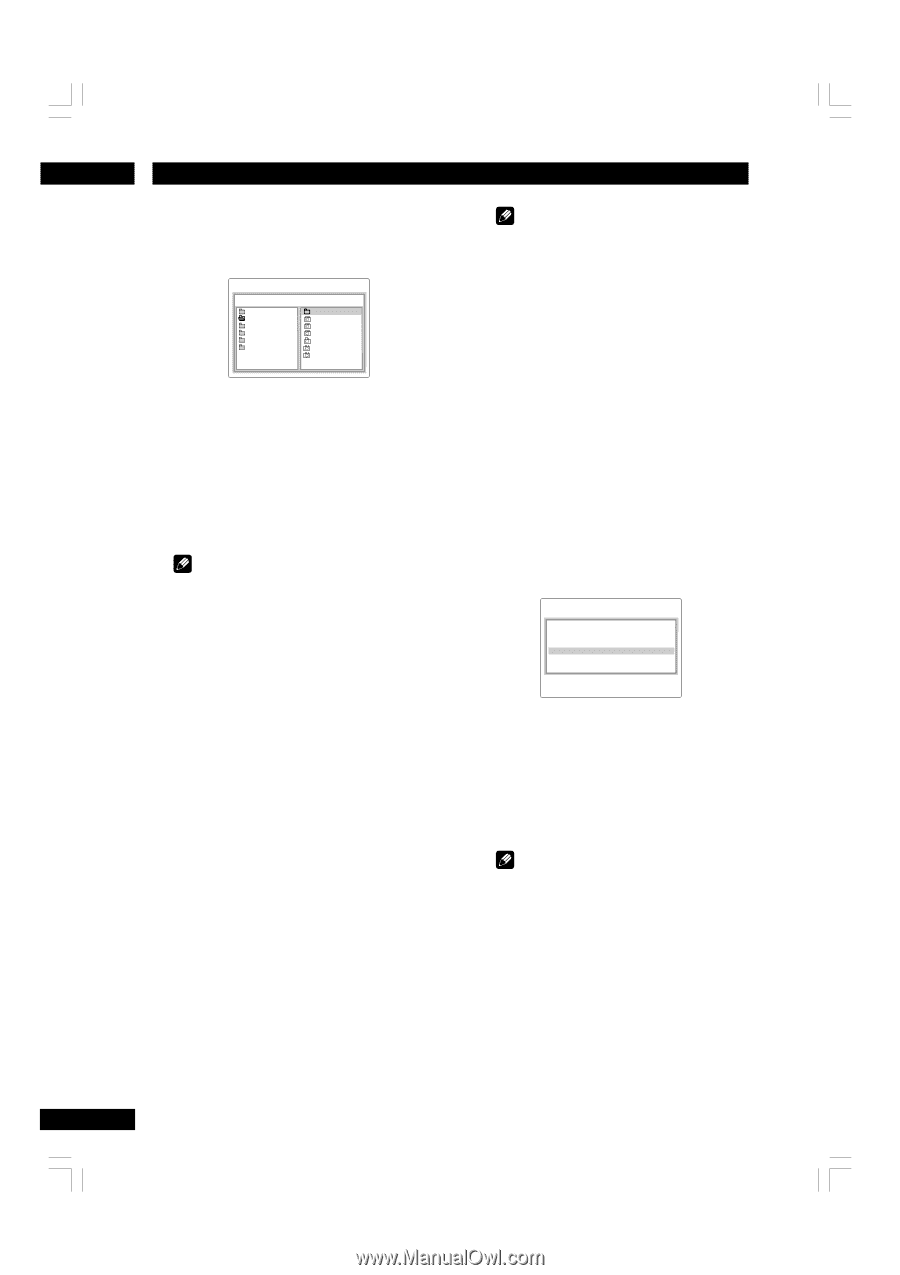
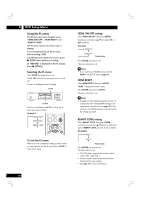
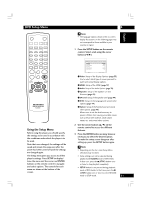
5 Playing Discs Playing JPEG 1 When a JPEG disc is loaded, directories will be shown on the screen. PLAY MODE : Folder ROOT FOLDER1 FOLDER2 FOLDER3 FOLDER4 FOLDER5 0 0640 1 0641 2 0642 3 0643 4 0644 5 0645 6 2 Select a directory by pressing the cursor buttons (5/∞/2/3) and press the 3 (PLAY) button or ENTER button. 3 File names will appear on the screen. Select the desired file by pressing the 5/∞ or number buttons of the remote control and press the 3 (PLAY) button. Slide show will start from the selected file. Note • Some files on the JPEG disc may be distorted during playback due to the configuration or characteristics of the disc. • Please refer to "Caution" on page 9. 1) How to pause the display Press 8 (PAUSE) button. To start playback, press 3 (PLAY) button. 2) How to cue a still image to be displayed Press the SKIP (¢ (NEXT)) button to proceed to the next still image and press the SKIP (4 (PREV.)) button to return to the previous still image. 3) Changing the orientation of a still image • Press the cursor button (3) to rotate the image clockwise 90 degrees. • Press the cursor button (2) to rotate the image counter-clockwise 90 degrees. • Press the cursor buttons (5) to flip the image from top to bottom by 180 degrees. • Press the cursor button (∞) to flip the image from right to left by 180 degrees. 4) Zoom playback To zoom, press the ZOOM button during playback. • Each time the ¡ (FF) button, the magnification level changes. • Each time the 1 (REV) button, the reduction level changes. 28 Note • The picture is rendered in Still mode while zooming. • Zoom play cannot be used on some discs. • Zoom will not operate properly for some scenes. • The Setup Key does not operate during thumbnail display. Video Adjust You can set the picture settings you desire and store them in the player's memory. Selecting a preset 1 Press the VIDEO ADJ. button on the remote control. 2 Select "Memory Select". 3 Use the cursor buttons (2/3) to select a preset, and press ENTER button. Video Adjustment Memory Select Standard Setup • Standard - optimized settings for a standard television set • Memory 1, 2, 3 - User presets (see below for more on these) You can highlight a preset while a disc is playing (before you press ENTER to select it) to see the effect on the picture immediately. Note • Depending on the disc and your TV/monitor, the effect of these settings may not be clear.
-
 1
1 -
2
-
3
-
4
-
5
-
6
-
7
-
8
-
9
-
10
-
11
-
12
-
13
-
14
-
15
-
16
-
17
-
18
-
19
-
20
-
21
-
22
-
 23
23 -
 24
24 -
 25
25 -
 26
26 -
 27
27 -
 28
28 -
 29
29 -
 30
30 -
 31
31 -
 32
32 -
 33
33 -
34
-
35
-
36
-
37
-
38
-
39
-
40
-
41
-
42
-
43
-
44
-
45
-
46
-
47
-
48
-
49
-
50
-
51
-
52
-
53
-
54
-
55
-
56
 |
 |