Motorola V3SATINPINK User Guide - Page 17
charge the battery, To charge using the charger, To charge from your computer
 |
UPC - 890552608836
View all Motorola V3SATINPINK manuals
Add to My Manuals
Save this manual to your list of manuals |
Page 17 highlights
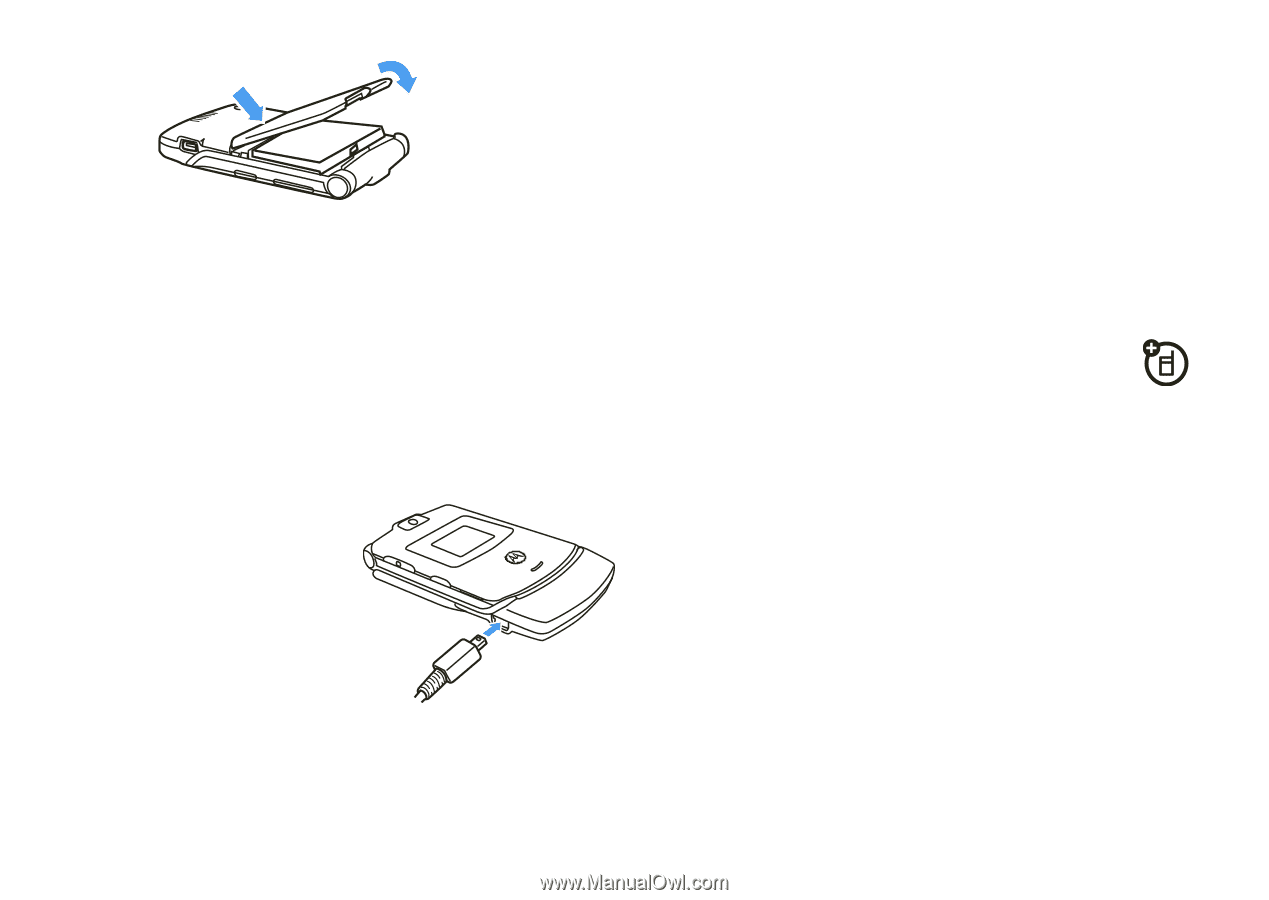
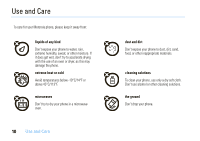
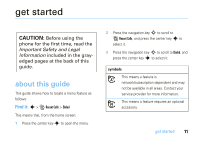
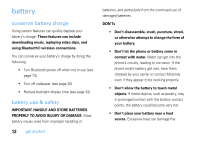
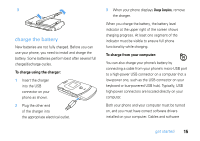
3 charge the battery New batteries are not fully charged. Before you can use your phone, you need to install and charge the battery. Some batteries perform best after several full charge/discharge cycles. To charge using the charger: 1 Insert the charger into the USB connector on your phone as shown. 2 Plug the other end of the charger into the appropriate electrical outlet. 3 When your phone displays Charge Complete, remove the charger. When you charge the battery, the battery level indicator at the upper right of the screen shows charging progress. At least one segment of the indicator must be visible to ensure full phone functionality while charging. To charge from your computer: You can also charge your phone's battery by connecting a cable from your phone's micro-USB port to a high-power USB connector on a computer (not a low-power one, such as the USB connector on your keyboard or bus-powered USB hub). Typically, USB high-power connectors are located directly on your computer. Both your phone and your computer must be turned on, and you must have correct software drivers installed on your computer. Cables and software get started 15
-
 1
1 -
2
-
3
-
4
-
5
-
6
-
7
-
8
-
9
-
10
-
11
-
 12
12 -
 13
13 -
 14
14 -
 15
15 -
 16
16 -
 17
17 -
 18
18 -
 19
19 -
 20
20 -
 21
21 -
 22
22 -
23
-
24
-
25
-
26
-
27
-
28
-
29
-
30
-
31
-
32
-
33
-
34
-
35
-
36
-
37
-
38
-
39
-
40
-
41
-
42
-
43
-
44
-
45
-
46
-
47
-
48
-
49
-
50
-
51
-
52
-
53
-
54
-
55
-
56
-
57
-
58
-
59
-
60
-
61
-
62
-
63
-
64
-
65
-
66
-
67
-
68
-
69
-
70
-
71
-
72
-
73
-
74
-
75
-
76
-
77
-
78
-
79
-
80
-
81
-
82
-
83
-
84
-
85
-
86
-
87
-
88
-
89
-
90
-
91
-
92
-
93
-
94
-
95
-
96
-
97
-
98
-
99
-
100
-
101
-
102
-
103
-
104
-
105
-
106
-
107
-
108
-
109
-
110
-
111
-
112
-
113
-
114
-
115
-
116
-
117
-
118
-
119
-
120
-
121
-
122
-
123
-
124
-
125
-
126
-
127
-
128
-
129
-
130
-
131
-
132
-
133
-
134
-
135
-
136
-
137
-
138
-
139
-
140
-
141
-
142
-
143
-
144
-
145
-
146
-
147
-
148
-
149
-
150
-
151
-
152
-
153
-
154
-
155
-
156
-
157
-
158
-
159
-
160
-
161
-
162
-
163
-
164
-
165
-
166
-
167
-
168
-
169
-
170
-
171
-
172
-
173
-
174
-
175
-
176
-
177
-
178
-
179
-
180
-
181
-
182
-
183
-
184
-
185
-
186
-
187
-
188
-
189
-
190
-
191
-
192
-
193
-
194
-
195
-
196
-
197
-
198
-
199
-
200
-
201
-
202
-
203
-
204
-
205
-
206
-
207
-
208
-
209
-
210
-
211
-
212
-
213
-
214
 |
 |