Nokia 5190 User Guide - Page 20
Other PIM applications
 |
View all Nokia 5190 manuals
Add to My Manuals
Save this manual to your list of manuals |
Page 20 highlights
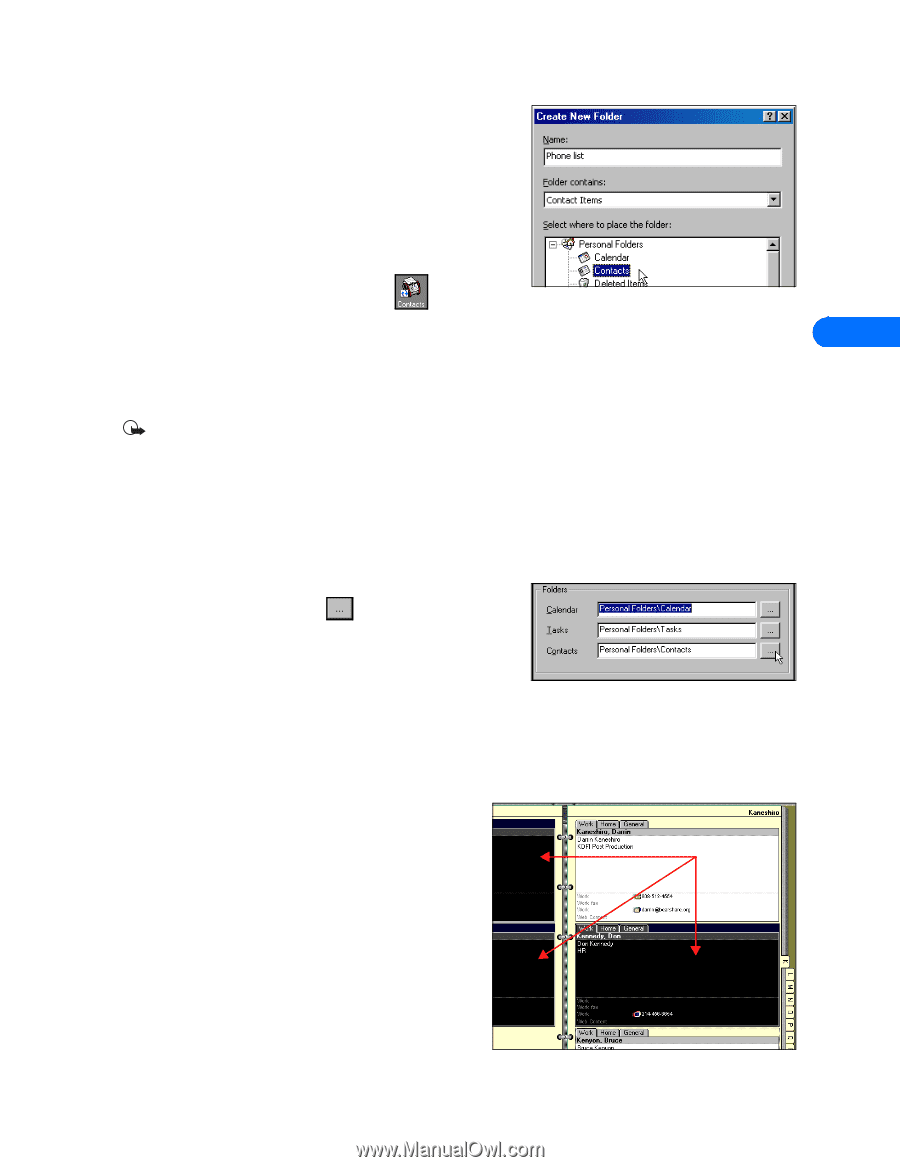
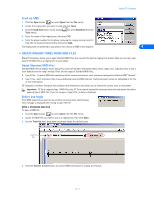
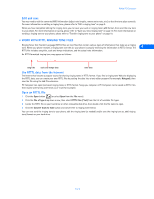
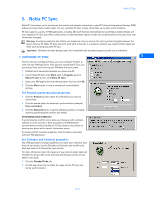
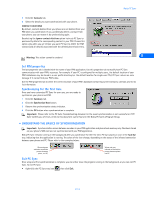
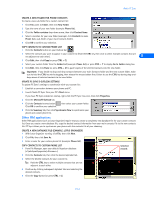
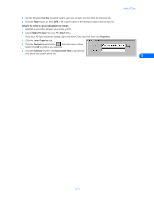
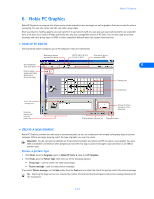
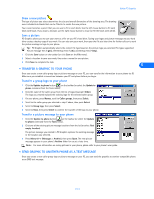
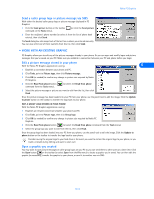
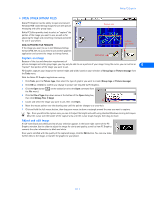
Nokia PC Sync CREATE A NEW FOLDER FOR PHONE CONTACTS To create a new sub-folder for a custom contact list: 1 Click File, point to Folder, then click New Folder. 2 Type the name of your new folder (example: Phone list). 3 Click the Folder contains drop-down arrow, then click Contact Items. 4 Select a location for your new folder (example: click Contacts to make Phone list a sub-folder of your main Contacts folder). 5 Click OK to confirm your selection. COPY CONTACTS TO CUSTOM PHONE LIST 1 Click the Contacts button on your Outlook bar . 2 Select the contacts you want to appear in your custom list (Hold the CTRL key, then click to select multiple contacts that are not adjacent to each other). 5 3 Click Edit, then click Copy (or press CTRL + C). 4 Select your custom folder from the Folder List (example: Phone list), or press CTRL + Y to display Go to Folder dialog box. 5 Click Edit, then click Paste (or press CTRL + V) to paste copies of the selected contacts into the new folder. Important: If you decide to drag-and-drop contacts between your main Contacts folder and the new custom folder, make sure to hold the CTRL key while dragging, then release the mouse button first. Failure to use the CTRL key during drag-anddrop moves all selected contacts to the new folder. UPDATE PC SYNC'S OUTLOOK SETTINGS To update PC Sync's settings to synchronize with your custom list: 1 Establish a connection between your phone and PC. 2 Launch Nokia PC Sync from your PC's Start menu. If you have PC Sync enabled on startup, right-click the PC Sync tray icon, then click Properties. 3 Click the Microsoft Outlook tab. 4 Click the Contacts browse button , then select your custom folder. Click OK to confirm your selection. 5 Click the Summary tab, then click Synchronize Now to synchronize your phone and custom phone list. Other PIM applications Other PIM applications (such as Lotus Organizer) require that you create a completely new database file for your custom contacts list. Once you create a new database file, copy the desired contact information from your main contacts file to the new contacts file. PC Sync allows you to synchronize your phone with the contacts file of your choosing. CREATE A NEW DATABASE FILE (EXAMPLE: LOTUS ORGANIZER) 1 With Lotus Organizer running, click File, then click New. 2 Click File, then click Save As. 3 Enter a name for your custom phone list (example: Phone list). COPY CONTACTS TO CUSTOM PHONE LIST 1 From File Manager, open your default Organizer database (c:\lotus\work\organize\). Selected records 2 Click the Contacts tab, then click the desired alphabet tab. 3 Select the desired contacts for your custom list. Tip: Hold the CTRL key to select multiple contacts that are not adjacent to each other. 4 Continue by clicking subsequent alphabet tabs and selecting the desired contacts. 5 Click the Copy button (or press CTRL + C). [ 16 ]
-
 1
1 -
2
-
3
-
4
-
5
-
6
-
7
-
8
-
9
-
10
-
11
-
12
-
13
-
14
-
 15
15 -
 16
16 -
 17
17 -
 18
18 -
 19
19 -
 20
20 -
 21
21 -
 22
22 -
 23
23 -
 24
24 -
 25
25 -
26
-
27
-
28
-
29
-
30
-
31
-
32
-
33
-
34
-
35
-
36
-
37
-
38
-
39
-
40
-
41
-
42
-
43
-
44
-
45
-
46
-
47
-
48
-
49
-
50
-
51
-
52
 |
 |