Nokia 5190 User Guide - Page 47
Use your new GPRS modem connection, Before you make a digital data call
 |
View all Nokia 5190 manuals
Add to My Manuals
Save this manual to your list of manuals |
Page 47 highlights
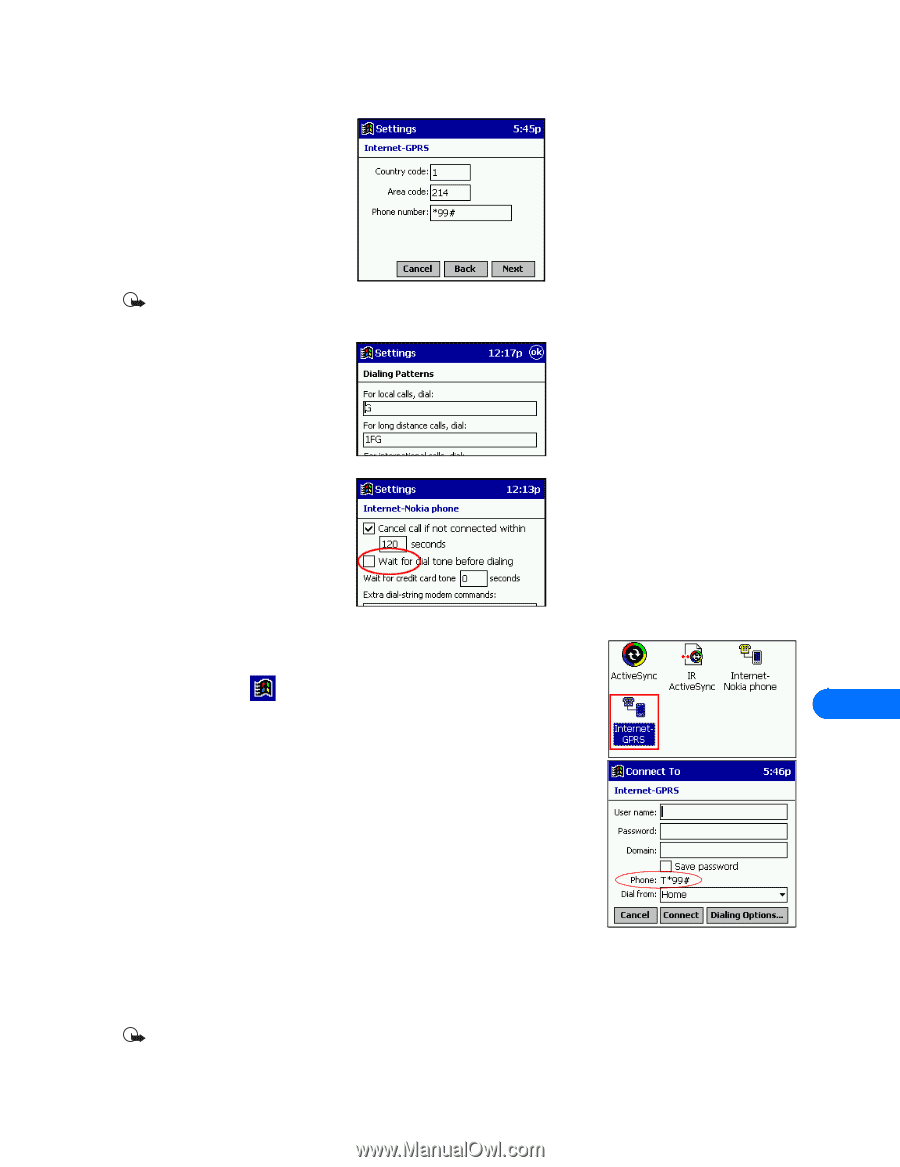
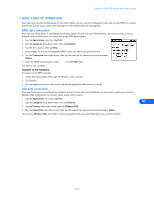
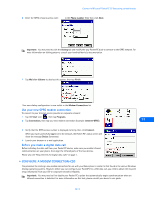
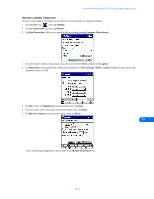
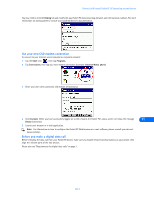
Connect to Microsoft PocketPC OS (operating system) devices 6 Enter the GPRS network access code: *99# in the Phone number field, then click Next. Important: You may need to click the Dialing tab and modify the way Pocket PC dials to connect to the GPRS network. For more information on dialing patterns, consult your handheld device's documentation. 7 Tap Wait for dialtone to deselect this option, then tap Finish. Your new dialing configuration is now visible in the Modem Connections list. Use your new GPRS modem connection To connect to your Internet service provider or corporate network: 1 Tap the Start icon , then tap Programs. 2 Tap Connections, then tap your new modem connection (example: Internet-GPRS). 11 3 Verify that the GPRS access number is displayed correctly, then click Connect. When you have successfully logged on to the network, the Pocket PC's status screen will show the message Device Connected. 4 Launch your browser or e-mail application. Before you make a digital data call Before initiating the data call from your Pocket PC device, make sure you enable infrared communications on your phone, then align the infrared ports of the two devices. Please also see "Requirements for digital data calls" on page 1. • CONFIGURE A MODEM CONNECTION-CSD The procedure for creating a new modem connection for use with your Nokia phone is similar to that found in the various Windows desktop operating systems. However, before you can configure your PocketPC for a CSD data call, you need to obtain the required setup information from your ISP or corporate network's Helpdesk. Important: You may need to first disable your Pocket PC's option that automatically begins synchronization when an infrared connection is detected. For more information on this task, please consult your device's user guide. [ 43 ]
-
 1
1 -
2
-
3
-
4
-
5
-
6
-
7
-
8
-
9
-
10
-
11
-
12
-
13
-
14
-
15
-
16
-
17
-
18
-
19
-
20
-
21
-
22
-
23
-
24
-
25
-
26
-
27
-
28
-
29
-
30
-
31
-
32
-
33
-
34
-
35
-
36
-
37
-
38
-
39
-
40
-
41
-
 42
42 -
 43
43 -
 44
44 -
 45
45 -
 46
46 -
 47
47 -
 48
48 -
 49
49 -
 50
50 -
 51
51 -
 52
52
 |
 |