Onkyo TX SR804 Instruction Manual - Page 76
Input Setup, Character Edit
 |
View all Onkyo TX SR804 manuals
Add to My Manuals
Save this manual to your list of manuals |
Page 76 highlights
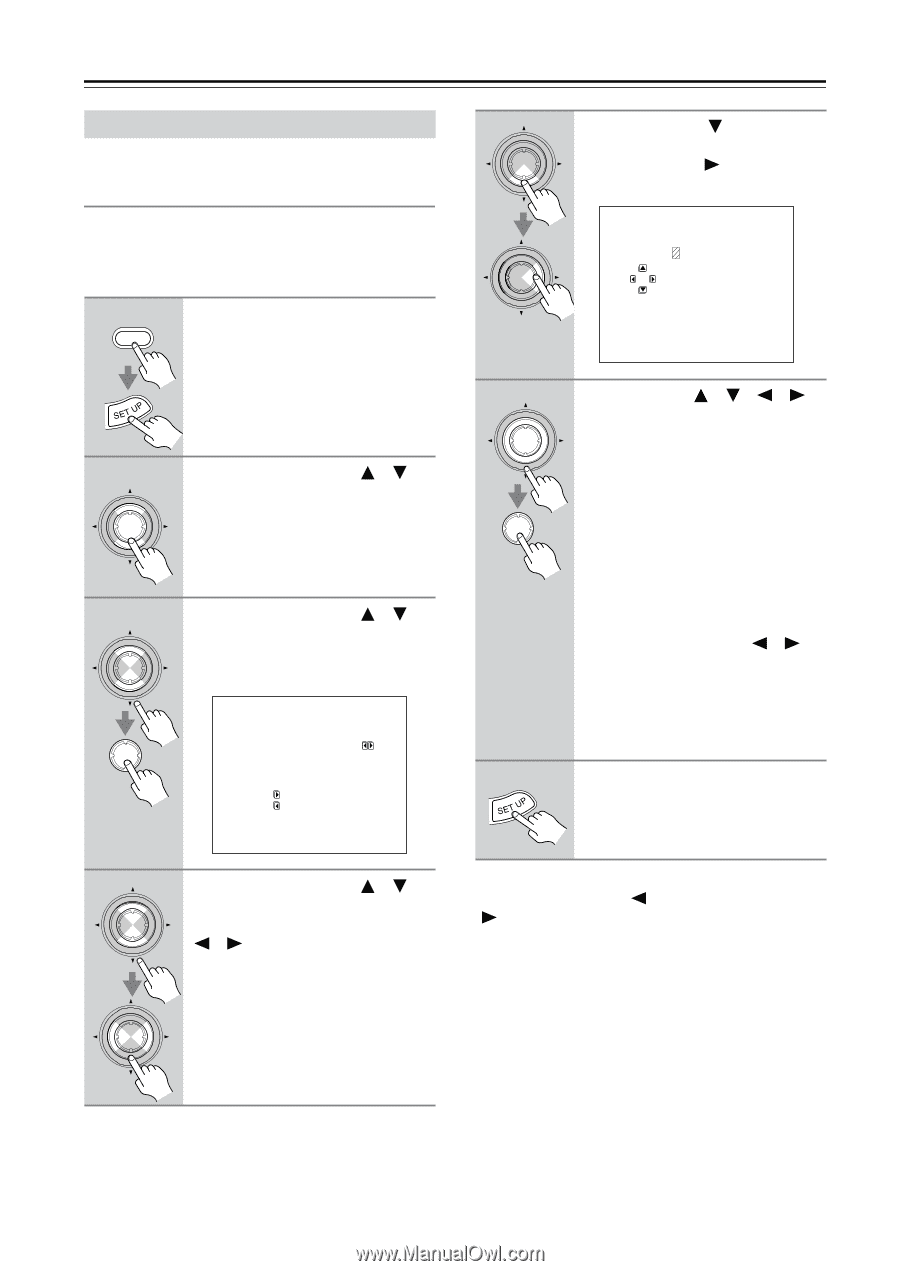
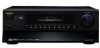
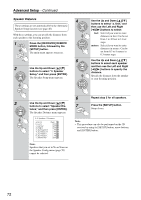
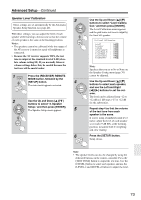
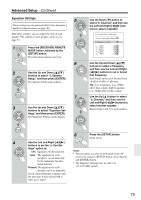
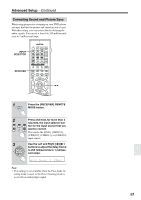
Advanced Setup-Continued Input Setup This section explains items on the "Input Setup" menu. Character Edit With this setting, you can enter a custom name for each input source and AM/FM radio preset. When the input source or radio preset is selected, its name will appear on the display. 1 RECEIVER Press the [RECEIVER] REMOTE MODE button, followed by the [SETUP] button. To name an AM or FM radio preset, select that preset first. 2 ENTER Use the Up and Down [ ]/[ ] buttons to select "4. Input Setup," and then press [ENTER]. The Input Setup menu appears. 3 ENTER ENTER Use the Up and Down [ ]/[ ] buttons to select "Character Edit," and then press [ENTER]. The Character Edit menu appears. 4-1.Character Edit ---------VIDEO1--------- a.Character Display :Yes b.Character : Press to Edit to Clear 5 ENTER ENTER 6 ENTER ENTER 7 Press the Down [ ] button to select "Character," and then press the Right [ ] button to open the character input screen. 4-1.Character Edit ---------VIDEO1--------- b.Character |ABCDEFGHIJKLM| |NOPQRSTUVWXYZ| |abcdefghijklm| |nopqrstuvwxyz| |0123456789-.'| | [Exit]| Use the arrow buttons to select a character, and then press [ENTER]. Repeat this step to enter up to 10 characters. If you enter a character by mistake: Press the [RETURN] button to move the cursor back one place. To correct a character: 1. Press the [ENTER] or [RETURN] button repeatedly to select the character to be corrected. 2. Use the Left and Right [ ]/[ ] buttons to select the new character, and then press [ENTER]. If the name contains less than 10 characters, select "Exit," and then press [ENTER]. Press the [SETUP] button. Setup closes. 4 ENTER ENTER Use the Up and Down [ ]/[ ] buttons to select "Character Display," and use the Left and Right [ ]/[ ] buttons to select: No (Default): The default name is displayed. Yes: The custom name is displayed. For radio presets, the frequency is displayed when No is selected. To delete all the characters in a name: In step 5, press the Left [ ] button instead of the Right [ ] button. Notes: • When the multichannel input is selected, the same name as for DVD is displayed. • XM Radio presets cannot be named. • This procedure can also be performed on the AV receiver by using its [SETUP] button, arrow buttons, and [ENTER] button. 76
-
 1
1 -
2
-
3
-
4
-
5
-
6
-
7
-
8
-
9
-
10
-
11
-
12
-
13
-
14
-
15
-
16
-
17
-
18
-
19
-
20
-
21
-
22
-
23
-
24
-
25
-
26
-
27
-
28
-
29
-
30
-
31
-
32
-
33
-
34
-
35
-
36
-
37
-
38
-
39
-
40
-
41
-
42
-
43
-
44
-
45
-
46
-
47
-
48
-
49
-
50
-
51
-
52
-
53
-
54
-
55
-
56
-
57
-
58
-
59
-
60
-
61
-
62
-
63
-
64
-
65
-
66
-
67
-
68
-
69
-
70
-
 71
71 -
 72
72 -
 73
73 -
 74
74 -
 75
75 -
 76
76 -
 77
77 -
 78
78 -
 79
79 -
 80
80 -
 81
81 -
82
-
83
-
84
-
85
-
86
-
87
-
88
-
89
-
90
-
91
-
92
-
93
-
94
-
95
-
96
 |
 |