Panasonic AG-HMC40 User Manual - Page 84
TV/Monitor, Connecting external units continued
 |
UPC - 791871304891
View all Panasonic AG-HMC40 manuals
Add to My Manuals
Save this manual to your list of manuals |
Page 84 highlights
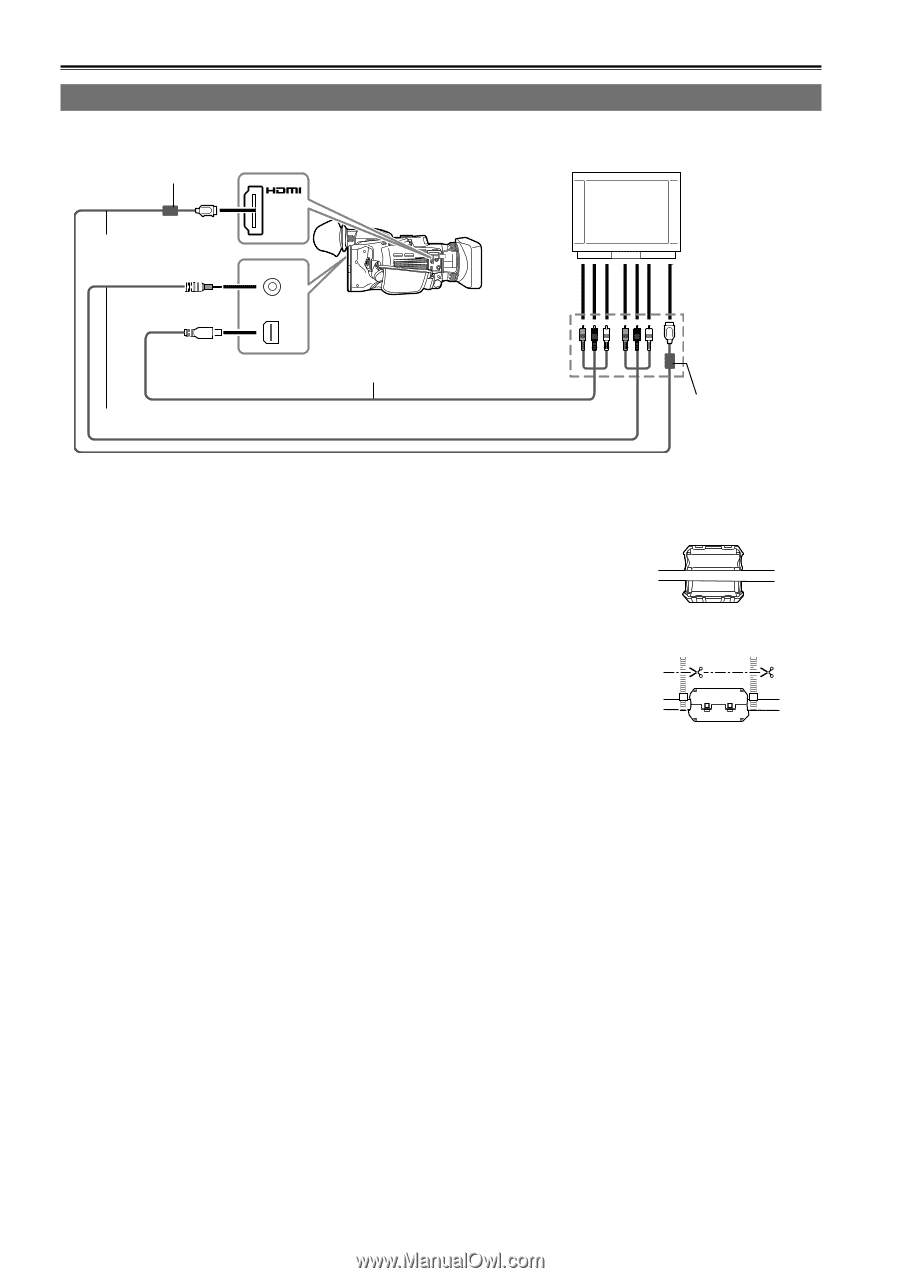
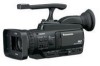
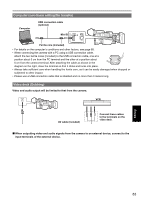
Connecting external units (continued) TV/Monitor Only the output signals from the camera are shown. Ferrite core (included) HDMI cable (optional) A/V OUT COMPONENT OUT AV cable (included) USB2.0 MIC Component video cable (included) TV/Monitor Connect these cables to the terminals on the television. Ferrite core (included) ■ When outputting video and audio signals from the camera to an external device, connect to the input terminals of the external device. • When connecting the camera with a TV/monitor using an HDMI cable, attach the two ferrite cores (included) to the HDMI cable, one at a position about 5 cm from the TV/monitor terminal and the other at a position about 5 cm from the camera terminal. After attaching the cable as shown in the diagram on the right, close the terminal so that it clicks and locks into place. • If the ferrite core moves along the cable and cannot be fixed in place, please attach cable ties to either side of the ferrite core to ensure that it remains fixed. Adjust the length of the ties by cutting with scissors, etc. • Always take sufficient care when handling the ferrite core, as it can be easily damaged when dropped or subjected to other impact. • It is recommended that you use Panasonic's HDMI cable. • HDMI output will take priority if both HDMI cable and VIDEO OUT cable are connected at the same time. Simultaneous output is not possible. • This product is not compatible with VIERA Link. • When connecting the camera to another device using the component video cable, if the terminal on the device to which it is to be connected is a BNC type, use the pin-BNC conversion plug provided. ■ Output by HDMI output, COMPONENT OUT, and A/V OUT When an HDMI cable is connected simultaneously with a COMPONENT cable or an AV cable, priority for output is given in the order HDMI > COMPONENT OUT > A/V OUT. (Simultaneous output is not possible.) 84
-
 1
1 -
2
-
3
-
4
-
5
-
6
-
7
-
8
-
9
-
10
-
11
-
12
-
13
-
14
-
15
-
16
-
17
-
18
-
19
-
20
-
21
-
22
-
23
-
24
-
25
-
26
-
27
-
28
-
29
-
30
-
31
-
32
-
33
-
34
-
35
-
36
-
37
-
38
-
39
-
40
-
41
-
42
-
43
-
44
-
45
-
46
-
47
-
48
-
49
-
50
-
51
-
52
-
53
-
54
-
55
-
56
-
57
-
58
-
59
-
60
-
61
-
62
-
63
-
64
-
65
-
66
-
67
-
68
-
69
-
70
-
71
-
72
-
73
-
74
-
75
-
76
-
77
-
78
-
 79
79 -
 80
80 -
 81
81 -
 82
82 -
 83
83 -
 84
84 -
 85
85 -
 86
86 -
 87
87 -
 88
88 -
 89
89 -
90
-
91
-
92
-
93
-
94
-
95
-
96
-
97
-
98
-
99
-
100
-
101
-
102
-
103
-
104
-
105
-
106
-
107
-
108
-
109
-
110
-
111
-
112
-
113
-
114
-
115
-
116
-
117
-
118
-
119
-
120
-
121
-
122
 |
 |