Sanyo VPC E1 Instruction Manual, VPC-E1000 - Page 44
Resizing an Image
 |
UPC - 086483067532
View all Sanyo VPC E1 manuals
Add to My Manuals
Save this manual to your list of manuals |
Page 44 highlights
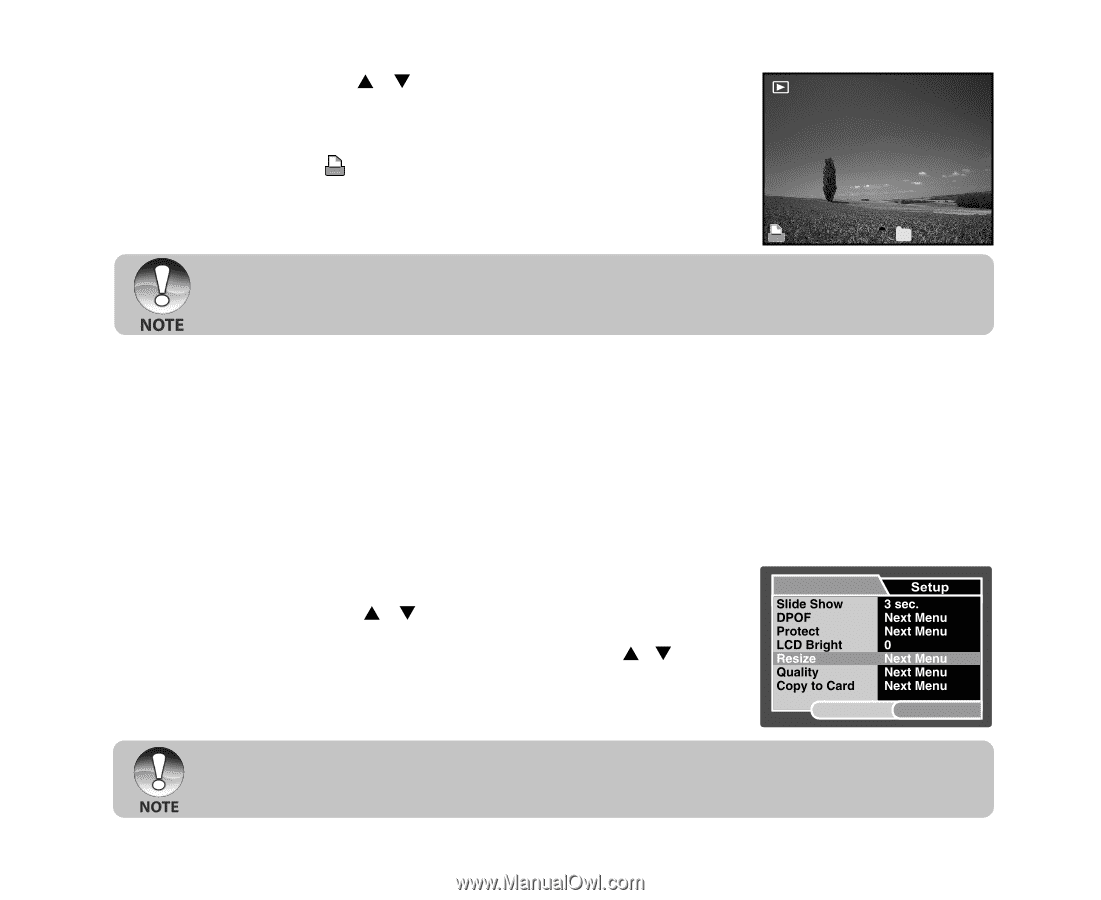
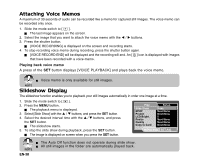
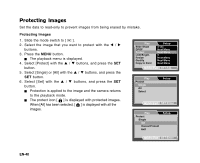
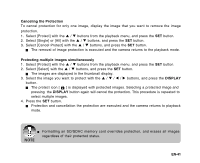
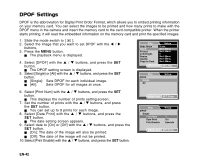
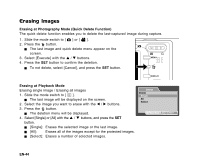
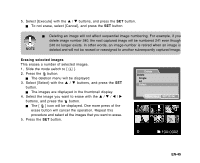
11.Select [Execute] with the S / T buttons, and press the SET button. This creates a file containing the DPOF information, and when the operation is finished, the screen returns to the playback mode. The DPOF icon [ ] is displayed on each image that has set up DPOF settings. 1 100-0008 The date that is printed on the image is the date set on the camera. To print the correct date on the image, set the date on the camera before you capture the image. Refer to section in this manual titled "Setting the Date and Time" for further details. Resizing an Image Resizes a previously saved image. Resizing replaces the original image with the changed image. Only resizing to the smaller size is available. The following images cannot be resized: Image size (640 x 480) Image captured with other camera Protected images Video clips Images cannot be resized when the SD/SDHC memory card is write protected 1. Select the image that you want to resize. 2. Press the MENU button. 3. Select [Resize] with the S / T buttons, and press the SET button. 4. Select the image size that you want to change with the S / T buttons, and press the SET button. To quit resizing, press the MENU button. When resizing ends, the screen returns to playback mode. Play MENU:Exit SET:Adj. It is possible to reduce the size of an image. It is not possible to increase the size of an image, or to restore size after it has been decreased. EN-43
-
 1
1 -
2
-
3
-
4
-
5
-
6
-
7
-
8
-
9
-
10
-
11
-
12
-
13
-
14
-
15
-
16
-
17
-
18
-
19
-
20
-
21
-
22
-
23
-
24
-
25
-
26
-
27
-
28
-
29
-
30
-
31
-
32
-
33
-
34
-
35
-
36
-
37
-
38
-
 39
39 -
 40
40 -
 41
41 -
 42
42 -
 43
43 -
 44
44 -
 45
45 -
 46
46 -
 47
47 -
 48
48 -
 49
49 -
50
-
51
-
52
-
53
-
54
-
55
-
56
-
57
-
58
-
59
-
60
-
61
-
62
-
63
-
64
-
65
-
66
-
67
 |
 |