Sony Ericsson GF768 User Guide - Page 7
Assembly Instructions, Assemble and Charge - Four Steps, 1. Inserting SIM Card - charger
 |
View all Sony Ericsson GF768 manuals
Add to My Manuals
Save this manual to your list of manuals |
Page 7 highlights
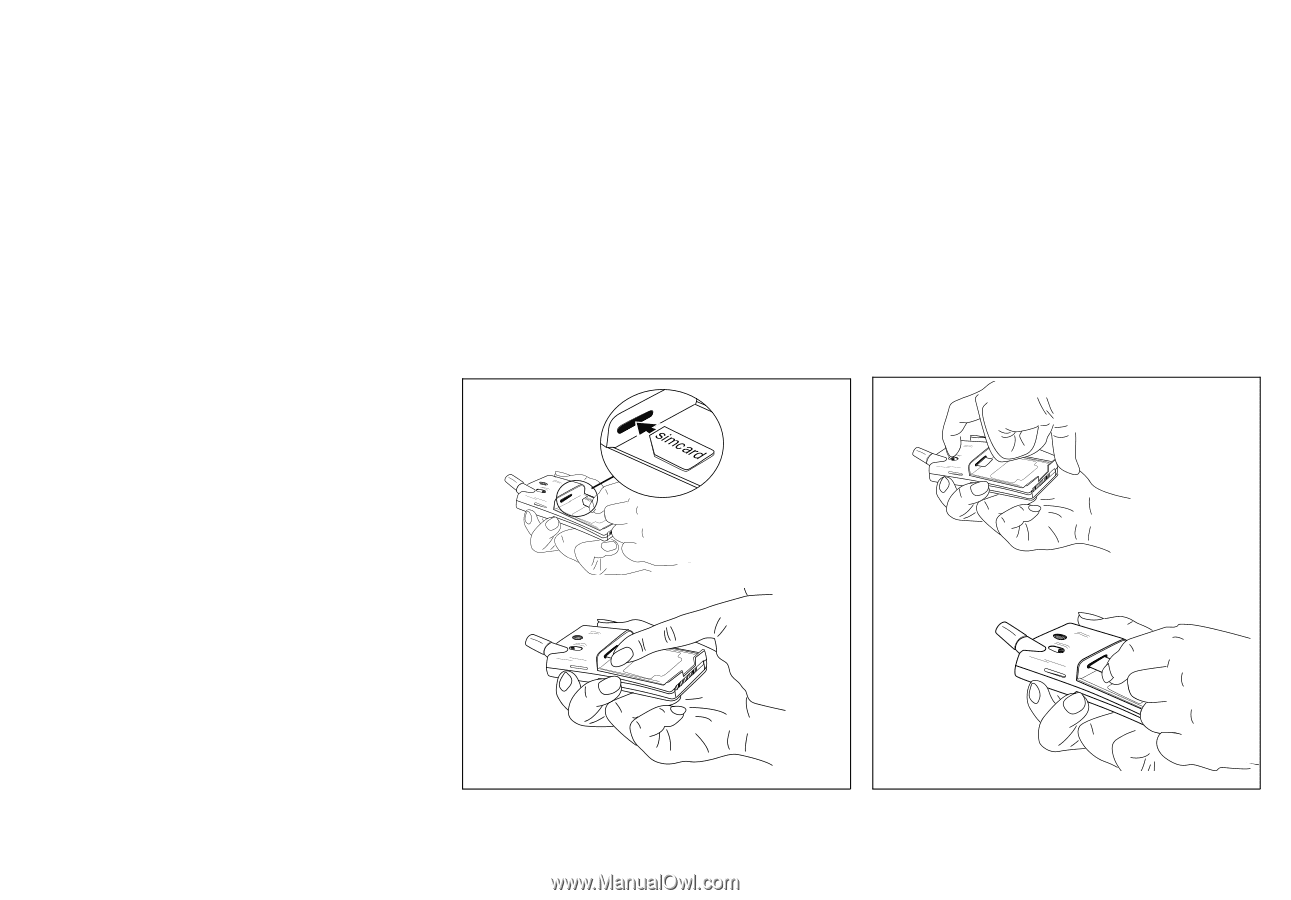
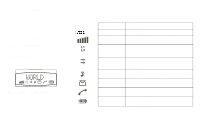
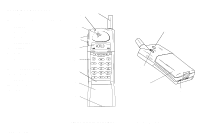
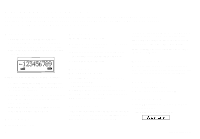
Assembly Instructions This chapter describes how you assemble the phone, what the SIM Card is, and how you handle the battery. Assemble and Charge - Four Steps q Insert the SIM Card. q Attach the battery. q Connect the charger to the phone. q Connect the charger to the mains. 1. Inserting SIM Card Place the SIM Card with the golden connectors facing down and the cut corner turned to the left (see Figure 1). Slide the SIM Card into the SIM Card slot. The SIM release button will slide towards the antenna as the SIM Card is pushed in. Removing SIM Card 1. Make sure the battery is removed. 2. Slide the SIM release button towards you (see Figure 2). 3. Pull out the SIM Card. 1. 1. LZT 126 1343/x R1A 2. Figure 1. Inserting SIM Card 2. Figure 2. Removing SIM Card. 1
-
 1
1 -
 2
2 -
 3
3 -
 4
4 -
 5
5 -
 6
6 -
 7
7 -
 8
8 -
 9
9 -
 10
10 -
 11
11 -
 12
12 -
13
-
14
-
15
-
16
-
17
-
18
-
19
-
20
-
21
-
22
-
23
-
24
-
25
-
26
-
27
-
28
-
29
-
30
-
31
-
32
-
33
-
34
 |
 |