Sony VPL-HW20 Operating Instructions - Page 67
Select Yes., original position.
 |
View all Sony VPL-HW20 manuals
Add to My Manuals
Save this manual to your list of manuals |
Page 67 highlights
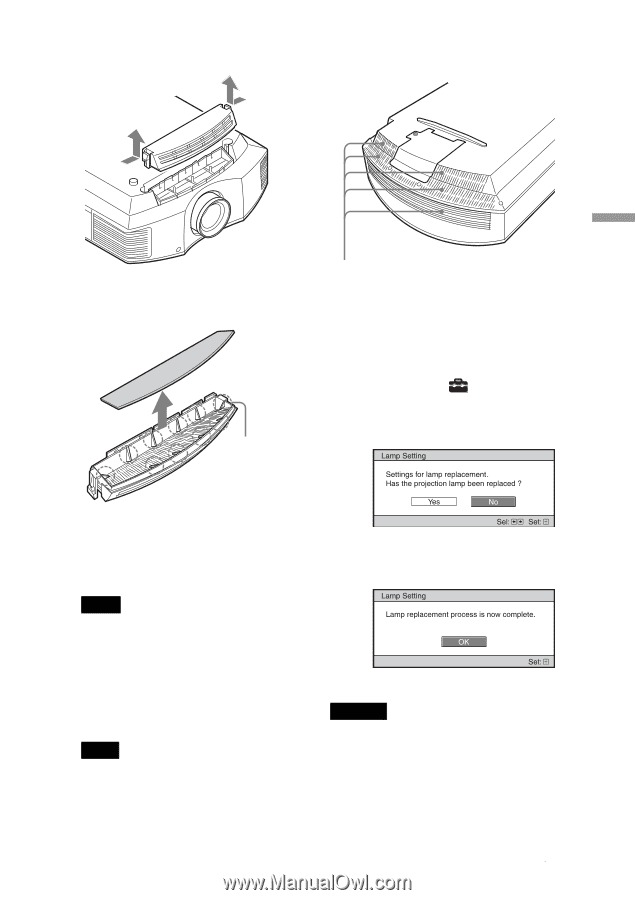
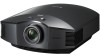
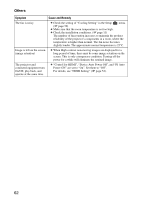
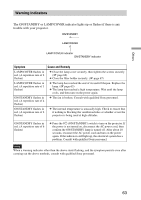
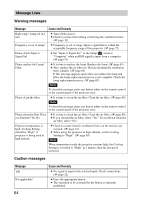
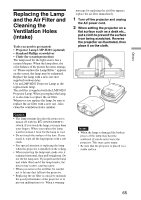
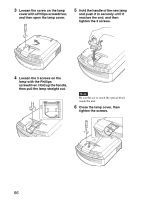
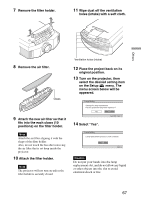
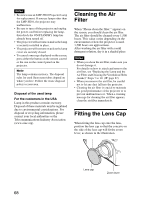
7 Remove the filter holder. 11 Wipe dust off the ventilation holes (intake) with a soft cloth. Others 8 Remove the air filter. Claws Ventilation holes (intake) 12 Place the project back on its original position. 13 Turn on the projector, then select the desired setting item on the Setup menu. The menu screen below will be appeared. 9 Attach the new air filter so that it fits into the each claws (10 positions) on the filter holder. Note Attach the air filter aligning it with the shape of the filter holder. Also, do not touch the fan after removing the air filter that is set deep inside the projector. 10 Attach the filter holder. Note The projector will not turn on unless the filter holder is securely closed. 14 Select "Yes". Caution Do not put your hands into the lamp replacement slot, and do not allow any liquid or other objects into the slot to avoid electrical shock or fire. 67
-
 1
1 -
2
-
3
-
4
-
5
-
6
-
7
-
8
-
9
-
10
-
11
-
12
-
13
-
14
-
15
-
16
-
17
-
18
-
19
-
20
-
21
-
22
-
23
-
24
-
25
-
26
-
27
-
28
-
29
-
30
-
31
-
32
-
33
-
34
-
35
-
36
-
37
-
38
-
39
-
40
-
41
-
42
-
43
-
44
-
45
-
46
-
47
-
48
-
49
-
50
-
51
-
52
-
53
-
54
-
55
-
56
-
57
-
58
-
59
-
60
-
61
-
 62
62 -
 63
63 -
 64
64 -
 65
65 -
 66
66 -
 67
67 -
 68
68 -
 69
69 -
 70
70 -
 71
71 -
 72
72 -
73
-
74
-
75
-
76
-
77
-
78
-
79
-
80
-
81
-
82
-
83
 |
 |