Toshiba TDP-P75 User Manual - Page 26
Operation, Start up
 |
View all Toshiba TDP-P75 manuals
Add to My Manuals
Save this manual to your list of manuals |
Page 26 highlights
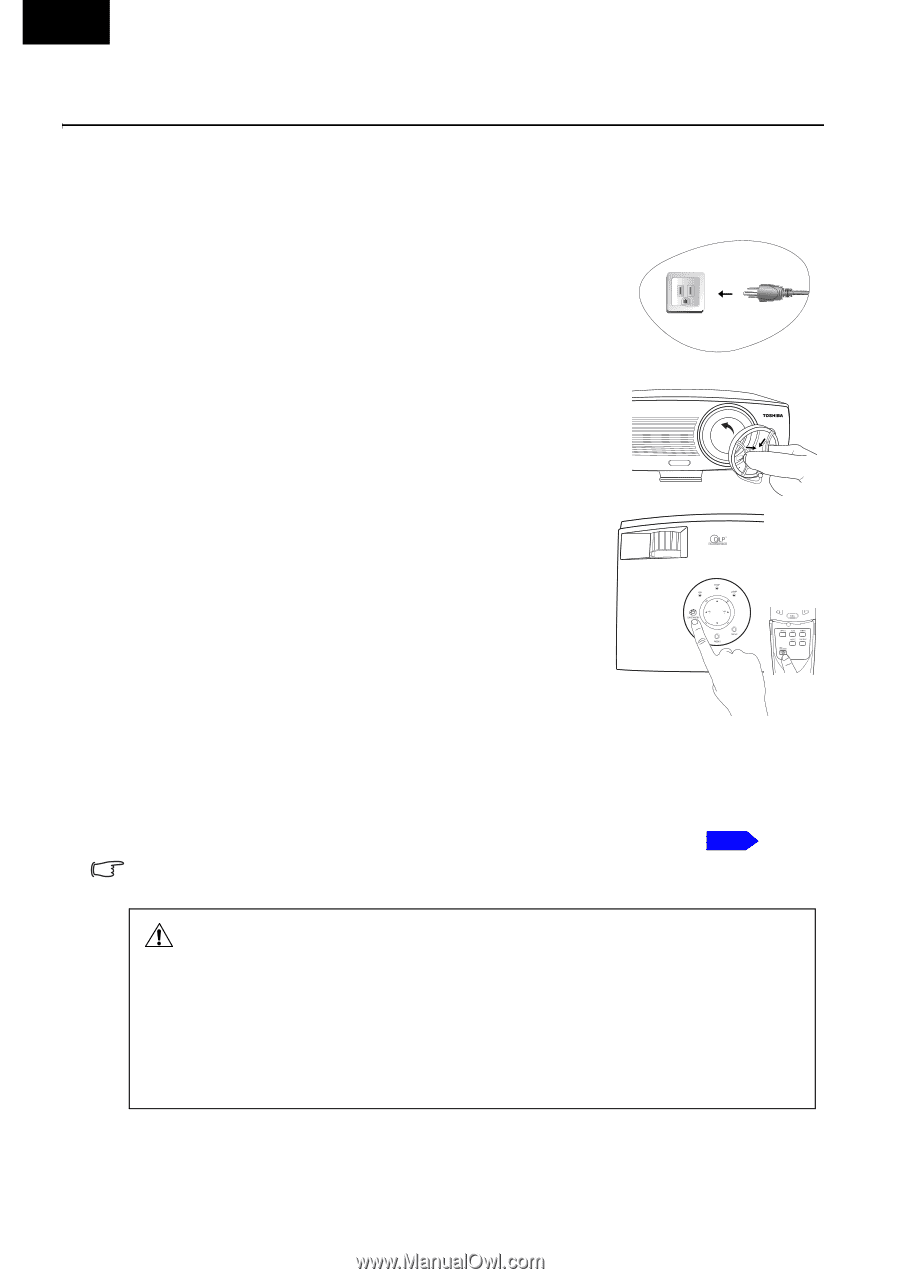
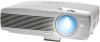
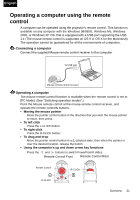
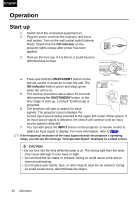
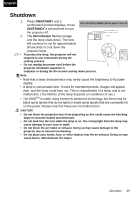
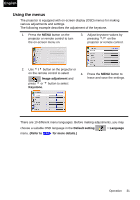
English Operation Start up 1. Switch all of the connected equipment on. 2. Plug the power cord into the projector and into a wall socket. Turn on the wall socket switch (where fitted). Check that the ON indicator on the projector lights orange after power has been applied. 3. Remove the lens cap. If it is left on, it could become deformed due to heat. 4. Press and hold the ON/STANDBY button on the remote control or projector to start the unit. The ON indicator flashes green and stays green when the unit is on. 5. The start up procedure takes about 20 seconds after pressing the ON/STANDBY button. In the later stage of start up, a default Toshiba logo is projected. 6. The projector will start to search for input signals. The projector screen displays the current input source being scanned at the upper left corner of the screen. If no input source signal is detected, the search will continue until an input source signal is detected. 7. You can also press the INPUT button on the projector or remote control to select an input signal to display. For more information, refer to p.28 . If the frequency/ resolution of the input signal exceeds the projector's operating range, you will see the message "Unsupported Signal" displayed on a blank screen. CAUTION • Do not look into the lens while the lamp is on. The strong light from the lamp may cause damage to your eyes or sight. • Do not block the air intake or exhaust. Doing so could cause a fire due to internal overheating. • Do not place your hands, face, or other objects near the air exhaust. Doing so could cause burns, deform/break the object. 26 Operation
-
 1
1 -
2
-
3
-
4
-
5
-
6
-
7
-
8
-
9
-
10
-
11
-
12
-
13
-
14
-
15
-
16
-
17
-
18
-
19
-
20
-
 21
21 -
 22
22 -
 23
23 -
 24
24 -
 25
25 -
 26
26 -
 27
27 -
 28
28 -
 29
29 -
 30
30 -
 31
31 -
32
-
33
-
34
-
35
-
36
-
37
-
38
-
39
-
40
-
41
-
42
-
43
-
44
-
45
 |
 |