Yamaha CVP-601 Reference Manual - Page 29
Playing the Style During Style Assembly
 |
View all Yamaha CVP-601 manuals
Add to My Manuals
Save this manual to your list of manuals |
Page 29 highlights
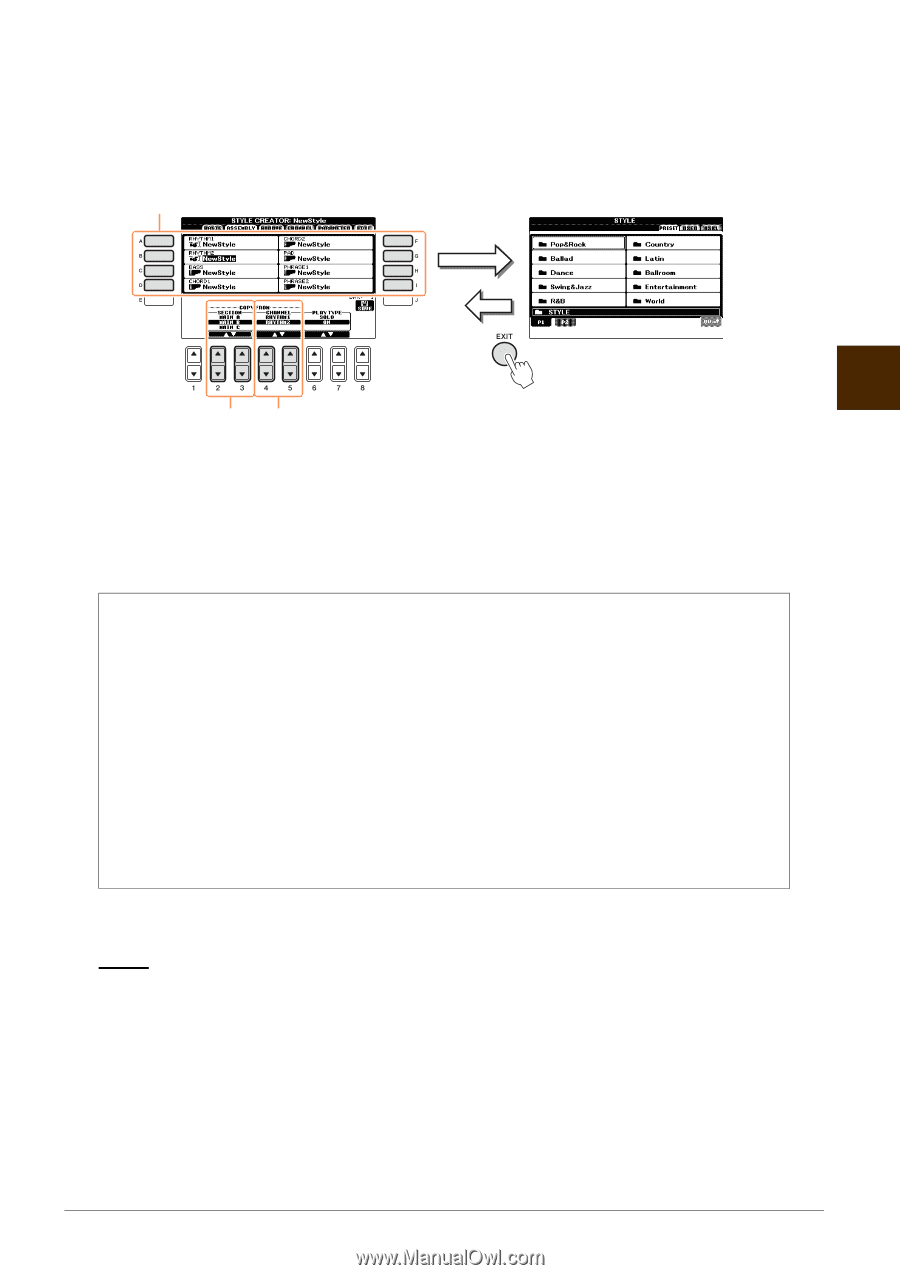
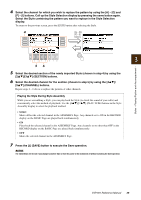
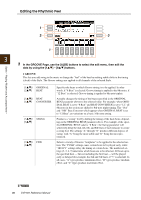
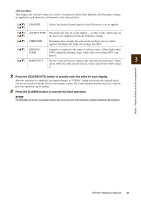
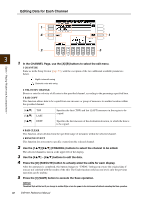
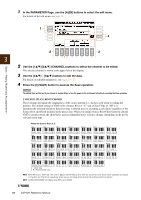
4 Select the channel for which you wish to replace the pattern by using the [A] - [D] and [F] - [I] buttons. Call up the Style Selection display by pressing the same button again. Select the Style containing the pattern you want to replace in the Style Selection display. To return to the previous screen, press the [EXIT] button after selecting the Style. 4 [A] - [D], [F] - [I] buttons Styles - Playing Rhythm and Accompaniment - 3 56 5 Select the desired section of the newly imported Style (chosen in step 4) by using the [2]/[3] (SECTION) buttons. 6 Select the desired channel for the section (chosen in step 5) by using the [4]/ [5] (CHANNEL) buttons. Repeat steps 4 - 6 above to replace the patterns of other channels. Playing the Style During Style Assembly While you are assembling a Style, you can play back the Style (to check the sound of your edits) and conveniently select the method of playback. Use the [6]/[7] (PLAY TYPE) buttons in the Style Assembly display to select the playback method. • SOLO Mutes all but the selected channel in the ASSEMBLY Page. Any channels set to ON in the RECORD display on the BASIC Page are played back simultaneously. • ON Plays back the selected channel in the ASSEMBLY Page. Any channels set to other than OFF in the RECORD display on the BASIC Page are played back simultaneously. • OFF Mutes the selected channel in the ASSEMBLY Page. 7 Press the [J] (SAVE) button to execute the Save operation. NOTICE The edited Style will be lost if you change to another Style or turn the power to the instrument off without executing the Save operation. CVP-601 Reference Manual 29
-
 1
1 -
2
-
3
-
4
-
5
-
6
-
7
-
8
-
9
-
10
-
11
-
12
-
13
-
14
-
15
-
16
-
17
-
18
-
19
-
20
-
21
-
22
-
23
-
 24
24 -
 25
25 -
 26
26 -
 27
27 -
 28
28 -
 29
29 -
 30
30 -
 31
31 -
 32
32 -
 33
33 -
 34
34 -
35
-
36
-
37
-
38
-
39
-
40
-
41
-
42
-
43
-
44
-
45
-
46
-
47
-
48
-
49
-
50
-
51
-
52
-
53
-
54
-
55
-
56
-
57
-
58
-
59
-
60
-
61
-
62
-
63
-
64
-
65
-
66
-
67
-
68
-
69
-
70
-
71
-
72
-
73
-
74
-
75
-
76
-
77
-
78
-
79
-
80
-
81
-
82
-
83
-
84
-
85
-
86
-
87
-
88
-
89
-
90
-
91
-
92
-
93
-
94
-
95
-
96
-
97
-
98
 |
 |