2012 Dodge Journey User Guide - Page 17
2012 Dodge Journey Manual

Page 17 highlights
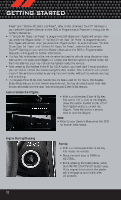
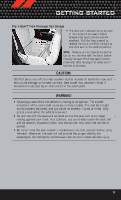
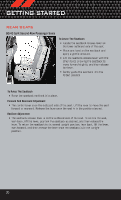
GETTING STARTED • Place the child upright in the seat with their back firmly against the seatback. • Grasp the latch plate and pull out the seat belt. • Slide the latch plate up the webbing as far as necessary to allow the seat belt to go around the child's lap. NOTE: The lap portion of the seat belt should be low on the hips and as snug as possible. • Once the seat belt is long enough to fit properly, insert the latch plate into the buckle until you hear a "click." • To remove the slack from the lap belt, pull upward on the shoulder portion of the seat belt. Installing The LATCH - Compatible Child Restraint System • Your vehicle's second row passenger seats are equipped with the child restraint anchorage system called LATCH, which stands for Lower Anchors and Tether for CHildren. • All three second-row passenger seating positions have lower anchors that are capable of accommodating LATCH-compatible child seats. • Rigid fixed lower attachments can only be used in the outboard seating positions. Flexible lower attachments can be used in all seating positions. • When installing a child seat in the center seating position use one lower anchorage from the outboard seating position and the center seat dedicated lower anchorage. If two child seats are installed in adjacent seating positions you must use the vehicle seat belt in the center seating position. • You should NEVER install LATCH-compatible child seats so that two seats share a common lower anchorage. 15
-
 1
1 -
2
-
3
-
4
-
5
-
6
-
7
-
8
-
9
-
10
-
11
-
 12
12 -
 13
13 -
 14
14 -
 15
15 -
 16
16 -
 17
17 -
 18
18 -
 19
19 -
 20
20 -
 21
21 -
 22
22 -
23
-
24
-
25
-
26
-
27
-
28
-
29
-
30
-
31
-
32
-
33
-
34
-
35
-
36
-
37
-
38
-
39
-
40
-
41
-
42
-
43
-
44
-
45
-
46
-
47
-
48
-
49
-
50
-
51
-
52
-
53
-
54
-
55
-
56
-
57
-
58
-
59
-
60
-
61
-
62
-
63
-
64
-
65
-
66
-
67
-
68
-
69
-
70
-
71
-
72
-
73
-
74
-
75
-
76
-
77
-
78
-
79
-
80
-
81
-
82
-
83
-
84
-
85
-
86
-
87
-
88
-
89
-
90
-
91
-
92
-
93
-
94
-
95
-
96
-
97
-
98
-
99
-
100
-
101
-
102
-
103
-
104
-
105
-
106
-
107
-
108
 |
 |