2012 Dodge Journey User Guide - Page 76
2012 Dodge Journey Manual

Page 76 highlights
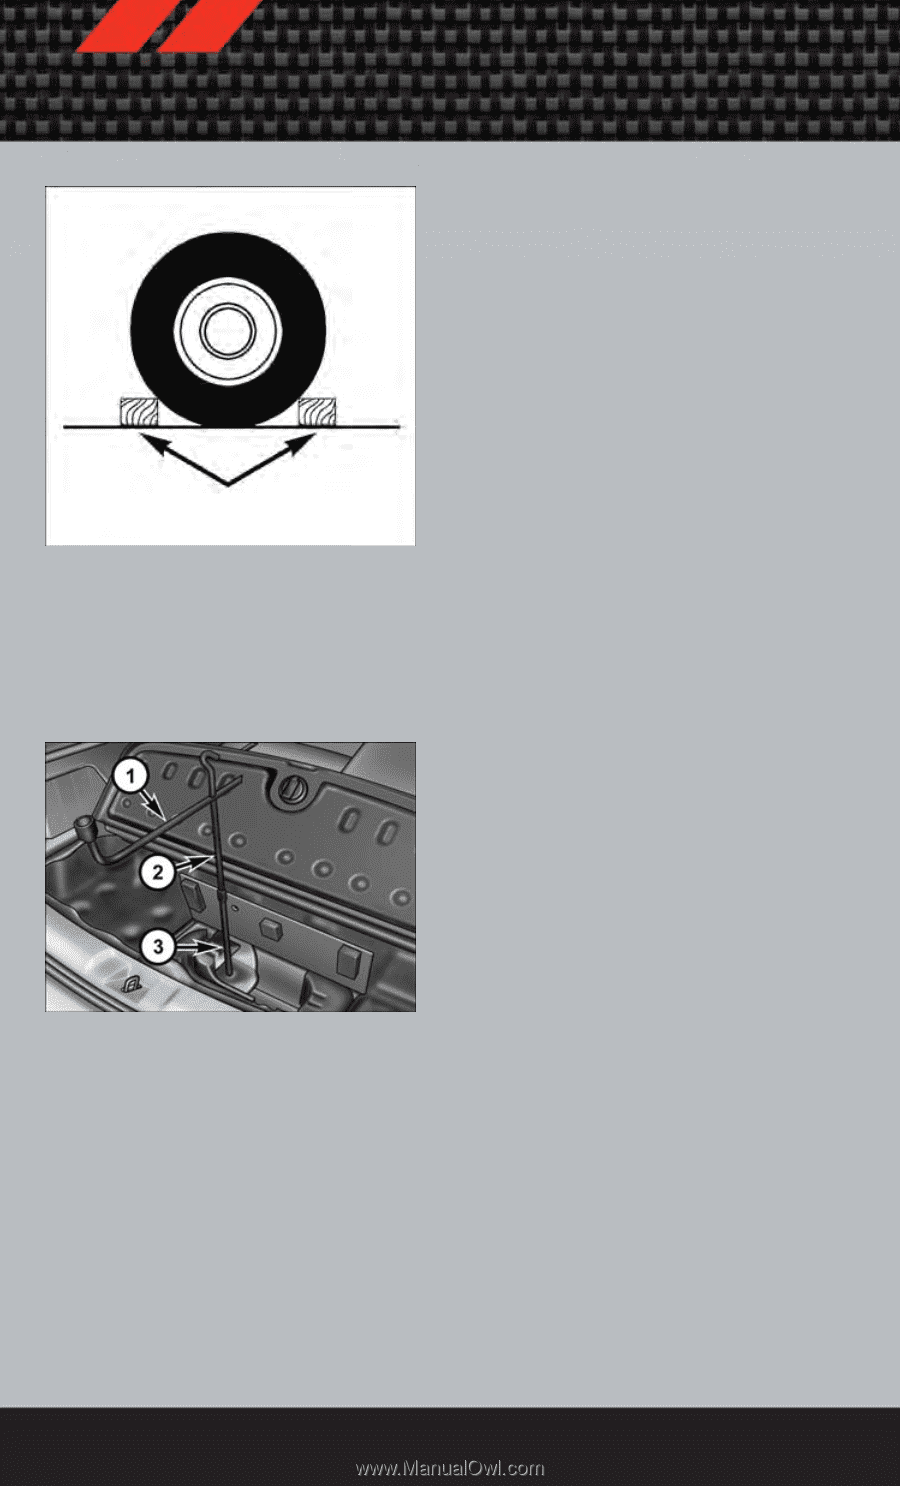
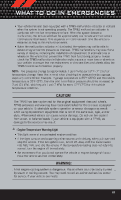
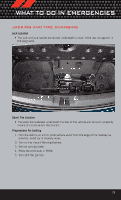
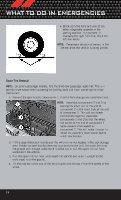
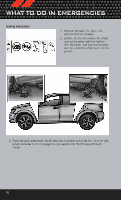
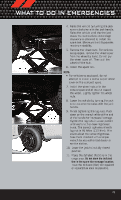
WHAT TO DO IN EMERGENCIES • Block both the front and rear of the wheel diagonally opposite of the jacking position. For example, if changing the right front tire, block the left rear wheel. NOTE: Passengers should not remain in the vehicle when the vehicle is being jacked. Spare Tire Removal NOTE: On seven-passenger models, fold the third-row passenger seats flat. This will provide more space when accessing the jacking tools and when operating the winch mechanism. 1. Remove the jack-handle components 1, 2 and 3 from storage and assemble them. NOTE: Assemble components 2 and 3 by seating the small ball at the end of component 2 in the small hole at the end of component 3. This will lock these components together. Assemble components 1 and 2 so that the wheel nut socket at the end of component 1 faces upward when seated on component 2. This will make it easier to rotate the assembly when operating the winch mechanism. 2. Fit the assembled jack-handle over the winch drive nut located in the jack storage area. Rotate the jack-handle assembly counterclockwise until the spare tire is on the ground with enough cable slack to allow you to pull the spare tire out from underneath the vehicle. 3. Pull the spare tire out from underneath the vehicle and raise it upright so the tire's tread is on the ground. 4. Tilt the retainer at the end of the winch cable and remove it from the center of the wheel. 74
-
 1
1 -
2
-
3
-
4
-
5
-
6
-
7
-
8
-
9
-
10
-
11
-
12
-
13
-
14
-
15
-
16
-
17
-
18
-
19
-
20
-
21
-
22
-
23
-
24
-
25
-
26
-
27
-
28
-
29
-
30
-
31
-
32
-
33
-
34
-
35
-
36
-
37
-
38
-
39
-
40
-
41
-
42
-
43
-
44
-
45
-
46
-
47
-
48
-
49
-
50
-
51
-
52
-
53
-
54
-
55
-
56
-
57
-
58
-
59
-
60
-
61
-
62
-
63
-
64
-
65
-
66
-
67
-
68
-
69
-
70
-
 71
71 -
 72
72 -
 73
73 -
 74
74 -
 75
75 -
 76
76 -
 77
77 -
 78
78 -
 79
79 -
 80
80 -
 81
81 -
82
-
83
-
84
-
85
-
86
-
87
-
88
-
89
-
90
-
91
-
92
-
93
-
94
-
95
-
96
-
97
-
98
-
99
-
100
-
101
-
102
-
103
-
104
-
105
-
106
-
107
-
108
 |
 |