AIWA CX-NA71 Operating Instructions - Page 16
Basic Recording
 |
View all AIWA CX-NA71 manuals
Add to My Manuals
Save this manual to your list of manuals |
Page 16 highlights
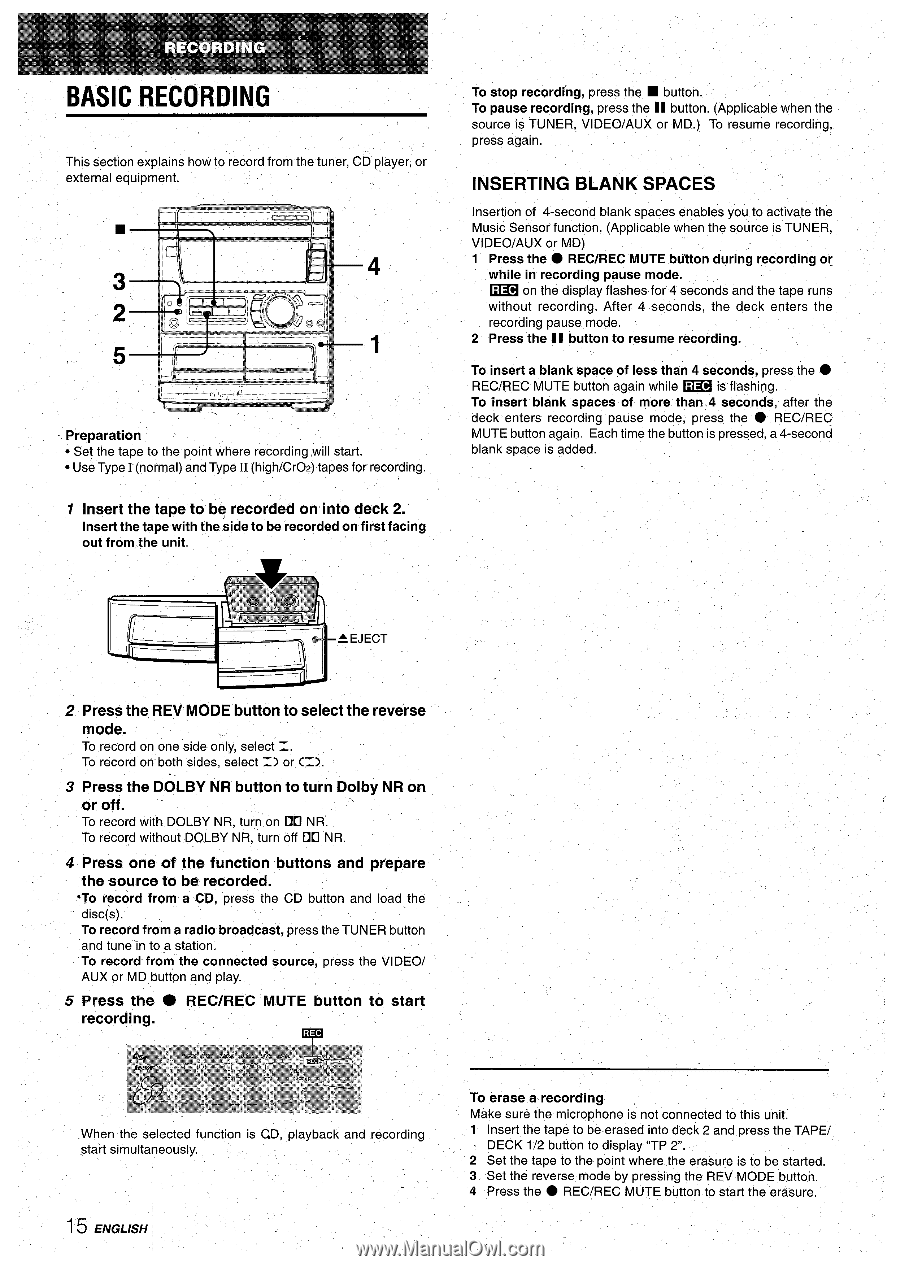
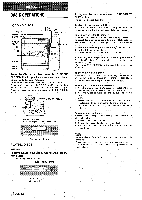
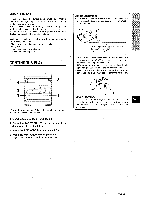
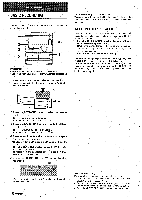
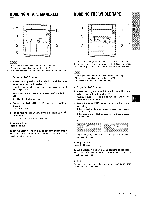
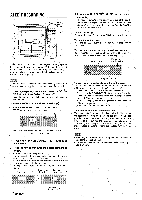
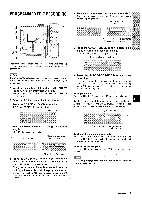
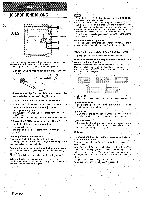
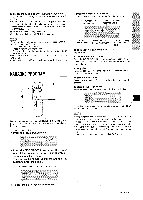
BASIC RECORDING This section explains how to record from the tuner, CD player, or external equipment. Preparation q Set the tape to the point where recording will start. q Use Type I (normal) and Type II (high/CrOz) tapes for recording. 1 Insert the tape to be recorded on into deck 2. Insert the tape with the side to be recorded onfirst facing out from the unit. To stop recording, press the s button. To pause recording, press the II button. (Applicable when the source is TUNER, VI DEO/AUX or MD.) To resume recording, press again. INSERTING BLANK SPACES Insertion of 4-second blank spaces enables you to activate the Music Sensor function. (Applicable when the source is TUNER, VIDEO/AUX or MD) 1 Press the q REC/REC MUTE buiton during recording or while in recording pause mode. ~ on the display flashes for 4 seconds and the tape runs without recording. After 4 seconds, the deck enters the recording pause mode. 2 Press the 11 button to resume recording. To insert a blank space of less than 4 seconds, press the q REC/REC MUTE button again while ~ is flashing. To insert blank spaces of more than 4 seconds, after the deck enters recording pause mode, press the q REC/REC MUTE button again. Each time the button is pressed, a 4-second blank space is added. 2 Press the REV MODE button to select the reverse mode. To record on one side onry, select =. To record on both sides, select Z> or C=). 3 Press the DOLBY NR button to turn Dolby NR on or off. \ ' To record with DOLBY NR, tury on uU NR. To record without DOLBY NR, turn off Do NR. 4 Press one of the function buttons and prepare the source to be. recorded. 'To record from a CD, press the CD button and load the disc(s). To record from a radio broadcast, press the TUNER button and tune in to a station. To record from the connected source, press the VIDEO/ AUX or MD buttpn and play. 5 Press the ~ recording. REC/REC MUTE button to start @ When the selected function is C,D, playback and recording start simultaneously. 15 ENGLISH To erase a recording Make sure the microphone is not connected to this unit. 1 Insert the tape to be erased into deck 2 and press the TAPE/ ~ DECK 1/2 button to display "TP 2. 2 Set the tape to the point where the erasure is to be started. 3 Set the reverse mode by pressing the REV MODE button. 4 Press the q REC/REC MUTE button to start the-erasure.
-
 1
1 -
2
-
3
-
4
-
5
-
6
-
7
-
8
-
9
-
10
-
 11
11 -
 12
12 -
 13
13 -
 14
14 -
 15
15 -
 16
16 -
 17
17 -
 18
18 -
 19
19 -
 20
20 -
 21
21 -
22
-
23
-
24
-
25
-
26
-
27
-
28
-
29
-
30
-
31
-
32
-
33
-
34
-
35
-
36
-
37
-
38
-
39
-
40
-
41
-
42
-
43
-
44
-
45
-
46
-
47
-
48
-
49
-
50
-
51
-
52
-
53
-
54
-
55
-
56
-
57
-
58
-
59
-
60
-
61
-
62
-
63
-
64
-
65
-
66
-
67
-
68
-
69
-
70
-
71
-
72
-
73
-
74
-
75
-
76
-
77
-
78
-
79
-
80
 |
 |