AIWA CX-NA71 Operating Instructions - Page 8
Before, Operation, Audio, Adjustments - remote
 |
View all AIWA CX-NA71 manuals
Add to My Manuals
Save this manual to your list of manuals |
Page 8 highlights
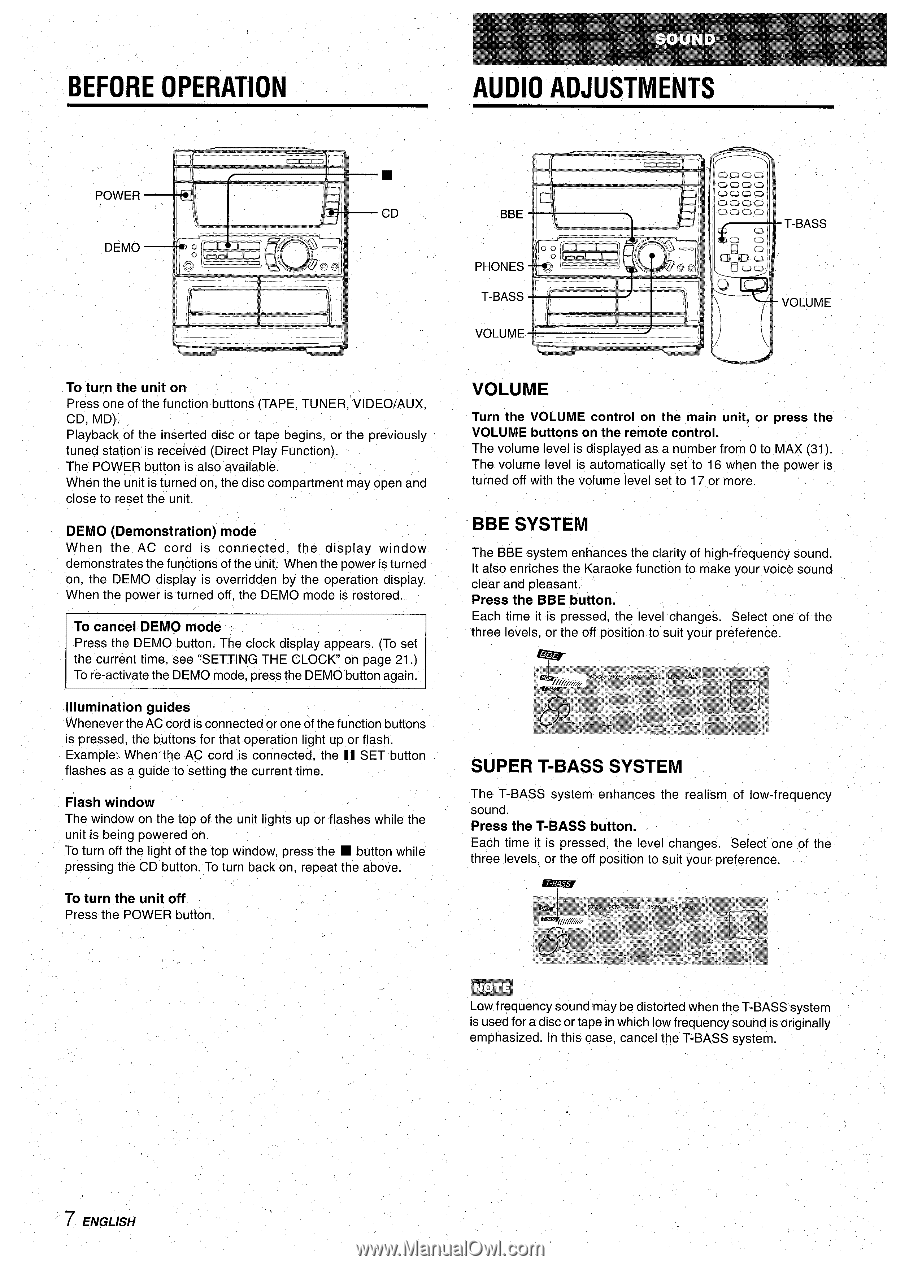
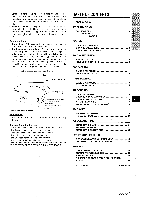
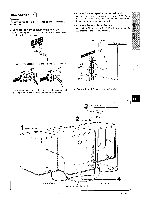
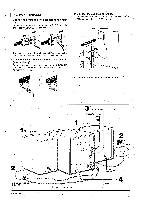
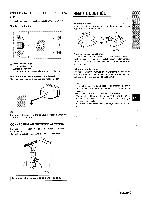
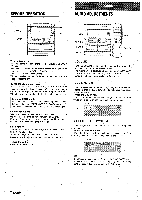
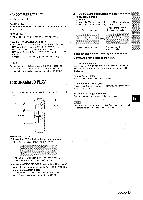
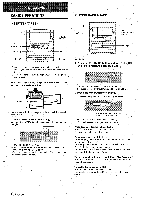
BEFORE OPERATION AUDIO ADJUSTMENTS To turn the unit on Press one of the function buttons (TAPE, TUNER, VIDEO/AUX, CD, MD). Playback of the inserted disc or tape begins, or the previously tuned station is received (Direct Play Function). The POWER button is also available. When the unit is turned on, the disc compartment may open and close to reset the unit. DEMO (Demonstration) mode When the AC cord is connected, the display window demonstrates the functions of the unit. When the power is turned on, the DEMO display is overridden by the operation display. When the power is turned off, the DEMO mode is restored. Press the DEMObutton. The clock display appears. (To set the current time, see SETTING THE CLOCK on page 21.) Tore-activate the DEMO mode, press the DEMO'bWton again. ~ Illumination guides Whenever the AC cord is connected w' one of the function buttons is pressed, the buttons for that operation light up or flash. Example:. When "the AC cord is connected, the II SET button flashes as a guide to setting the current time. Flash window The window on the top of the unit lights up or flashes while the unit is being powered on. To turn off the light of the top window, press the s button while pressing the CD button. To turn back on, repeat the above. To turn the unit off Press the POWER button. VOLUME Turn the VOLUME control on the main unit, or press the VOLUME buttons on the remote control. The volume level is displayed as a number from O to MAX (31). The volume level is automatically set to 16 when the power is turned off with the volume level set to 17or more. BBE SYSTEM The BBE system enhances the clarity of high-frequency sound. It also enriches the Karaoke function to make your voice sound clear and pleasant. Press the BBE button. Each time it is pressed, the level changes. Select one of the three levels, or the off position to suit your preference. SUPER T-BASS SYSTEM The T-BASS system enhances the realism of low-frequency sound. Press the T-BASS button. Each time it is pressed, the level changes. Select one of the three levels, or the off position to suit you~ preference. E@w is used for a disc or tape in which low frequency sound is originally emphasized. In this case, cancel the T-BASS system.
-
 1
1 -
2
-
 3
3 -
 4
4 -
 5
5 -
 6
6 -
 7
7 -
 8
8 -
 9
9 -
 10
10 -
 11
11 -
 12
12 -
 13
13 -
14
-
15
-
16
-
17
-
18
-
19
-
20
-
21
-
22
-
23
-
24
-
25
-
26
-
27
-
28
-
29
-
30
-
31
-
32
-
33
-
34
-
35
-
36
-
37
-
38
-
39
-
40
-
41
-
42
-
43
-
44
-
45
-
46
-
47
-
48
-
49
-
50
-
51
-
52
-
53
-
54
-
55
-
56
-
57
-
58
-
59
-
60
-
61
-
62
-
63
-
64
-
65
-
66
-
67
-
68
-
69
-
70
-
71
-
72
-
73
-
74
-
75
-
76
-
77
-
78
-
79
-
80
 |
 |