Acer Aspire G7710 Aspire G7710 Series User's Guide - EN - Page 76
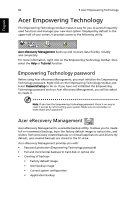
Upgrading your computer, When you turn on the system, you will be greeted with a pop up bubble
 |
View all Acer Aspire G7710 manuals
Add to My Manuals
Save this manual to your list of manuals |
Page 76 highlights
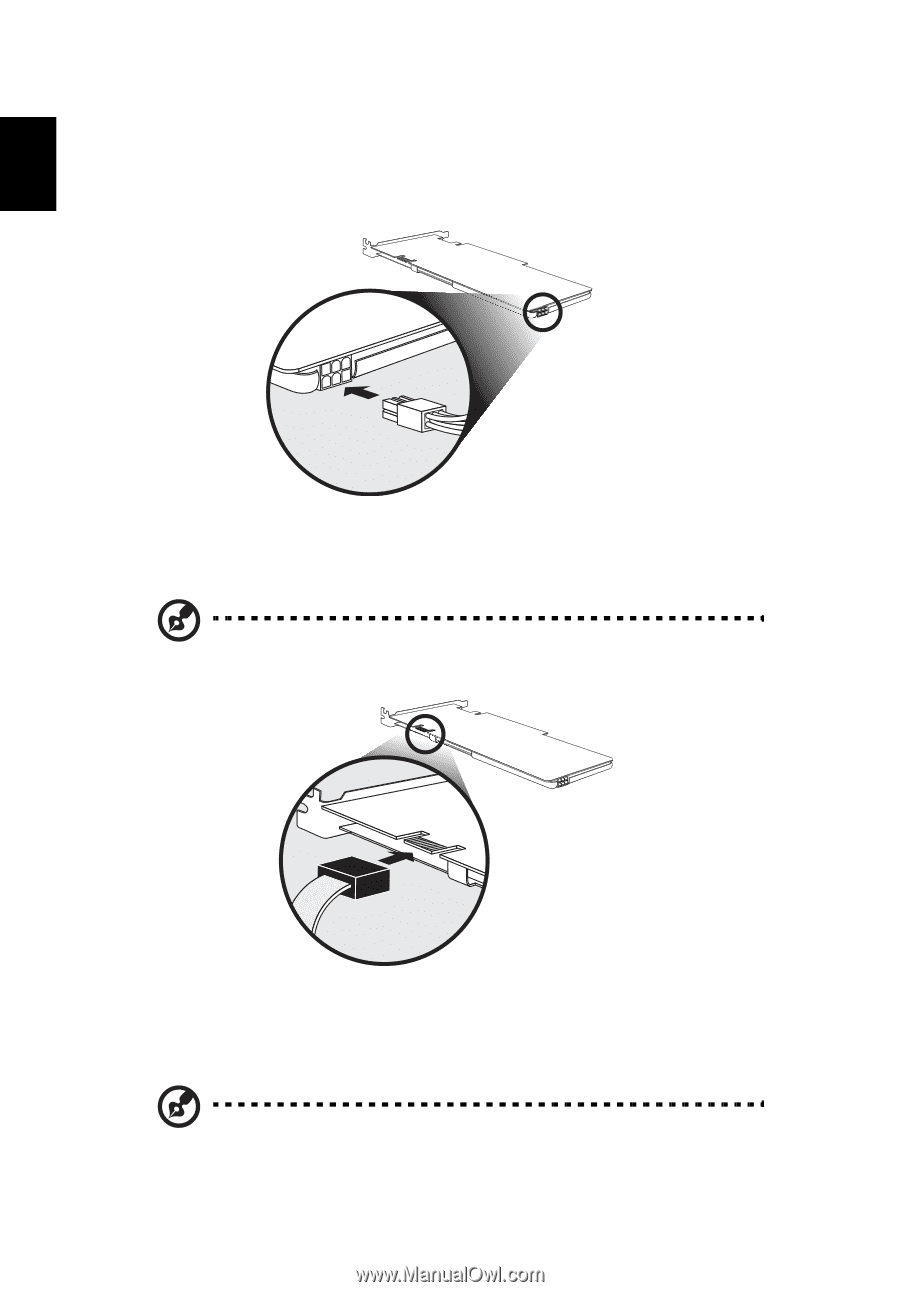
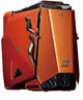
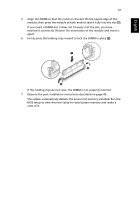
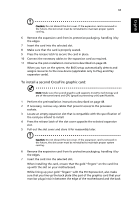
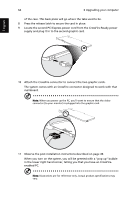
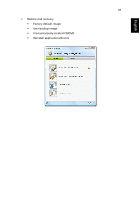
English 64 6 Upgrading your computer of the case. This back plate will go where the tabs used to be. 8 Press the release latch to secure the card in place. 9 Locate the second PCI Express power cord from the CrossFire-Ready power supply and plug it in to the second graphic card. 10 Attach the CrossFire connector to connect the two graphic cards. The system comes with an CrossFire connector designed to work with that mainboard. Note: When you power up the PC, you'll want to ensure that the video connector (to your monitor) is plugged into the graphic card. 11 Observe the post-installation instructions described on page 49. When you turn on the system, you will be greeted with a "pop up" bubble in the lower right hand corner, telling you that you have an CrossFireenabled PC. Note: Illustrations are for reference only. Actual product specifications may vary.
-
 1
1 -
2
-
3
-
4
-
5
-
6
-
7
-
8
-
9
-
10
-
11
-
12
-
13
-
14
-
15
-
16
-
17
-
18
-
19
-
20
-
21
-
22
-
23
-
24
-
25
-
26
-
27
-
28
-
29
-
30
-
31
-
32
-
33
-
34
-
35
-
36
-
37
-
38
-
39
-
40
-
41
-
42
-
43
-
44
-
45
-
46
-
47
-
48
-
49
-
50
-
51
-
52
-
53
-
54
-
55
-
56
-
57
-
58
-
59
-
60
-
61
-
62
-
63
-
64
-
65
-
66
-
67
-
68
-
69
-
70
-
 71
71 -
 72
72 -
 73
73 -
 74
74 -
 75
75 -
 76
76 -
 77
77 -
 78
78 -
 79
79 -
 80
80 -
 81
81 -
82
-
83
-
84
-
85
-
86
-
87
-
88
-
89
-
90
-
91
-
92
-
93
-
94
-
95
-
96
-
97
-
98
-
99
-
100
-
101
-
102
 |
 |