Asus AP3000 Hardware Reference - Page 29
Hot-Swap Bay, Hot-Swap Tray
 |
View all Asus AP3000 manuals
Add to My Manuals
Save this manual to your list of manuals |
Page 29 highlights
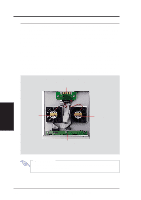
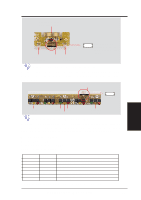
IV. Hardware Setup 1 2 3 4 5 Hot-Swap Tray There are two levers on the front of the hot-swap tray to help release or lock the tray. To remove the tray, extend both levers and pull on both levers. To install the tray, push the tray firmly into the bay with the levers extended, then close the levers. IV. Hardware Setup Hot-Swap Bay Hot-Swap Bay To remove the hot-swap bay, release the front cooling fans first by pressing the eject mechanism with a small screwdriver. Remove the six retaining screws as circled above and then the entire hot-swap bay can be slid out of the chassis. AP 3000 Hardware Reference Guide 29
-
 1
1 -
2
-
3
-
4
-
5
-
6
-
7
-
8
-
9
-
10
-
11
-
12
-
13
-
14
-
15
-
16
-
17
-
18
-
19
-
20
-
21
-
22
-
23
-
 24
24 -
 25
25 -
 26
26 -
 27
27 -
 28
28 -
 29
29 -
 30
30 -
 31
31 -
 32
32 -
 33
33 -
 34
34 -
35
-
36
-
37
-
38
-
39
-
40
-
41
-
42
 |
 |
29
IV. Hardware Setup
IV. Hardware Setup
AP 3000 Hardware Reference Guide
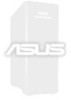
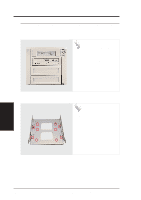
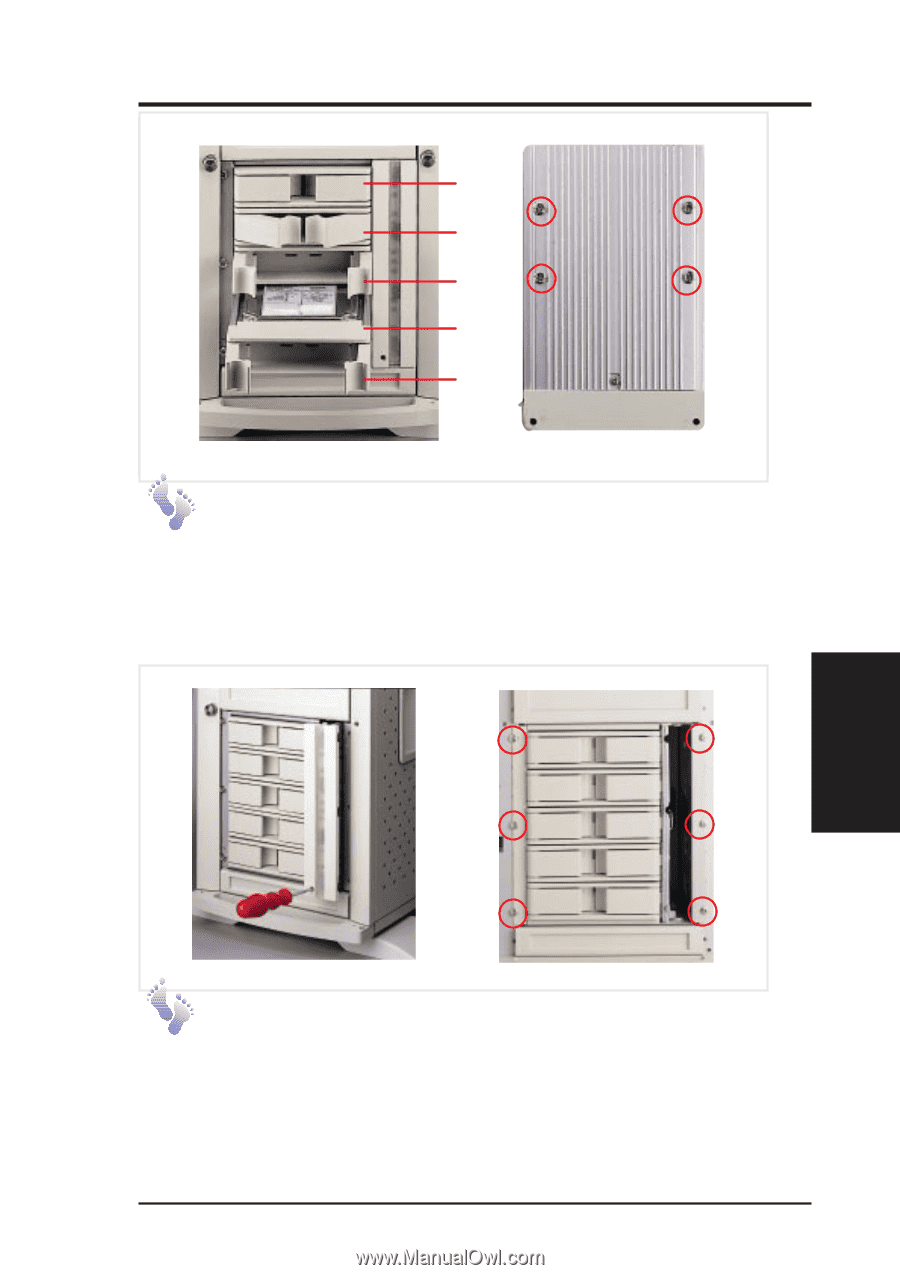
Hot-Swap Bay
Hot-Swap Bay
To remove the hot-swap bay, release the front cooling fans first by
pressing the eject mechanism with a small screwdriver. Remove the
six retaining screws as circled above and then the entire hot-swap
bay can be slid out of the chassis.
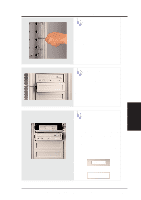
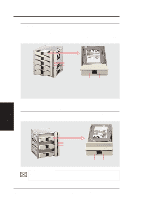
Hot-Swap Tray
There are two levers on the front of the hot-swap tray to help release
or lock the tray.
To remove the tray, extend both levers and pull on
both levers.
To install the tray, push the tray firmly into the bay with
the levers extended, then close the levers.
1
2
3
4
5