Asus KFN32-D SLI SAS User Guide - Page 117
<+>, <->, or <Space>.
 |
View all Asus KFN32-D SLI SAS manuals
Add to My Manuals
Save this manual to your list of manuals |
Page 117 highlights
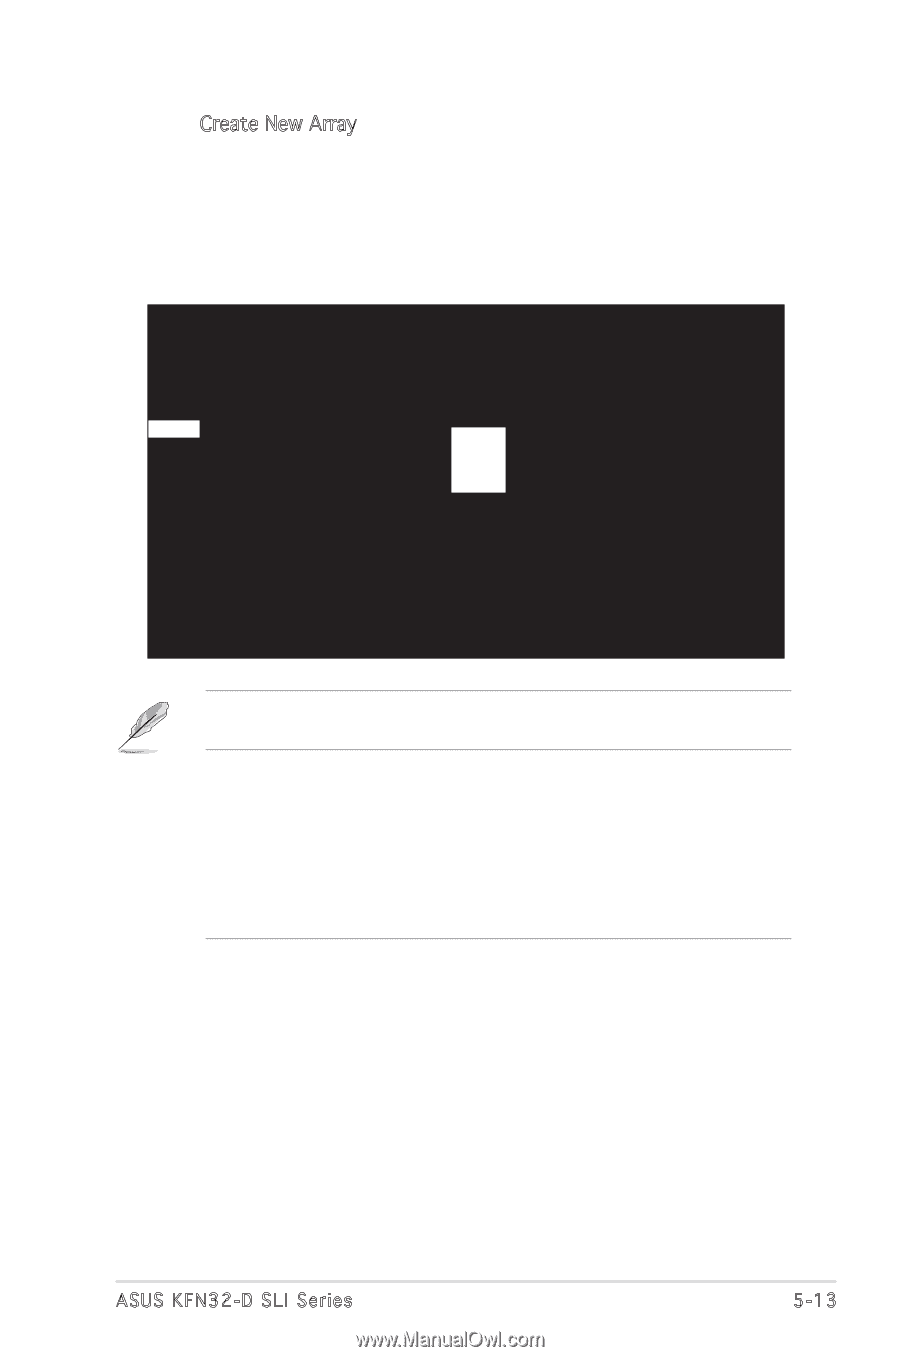
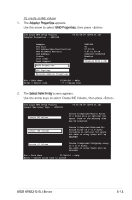
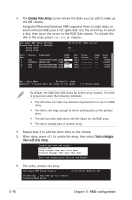
5. The Create New Array screen shows the disks you can add to make up the IM volume. Use the arrow key to select a disk, then move the cursor to the RAID Disk column. To include this disk in the array, press , , or . You may also specify the Hot Spare disk here. Select the disk, then move the cursor to the Hot Spr column, then press , , or . LSI Logic MPT Setup Utility Create New Array -- SAS1068 Array Type: Array Size: v6.05.06.00 (2006.01.16) IM ------- Slot Device Identifier RAID Num Disk 4 SAS HDS722580VLSA80 A63A [No] 5 FUJITSU MAX3147RC 0104 [No] 6 SAS HDS722580VLSA80 A63A [No] 7 SAS HDS722580VLSA80 A63A [No] Hot Spr [No] [No] [No] [No] Drive Status Pred Fail --------- Size (MB) 78533 140272 78533 78533 Esc = Exit Menu Enter = Select Item F1/Shift1 = Help -/+ = Change Item By default, the RAID Disk field shows No before array creation. This field is grayed out under the following conditions: • The disk does not meet the minimum requirements for use in a RAID array. • The disk is not large enough to mirror existing data on the primary drive. • The disk has been selected as the Hot Spare for the RAID array. • The disk is already part of another array. 6. A confirmation screen appears. Press to keep existing data on the first disk. If you choose this option, data on the first disk will be mirrored on the second disk that you will add to the volume later. Make sure the data you want to mirror is on the first disk. Press to overwrite any data and create the new IM array. ASUS KFN32-D SLI Series 5-13
-
 1
1 -
2
-
3
-
4
-
5
-
6
-
7
-
8
-
9
-
10
-
11
-
12
-
13
-
14
-
15
-
16
-
17
-
18
-
19
-
20
-
21
-
22
-
23
-
24
-
25
-
26
-
27
-
28
-
29
-
30
-
31
-
32
-
33
-
34
-
35
-
36
-
37
-
38
-
39
-
40
-
41
-
42
-
43
-
44
-
45
-
46
-
47
-
48
-
49
-
50
-
51
-
52
-
53
-
54
-
55
-
56
-
57
-
58
-
59
-
60
-
61
-
62
-
63
-
64
-
65
-
66
-
67
-
68
-
69
-
70
-
71
-
72
-
73
-
74
-
75
-
76
-
77
-
78
-
79
-
80
-
81
-
82
-
83
-
84
-
85
-
86
-
87
-
88
-
89
-
90
-
91
-
92
-
93
-
94
-
95
-
96
-
97
-
98
-
99
-
100
-
101
-
102
-
103
-
104
-
105
-
106
-
107
-
108
-
109
-
110
-
111
-
 112
112 -
 113
113 -
 114
114 -
 115
115 -
 116
116 -
 117
117 -
 118
118 -
 119
119 -
 120
120 -
 121
121 -
 122
122 -
123
-
124
-
125
-
126
-
127
-
128
-
129
-
130
-
131
-
132
-
133
-
134
-
135
-
136
-
137
-
138
-
139
-
140
-
141
-
142
-
143
-
144
-
145
-
146
-
147
-
148
-
149
-
150
-
151
-
152
-
153
-
154
 |
 |