Canon CanoScan D660U CanoScan Toolbox v1.5 User's Guide - Page 10
Faxing a Scanned Image, Scanning and Faxing a Document, Selecting the Fax Print Driver - drivers
 |
View all Canon CanoScan D660U manuals
Add to My Manuals
Save this manual to your list of manuals |
Page 10 highlights
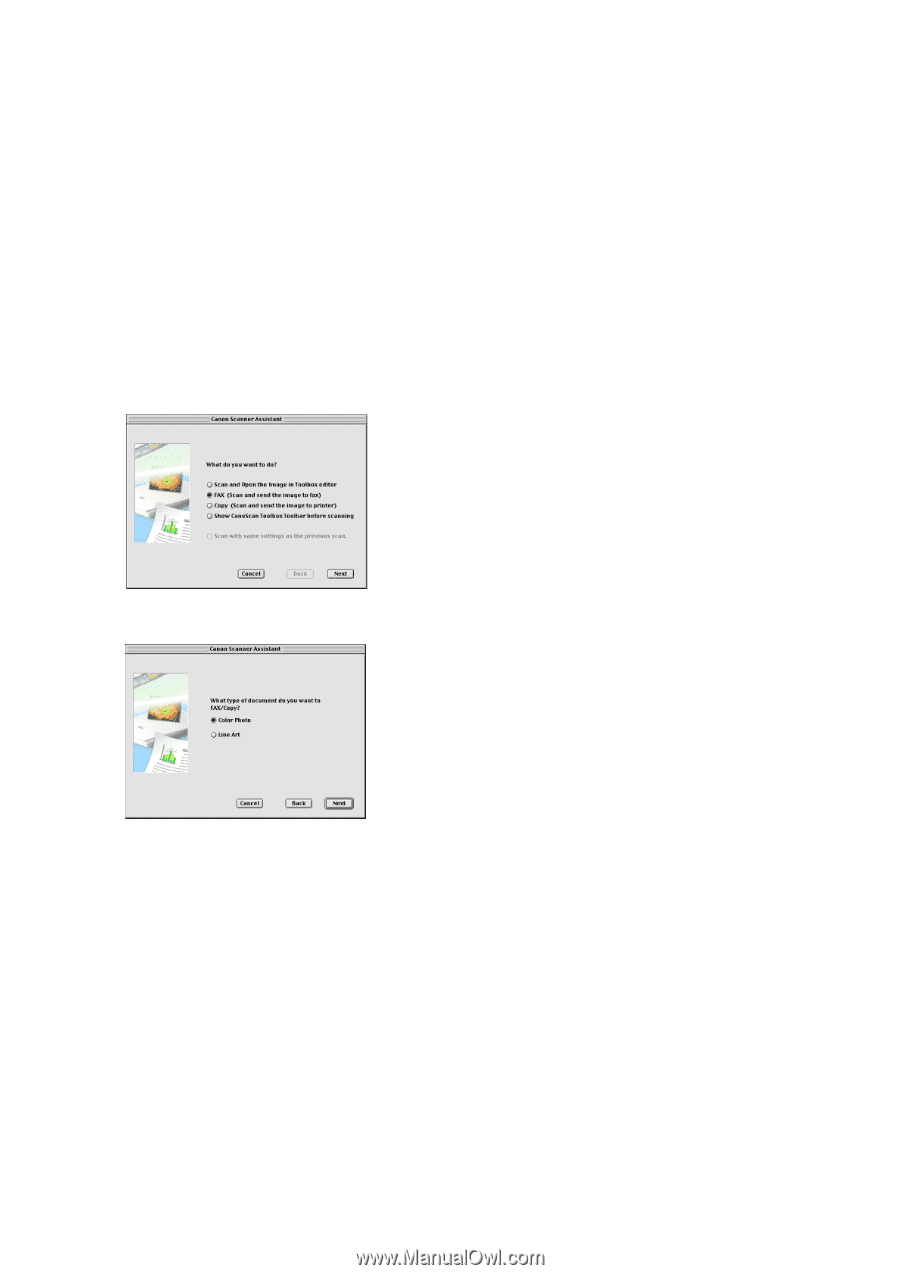
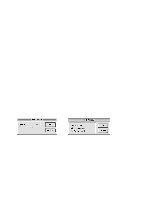
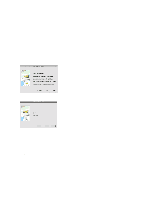
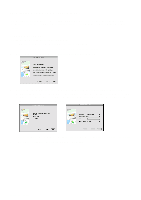
9. Faxing a Scanned Image Using the CanoScan Toolbox, your scanner and a computer-based fax application, you can fax virtually anything from your computer. This function is available only when you start CanoScan Toolbox with pressing the Start Button on front of the scanner. Film cannot be faxed. Scanning and Faxing a Document To scan and fax a document: 1. Place the document you want to fax in the scanner. 2. Press the Start Button on front of the scanner to start CanoScan Toolbox. 3. Select [FAX] in the Canon Scanner Assistant dialog and click [Next]. 4. Select either [Color Photo] or [Line Art] and click [Next]. 5. The original is scanned. The fax driver launches and the scanned image will be faxed. Selecting the Fax Driver To select the fax driver (only required the first time you fax from the CanoScan Toolbox): 1. After the step 4 above, [Select a Fax Driver] dialog will be open. Click to highlight the driver and click [Open]. To change the fax driver, delete the CanoScan Toolbox Prefs file in the Preferences folder in the System Folder. Then set the new driver with the method above. Here, all other settings will be initialized. CanoScan Toolbox 10
-
 1
1 -
2
-
3
-
4
-
 5
5 -
 6
6 -
 7
7 -
 8
8 -
 9
9 -
 10
10 -
 11
11 -
 12
12 -
 13
13 -
 14
14 -
 15
15 -
16
-
17
-
18
-
19
-
20
-
21
-
22
-
23
 |
 |