Canon CanoScan D660U CanoScan Toolbox v1.5 User's Guide - Page 7
Starting CanoScan Toolbox - with Double-clicking the icon, 5. Selecting the Scanner - windows 7
 |
View all Canon CanoScan D660U manuals
Add to My Manuals
Save this manual to your list of manuals |
Page 7 highlights
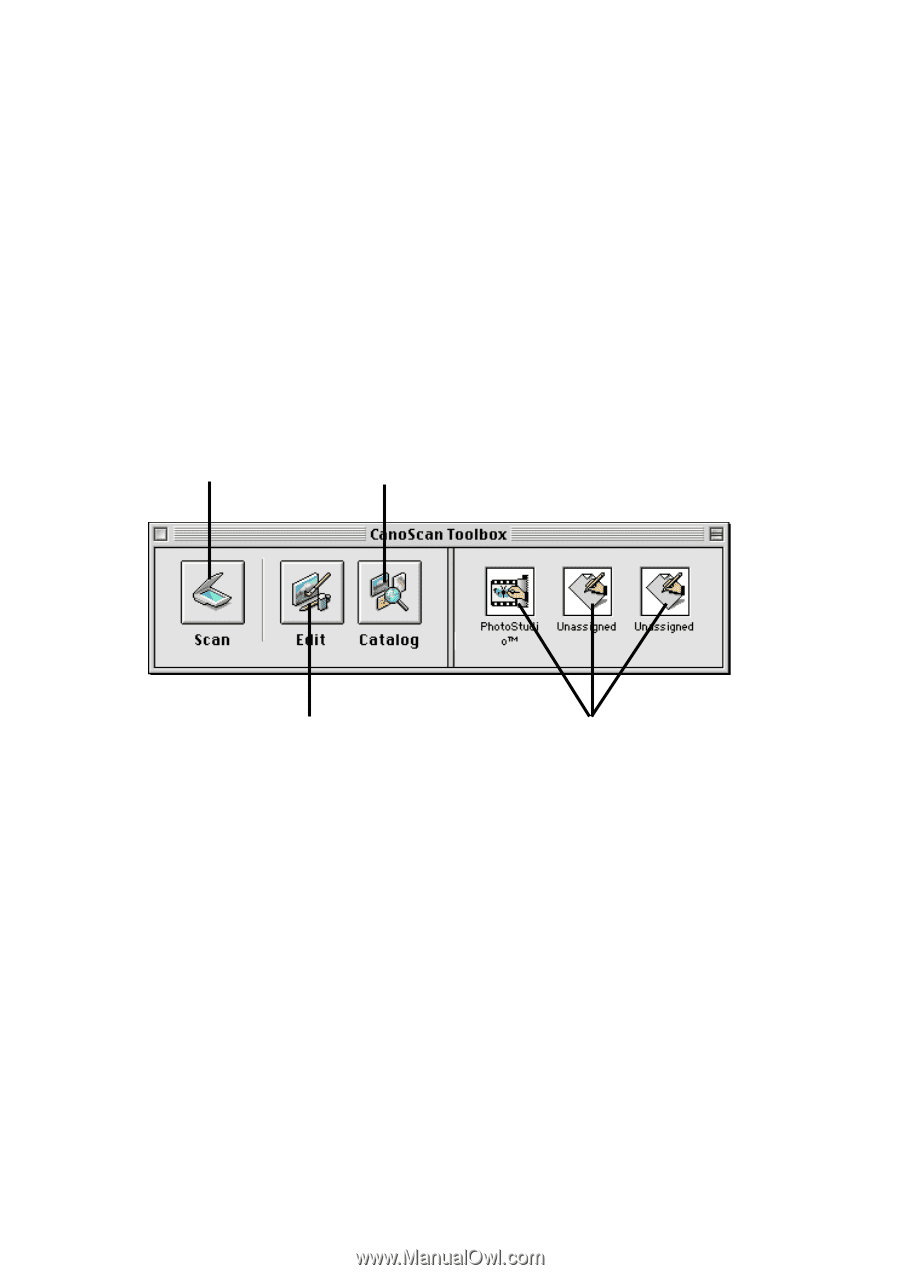
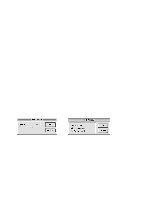
4. Starting CanoScan Toolbox - with Double-clicking the icon You can also start CanoScan Toolbox with double-clicking the CanoScan Toolbox icon in the [CanoScan Toolbox] folder. With this method of starting, the CanoScan Toolbox toolbar is displayed (if the toolbar was displayed when closing last time). Or CanoScan Toolbox is loaded into the memory (if the toolbar was not displayed when closing last time). In this case, click [CanoScan Toolbox] from the [Window] menu to display the toolbar. You may also display the toolbar with selecting [Show CanoScan Toolbox Toolbar before scanning] option in the Canon Scanner Assistant. To disappear the toolbar, click the close button on the top-left.(Click [CanoScan Toolbox] from the [Window] menu to re-display the toolbar.) On the toolbar, there are buttons to execute the functions. Click the Scan button to launch the Canon Plug-in Module CS Click the Catalog button to open an image stored in a catalog Click the Edit button to open and use the editing tools, brush and color palettes Click on an Unassigned button to specify an application you want to access directly from the CanoScan Toolbox. (P. 23) 5. Selecting the Scanner When one or more scanners are connected to your computer, you can select which scanner to use with the CanoScan Toolbox. Select the scanner in the submenu of the Select Scanner command from the File menu. CanoScan Toolbox 7
-
 1
1 -
 2
2 -
 3
3 -
 4
4 -
 5
5 -
 6
6 -
 7
7 -
 8
8 -
 9
9 -
 10
10 -
 11
11 -
 12
12 -
13
-
14
-
15
-
16
-
17
-
18
-
19
-
20
-
21
-
22
-
23
 |
 |