Canon CanoScan D660U CanoScan Toolbox v1.5 User's Guide - Page 8
Scanning, 7. Saving Scanned Images, new CanoScan Toolbox Image window. - software
 |
View all Canon CanoScan D660U manuals
Add to My Manuals
Save this manual to your list of manuals |
Page 8 highlights
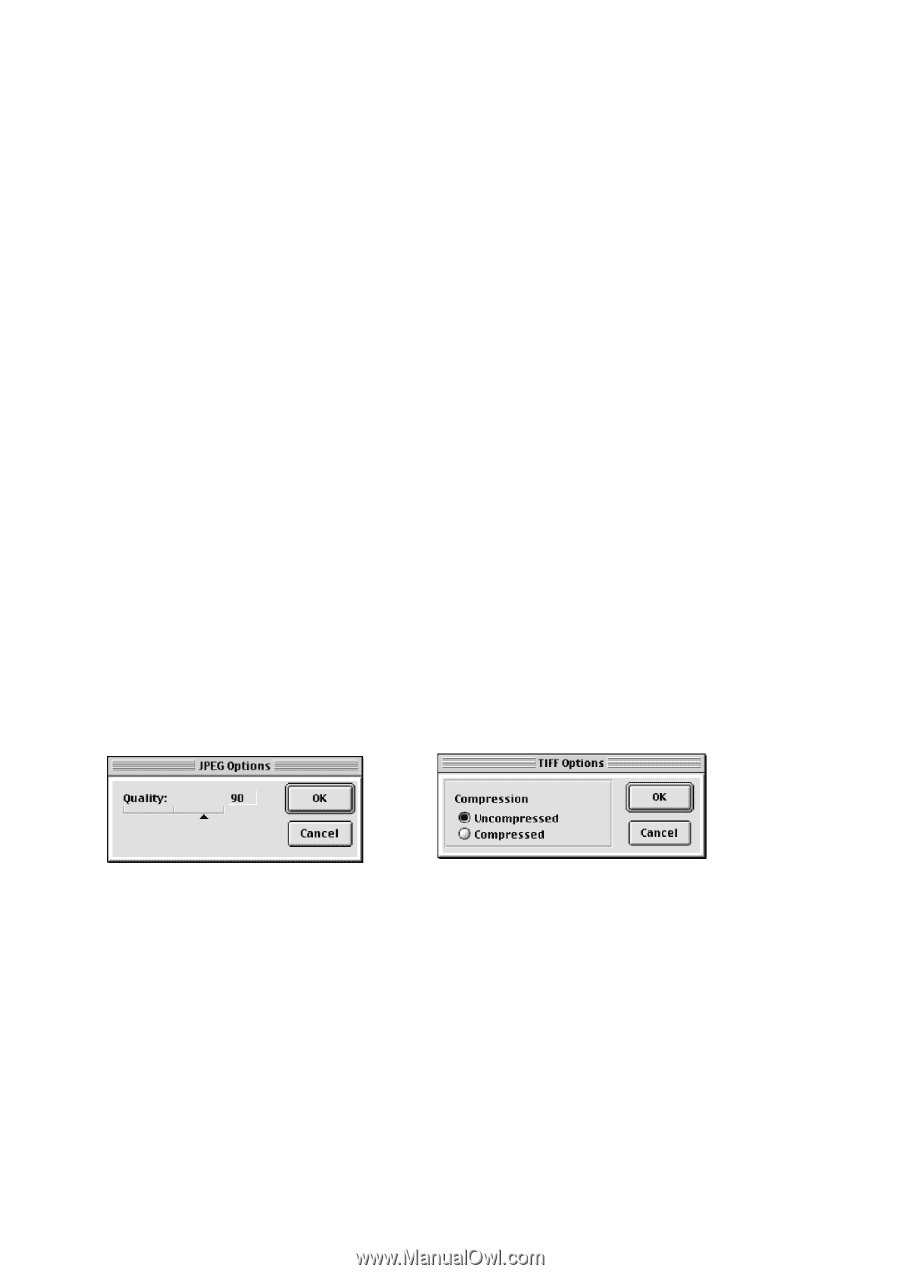
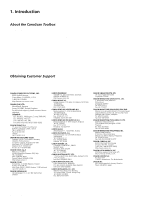
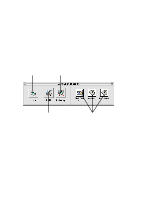
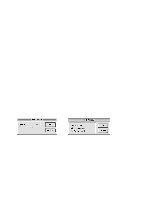
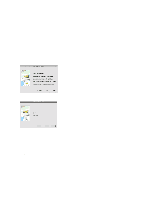
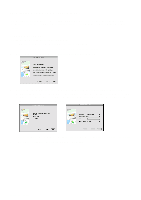
6. Scanning Once the scanner is connected and the software is installed you are ready to scan. The scanning process is very simple. To scan a document: 1. Place the photo, document or film on the scanner as indicated in the scanner documentation. 2. Select [Scan and Open the Image in Toolbox editor] option from the Canon Scanner Assistant, or click on the Scan button from the toolbar, or choose the New Scan command from the File menu. 3. The Canon Plug-in Module CS opens so you can select your scan settings. 4. Click the Preview button to preview the scanning area. 5. Click the Scan button to scan the document. The plug-in closes and the scanned image appears in a new CanoScan Toolbox Image window. 6. Choose the Save command from the File menu to save the scanned image. 7. Saving Scanned Images You can save an image that you scan and/or edit in the CanoScan Toolbox. To save an image for the first time: 1. Choose Save from the File menu. 2. Enter a file name and select the folder and drive in which you want to save the image. 3. Specify the image format. When you choose JPEG or TIFF formats, an Options dialog box appears so you can specify the compression level. 4. Click OK. To save changes to an image that has already been saved on your computer, choose the Save command from the File menu. To save a file with a different name, to a different location or in a different file format, use the Save As command. CanoScan Toolbox 8
-
 1
1 -
2
-
 3
3 -
 4
4 -
 5
5 -
 6
6 -
 7
7 -
 8
8 -
 9
9 -
 10
10 -
 11
11 -
 12
12 -
 13
13 -
14
-
15
-
16
-
17
-
18
-
19
-
20
-
21
-
22
-
23
 |
 |