Canon PowerShot SD4500 IS PowerShot SD4500 IS / IXUS 1000 HS Camera User Guide - Page 117
Protecting Images
 |
View all Canon PowerShot SD4500 IS manuals
Add to My Manuals
Save this manual to your list of manuals |
Page 117 highlights
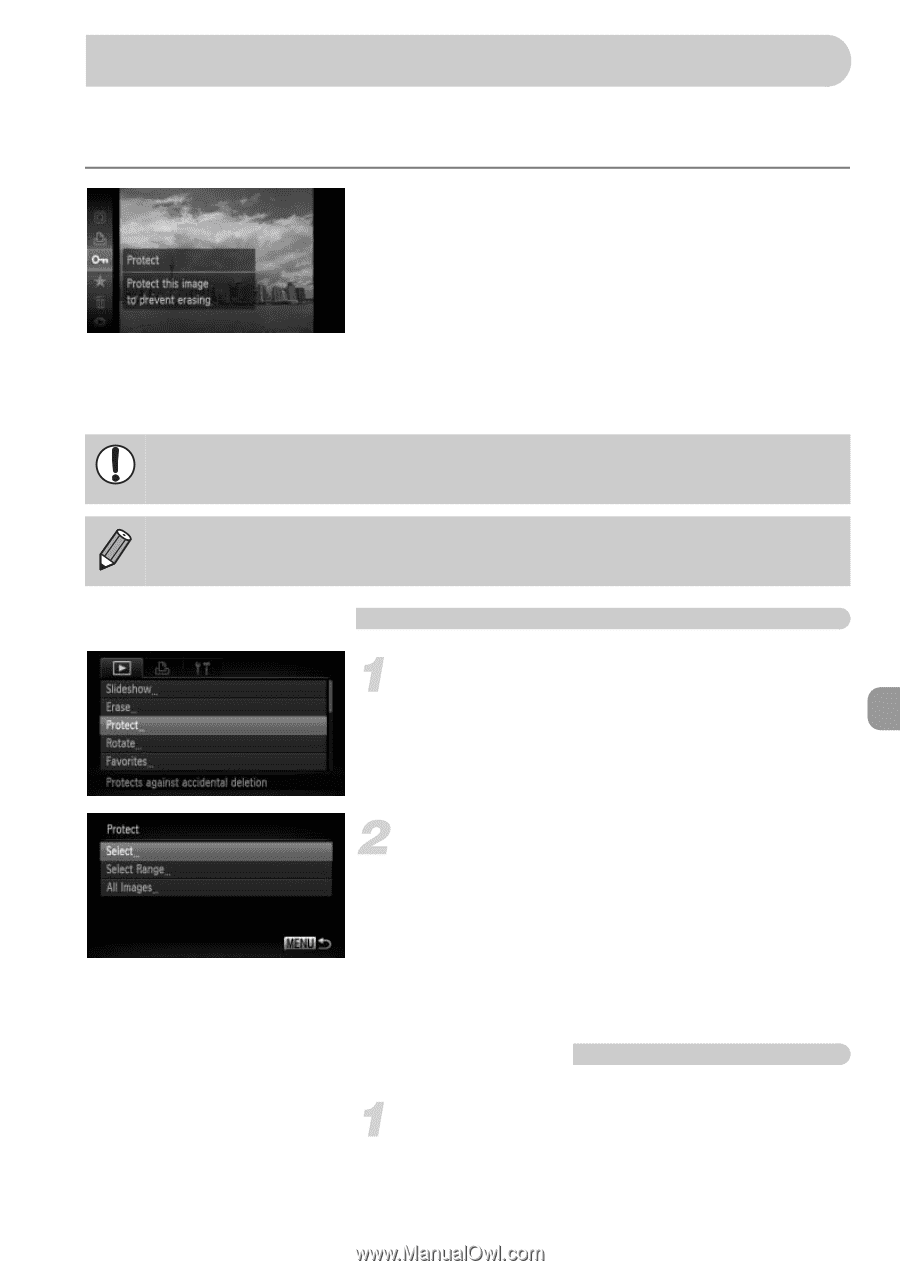
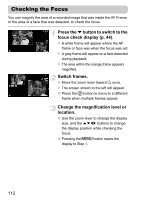
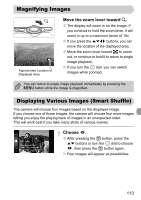
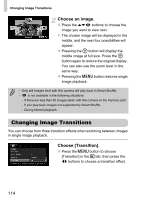
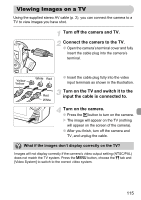
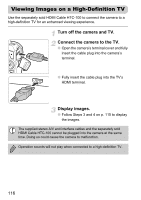
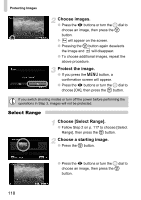
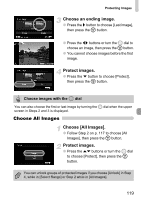
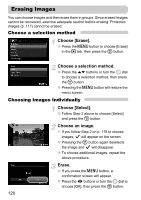
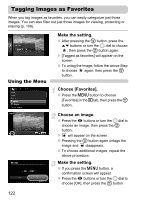
Protecting Images You can protect important images so that they cannot be accidentally erased with the camera (pp. 29, 120). Protect the image. ● After pressing the m button, press the op buttons or turn the  dial to choose :, then press the m button again. X [Protected] will appear on the screen. ● To unlock an image, follow the Step above to choose : again, then press the m button. If you format the memory card (pp. 23, 52), protected images will also be erased. Protected images cannot be erased with the camera's erase function. To erase an image, cancel protection settings first. Using the Menu Choose [Protect]. ● Press the n button to choose [Protect] in the 1 tab, then press the m button. Choose a selection method. ● Press the op buttons or turn the  dial to choose a selection method, then press the m button. ● Pressing the n button will restore the menu screen. Choosing Images Individually Choose [Select]. ● Follow Step 2 above to choose [Select], then press the m button. 117
-
 1
1 -
2
-
3
-
4
-
5
-
6
-
7
-
8
-
9
-
10
-
11
-
12
-
13
-
14
-
15
-
16
-
17
-
18
-
19
-
20
-
21
-
22
-
23
-
24
-
25
-
26
-
27
-
28
-
29
-
30
-
31
-
32
-
33
-
34
-
35
-
36
-
37
-
38
-
39
-
40
-
41
-
42
-
43
-
44
-
45
-
46
-
47
-
48
-
49
-
50
-
51
-
52
-
53
-
54
-
55
-
56
-
57
-
58
-
59
-
60
-
61
-
62
-
63
-
64
-
65
-
66
-
67
-
68
-
69
-
70
-
71
-
72
-
73
-
74
-
75
-
76
-
77
-
78
-
79
-
80
-
81
-
82
-
83
-
84
-
85
-
86
-
87
-
88
-
89
-
90
-
91
-
92
-
93
-
94
-
95
-
96
-
97
-
98
-
99
-
100
-
101
-
102
-
103
-
104
-
105
-
106
-
107
-
108
-
109
-
110
-
111
-
 112
112 -
 113
113 -
 114
114 -
 115
115 -
 116
116 -
 117
117 -
 118
118 -
 119
119 -
 120
120 -
 121
121 -
 122
122 -
123
-
124
-
125
-
126
-
127
-
128
-
129
-
130
-
131
-
132
-
133
-
134
-
135
-
136
-
137
-
138
-
139
-
140
-
141
-
142
-
143
-
144
-
145
-
146
-
147
-
148
-
149
-
150
-
151
-
152
-
153
-
154
-
155
-
156
-
157
-
158
-
159
-
160
-
161
-
162
-
163
-
164
-
165
-
166
-
167
-
168
-
169
-
170
-
171
-
172
-
173
-
174
-
175
-
176
-
177
-
178
-
179
-
180
 |
 |