Canon PowerShot SD4500 IS PowerShot SD4500 IS / IXUS 1000 HS Camera User Guide - Page 149
Changing the Way the Image Displays Right After, Shooting, Displaying the Overlay
 |
View all Canon PowerShot SD4500 IS manuals
Add to My Manuals
Save this manual to your list of manuals |
Page 149 highlights
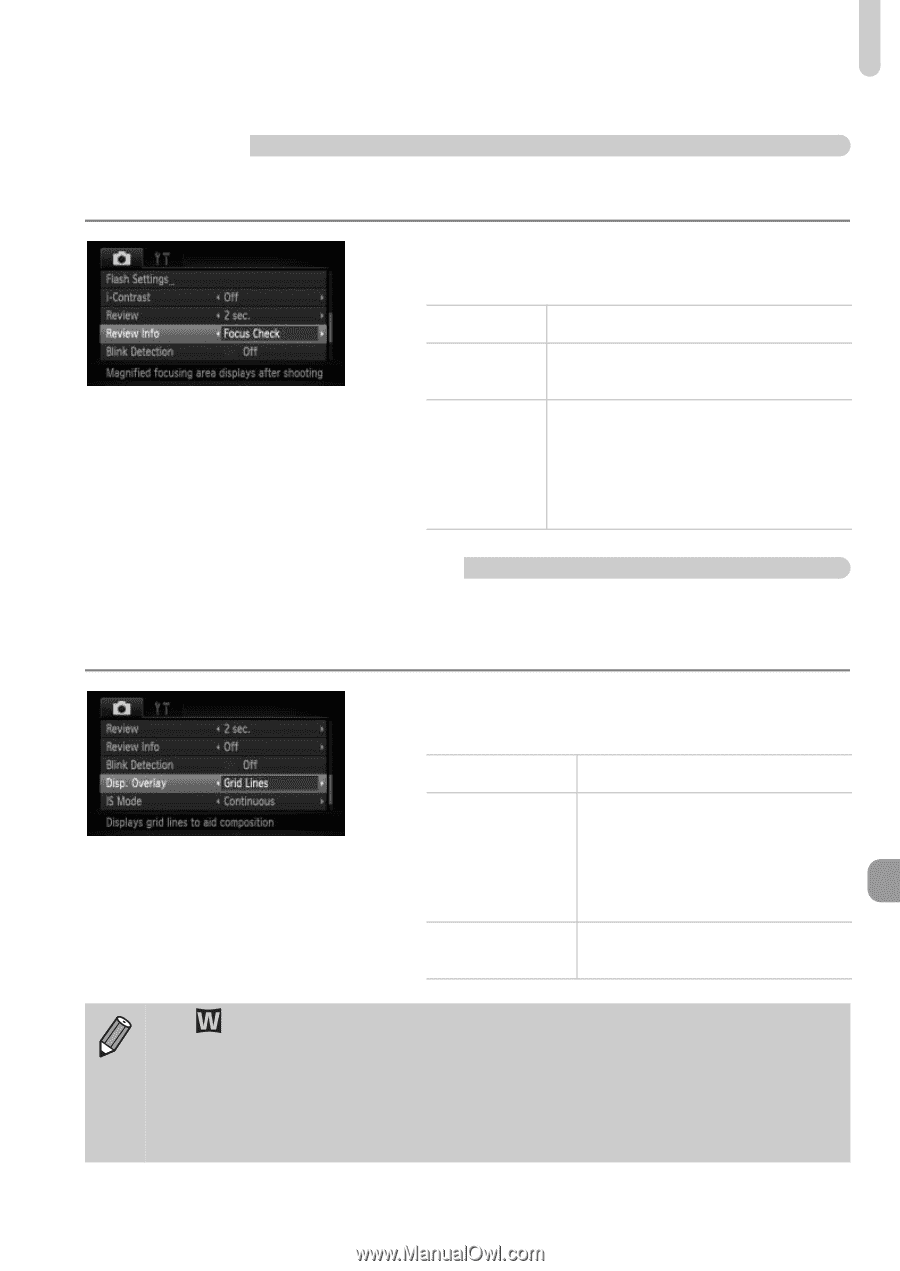
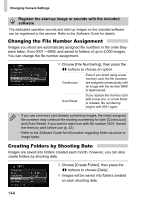
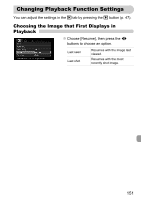
Changing Shooting Function Settings Changing the Way the Image Displays Right After Shooting You can change the way the image displays right after shooting. ● Choose [Review Info], then press the qr buttons to choose an option. Off Displays the image only. Detailed Displays detailed information (p. 164). The area inside the AF frame is magnified, allowing you to check Focus Check the focus. The procedure is the same as in "Checking the Focus" (p. 112). Displaying the Overlay You can display gridlines for vertical and horizontal guidance, or a 3:2 guide to confirm the printable area for postcard size prints. ● Choose [Disp. Overlay], then press the qr buttons to choose an option. Grid Lines 3:2 Guide Both A grid overlays the screen. Gray bars appear on the top and bottom of the screen. This area will not print when printing on paper with a 3:2 aspect ratio. Both grid lines, and the 3:2 guide appear. • In , you cannot set [3:2 Guide] or [Both]. • Grid lines will not be recorded on the image. • The gray areas displayed with [3:2 Guide] are the areas that will not be printed. The actual image recorded will include the portion in the gray areas. 149
-
 1
1 -
2
-
3
-
4
-
5
-
6
-
7
-
8
-
9
-
10
-
11
-
12
-
13
-
14
-
15
-
16
-
17
-
18
-
19
-
20
-
21
-
22
-
23
-
24
-
25
-
26
-
27
-
28
-
29
-
30
-
31
-
32
-
33
-
34
-
35
-
36
-
37
-
38
-
39
-
40
-
41
-
42
-
43
-
44
-
45
-
46
-
47
-
48
-
49
-
50
-
51
-
52
-
53
-
54
-
55
-
56
-
57
-
58
-
59
-
60
-
61
-
62
-
63
-
64
-
65
-
66
-
67
-
68
-
69
-
70
-
71
-
72
-
73
-
74
-
75
-
76
-
77
-
78
-
79
-
80
-
81
-
82
-
83
-
84
-
85
-
86
-
87
-
88
-
89
-
90
-
91
-
92
-
93
-
94
-
95
-
96
-
97
-
98
-
99
-
100
-
101
-
102
-
103
-
104
-
105
-
106
-
107
-
108
-
109
-
110
-
111
-
112
-
113
-
114
-
115
-
116
-
117
-
118
-
119
-
120
-
121
-
122
-
123
-
124
-
125
-
126
-
127
-
128
-
129
-
130
-
131
-
132
-
133
-
134
-
135
-
136
-
137
-
138
-
139
-
140
-
141
-
142
-
143
-
 144
144 -
 145
145 -
 146
146 -
 147
147 -
 148
148 -
 149
149 -
 150
150 -
 151
151 -
 152
152 -
 153
153 -
 154
154 -
155
-
156
-
157
-
158
-
159
-
160
-
161
-
162
-
163
-
164
-
165
-
166
-
167
-
168
-
169
-
170
-
171
-
172
-
173
-
174
-
175
-
176
-
177
-
178
-
179
-
180
 |
 |