Canon XL-H1 Console Software Operations Manual - Page 6
Installing the Software and the Designated Drivers
 |
UPC - 086753092998
View all Canon XL-H1 manuals
Add to My Manuals
Save this manual to your list of manuals |
Page 6 highlights
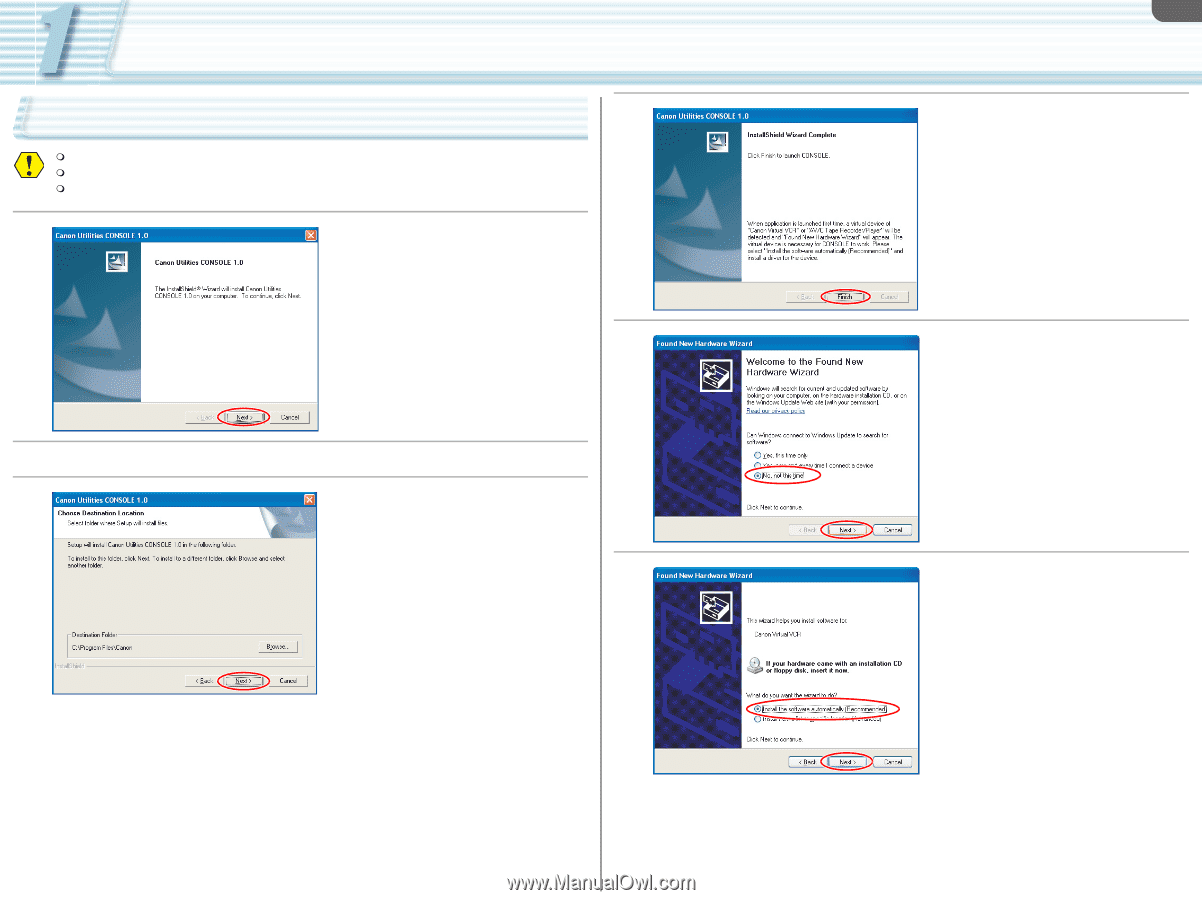
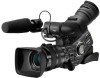
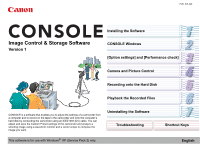
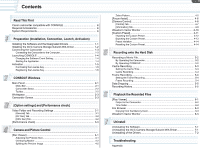
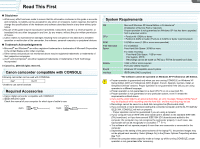
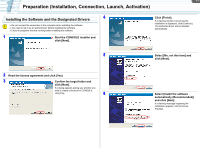
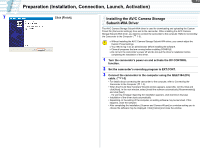
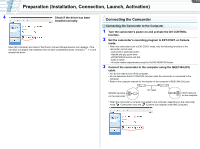
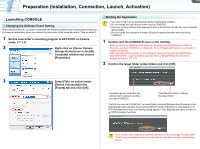
1-1 Preparation (Installation, Connection, Launch, Activation) Installing the Software and the Designated Drivers 4 Do not connect the camcorder to the computer when installing the software. You need to log in as an administrator before installing the software. Close all programs that are running before installing the software. 1 Start the CONSOLE installer and click [Next]. Click [Finish]. If a warning window concerning the installation is displayed, click [Continue]. The dedicated driver will be installed automatically. 5 Select [No, not this time] and click [Next]. 2 Read the license agreement and click [Yes]. 3 Confirm the target folder and click [Next]. If a dialog appears asking you whether you wish to create a shortcut for CONSOLE, click [Yes]. 6 Select [Install the software automatically (Recommended)] and click [Next]. If a warning message regarding the installation appears, click [Continue Anyway].
-
 1
1 -
 2
2 -
 3
3 -
 4
4 -
 5
5 -
 6
6 -
 7
7 -
 8
8 -
 9
9 -
 10
10 -
 11
11 -
 12
12 -
13
-
14
-
15
-
16
-
17
-
18
-
19
-
20
-
21
-
22
-
23
-
24
-
25
-
26
-
27
-
28
-
29
-
30
-
31
-
32
-
33
-
34
-
35
-
36
-
37
-
38
-
39
-
40
-
41
-
42
-
43
-
44
-
45
-
46
-
47
-
48
-
49
-
50
-
51
-
52
-
53
 |
 |