Cisco 7942G Phone Guide - Page 71
Cisco 7942G - Unified IP Phone VoIP Manual
 |
UPC - 882658140495
View all Cisco 7942G manuals
Add to My Manuals
Save this manual to your list of manuals |
Page 71 highlights
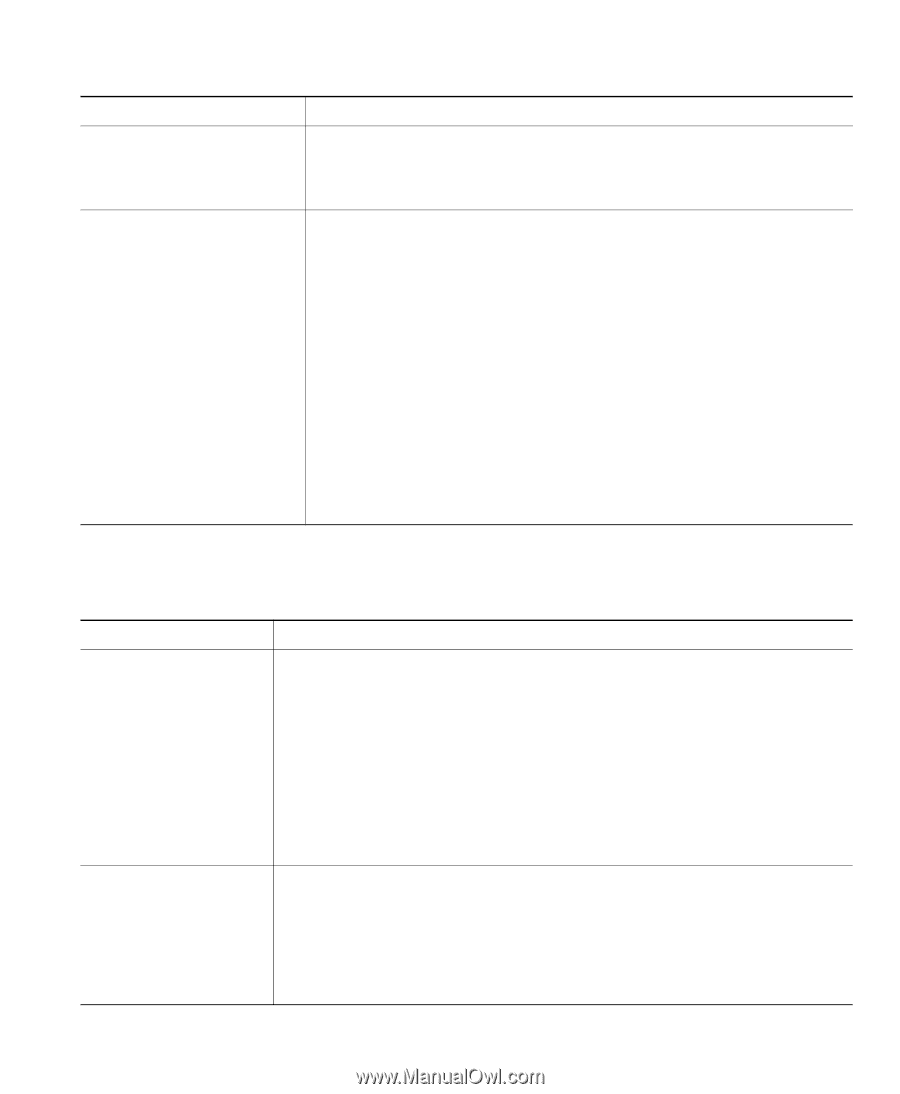
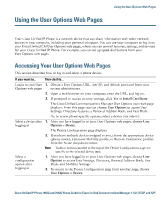
Using the User Options Web Pages If you want to...Delete a PAB entry Then do this after you log in...1. Search for a PAB entry. 2. Select one or more entries. 3. Click Delete Selected. Assign a line button for PAB Note Before you can assign a line button for PAB, your system administrator must configure the phone to display services. Contact your system administrator for more information. 1. Choose User Options > Device. 2. Click Service URL. 3. Choose the Personal Address Book service from the Button drop-down list box. 4. Enter a phone label for the button. 5. Click Save. 6. Click Reset and then click Restart to refresh the phone configuration. You can now press the line button to access PAB codes. Configuring Fast Dials on the Web This section describes how to assign Fast Dials from your User Options web pages. If you want to...Assign a Fast Dial code to a PAB entry Then do this after you log in...1. Create a PAB entry. See Using Your Personal Address Book on the Web, page 62. 2. Choose User Options > Fast Dials. 3. Click Add New. 4. Use the Search Options area to find the appropriate PAB entry. 5. Click a phone number in the Search Results area. 6. Change the Fast Dial code, if desired. 7. Click Save. Assign a Fast Dial code to a phone number (without using a PAB entry) 1. Choose User Options > Fast Dials. 2. Click Add New. 3. Change the Fast Dial code, if desired. 4. Enter a phone number. 5. Click Save. Cisco Unified IP Phone 7962G and 7942G Phone Guide for Cisco Unified Communications Manager 7.1(2) (SCCP and SIP)
-
 1
1 -
2
-
3
-
4
-
5
-
6
-
7
-
8
-
9
-
10
-
11
-
12
-
13
-
14
-
15
-
16
-
17
-
18
-
19
-
20
-
21
-
22
-
23
-
24
-
25
-
26
-
27
-
28
-
29
-
30
-
31
-
32
-
33
-
34
-
35
-
36
-
37
-
38
-
39
-
40
-
41
-
42
-
43
-
44
-
45
-
46
-
47
-
48
-
49
-
50
-
51
-
52
-
53
-
54
-
55
-
56
-
57
-
58
-
59
-
60
-
61
-
62
-
63
-
64
-
65
-
 66
66 -
 67
67 -
 68
68 -
 69
69 -
 70
70 -
 71
71 -
 72
72 -
 73
73 -
 74
74 -
 75
75 -
 76
76 -
77
-
78
-
79
-
80
-
81
-
82
-
83
-
84
-
85
-
86
-
87
-
88
-
89
-
90
-
91
-
92
-
93
-
94
 |
 |