Dell AX4-5 Hardware Installation Guide - Page 41
Installing and Configuring the Shared Storage System - default password
 |
View all Dell AX4-5 manuals
Add to My Manuals
Save this manual to your list of manuals |
Page 41 highlights
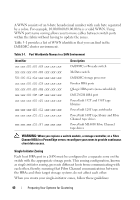
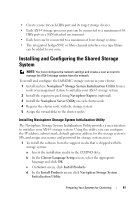
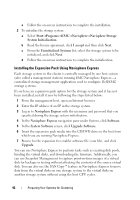
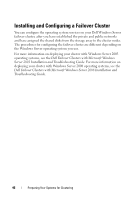
• Create a zone for each HBA port and its target storage devices. • Each AX4-5 storage processor port can be connected to a maximum of 64 HBA ports in a SAN-attached environment. • Each host can be connected to a maximum of four storage systems. • The integrated bridge/SNC or fibre-channel interface on a tape library can be added to any zone. Installing and Configuring the Shared Storage System NOTE: You must configure the network settings and create a user account to manage the AX4-5 storage system from the network. To install and configure the Dell/EMC storage system in your cluster: 1 Install and use Navisphere® Storage System Initialization Utility from a node or management station to initialize your AX4-5 storage system. 2 Install the expansion pack using Navisphere Express (optional). 3 Install the Navisphere Server Utility on each cluster node. 4 Register the cluster node with the storage system. 5 Assign the virtual disks to the cluster nodes. Installing Navisphere Storage System Initialization Utility The Navisphere Storage System Initialization Utility provides a user interface to initialize your AX4-5 storage system. Using the utility, you can configure the IP address, subnet mask, default gateway address for the storage system's SPs, and assign user names and password for storage system access. 1 To install the software from the support media that is shipped with the storage system: a Insert the installation media in the CD/DVD drive. b In the Choose Language Setup screen, select the appropriate language and click OK. c On Server screen, click Install Products. d In the Install Products menu, click Navisphere Storage System Initialization Utility. Preparing Your Systems for Clustering 41
-
 1
1 -
2
-
3
-
4
-
5
-
6
-
7
-
8
-
9
-
10
-
11
-
12
-
13
-
14
-
15
-
16
-
17
-
18
-
19
-
20
-
21
-
22
-
23
-
24
-
25
-
26
-
27
-
28
-
29
-
30
-
31
-
32
-
33
-
34
-
35
-
 36
36 -
 37
37 -
 38
38 -
 39
39 -
 40
40 -
 41
41 -
 42
42 -
 43
43 -
 44
44 -
 45
45 -
 46
46 -
47
-
48
-
49
-
50
-
51
-
52
-
53
-
54
-
55
-
56
-
57
-
58
-
59
-
60
 |
 |
