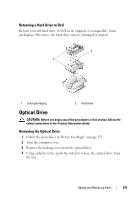
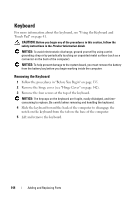
Dell Inspiron 1721 View - Page 145
Replacing the Keyboard, bottom of the keyboard under the palmrest, and ensure the tab on
 |
UPC - 802700888373
View all Dell Inspiron 1721 manuals
Add to My Manuals
Save this manual to your list of manuals |
Page 145 highlights
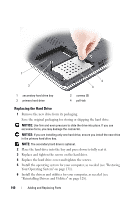
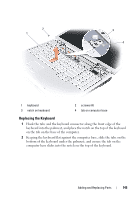
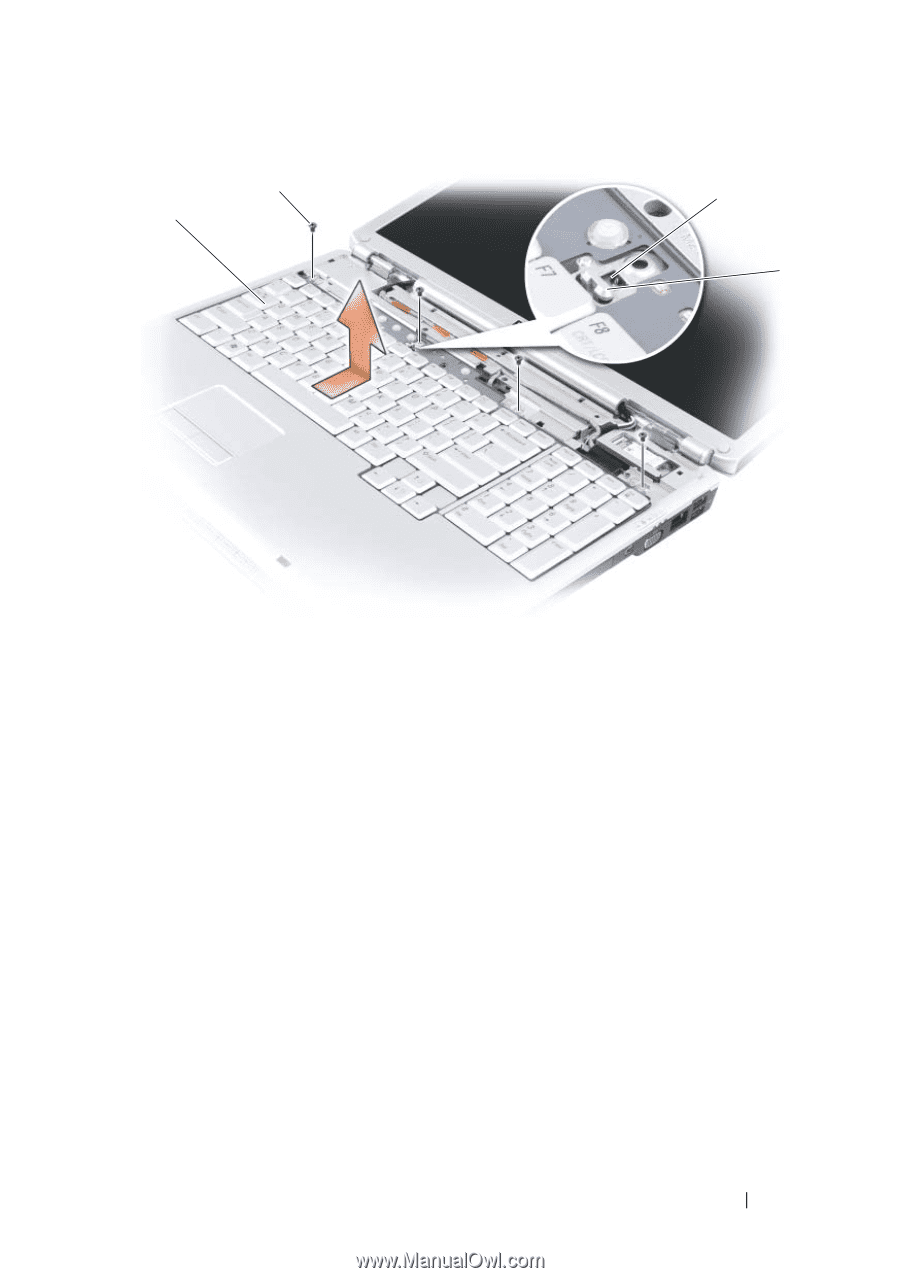
2 1 3 4 1 keyboard 3 notch on keyboard 2 screws (4) 4 tab on computer base Replacing the Keyboard 1 Hook the tabs and the keyboard connector along the front edge of the keyboard into the palmrest, and place the notch on the top of the keyboard on the tab on the base of the computer. 2 Keeping the keyboard flat against the computer base, slide the tabs on the bottom of the keyboard under the palmrest, and ensure the tab on the computer base slides into the notch on the top of the keyboard. Adding and Replacing Parts 145
-
 1
1 -
2
-
3
-
4
-
5
-
6
-
7
-
8
-
9
-
10
-
11
-
12
-
13
-
14
-
15
-
16
-
17
-
18
-
19
-
20
-
21
-
22
-
23
-
24
-
25
-
26
-
27
-
28
-
29
-
30
-
31
-
32
-
33
-
34
-
35
-
36
-
37
-
38
-
39
-
40
-
41
-
42
-
43
-
44
-
45
-
46
-
47
-
48
-
49
-
50
-
51
-
52
-
53
-
54
-
55
-
56
-
57
-
58
-
59
-
60
-
61
-
62
-
63
-
64
-
65
-
66
-
67
-
68
-
69
-
70
-
71
-
72
-
73
-
74
-
75
-
76
-
77
-
78
-
79
-
80
-
81
-
82
-
83
-
84
-
85
-
86
-
87
-
88
-
89
-
90
-
91
-
92
-
93
-
94
-
95
-
96
-
97
-
98
-
99
-
100
-
101
-
102
-
103
-
104
-
105
-
106
-
107
-
108
-
109
-
110
-
111
-
112
-
113
-
114
-
115
-
116
-
117
-
118
-
119
-
120
-
121
-
122
-
123
-
124
-
125
-
126
-
127
-
128
-
129
-
130
-
131
-
132
-
133
-
134
-
135
-
136
-
137
-
138
-
139
-
 140
140 -
 141
141 -
 142
142 -
 143
143 -
 144
144 -
 145
145 -
 146
146 -
 147
147 -
 148
148 -
 149
149 -
 150
150 -
151
-
152
-
153
-
154
-
155
-
156
-
157
-
158
-
159
-
160
-
161
-
162
-
163
-
164
-
165
-
166
-
167
-
168
-
169
-
170
-
171
-
172
-
173
-
174
-
175
-
176
-
177
-
178
-
179
-
180
-
181
-
182
-
183
-
184
-
185
-
186
-
187
-
188
-
189
-
190
-
191
-
192
-
193
-
194
-
195
-
196
-
197
-
198
-
199
-
200
-
201
-
202
-
203
-
204
-
205
-
206
-
207
-
208
-
209
-
210
-
211
-
212
-
213
-
214
-
215
-
216
-
217
-
218
-
219
-
220
 |
 |
Adding and Replacing Parts
145
Replacing the Keyboard
1
Hook the tabs and the keyboard connector along the front edge of the
keyboard into the palmrest, and place the notch on the top of the keyboard
on the tab on the base of the computer.
2
Keeping the keyboard flat against the computer base, slide the tabs on the
bottom of the keyboard under the palmrest, and ensure the tab on the
computer base slides into the notch on the top of the keyboard.
1
keyboard
2
screws (4)
3
notch on keyboard
4
tab on computer base
2
1
4
3