Dell OptiPlex 3010 User Manual - Page 13
Removing the Hard Drive
 |
View all Dell OptiPlex 3010 manuals
Add to My Manuals
Save this manual to your list of manuals |
Page 13 highlights
4. Install the cover. 5. Follow the procedures in After Working Inside Your Computer. Related Links Removing The Optical Drive Removing the Hard Drive 1. Follow the procedures in Before Working Inside Your Computer. 2. Remove the cover. 3. Remove the hard drive from the chassis. 4. Press the retention clips inwards and slide the hard-drive bracket from the drive cage. 5. Flex the hard-drive bracket and then remove the single 3.5 inch hard drive or two 2.5 inch hard drives from the bracket. 6. Release the screws that secure the 2.5 inch hard drive to the top of the hard-drive bracket. 7. Release the screws that secure the 2.5 inch hard drive to the underside of the hard-drive bracket. 13
-
 1
1 -
2
-
3
-
4
-
5
-
6
-
7
-
 8
8 -
 9
9 -
 10
10 -
 11
11 -
 12
12 -
 13
13 -
 14
14 -
 15
15 -
 16
16 -
 17
17 -
 18
18 -
19
-
20
-
21
-
22
-
23
-
24
-
25
-
26
-
27
-
28
-
29
-
30
-
31
-
32
-
33
-
34
-
35
-
36
-
37
-
38
-
39
-
40
-
41
-
42
-
43
-
44
-
45
-
46
-
47
-
48
-
49
-
50
-
51
-
52
-
53
-
54
-
55
-
56
-
57
-
58
-
59
-
60
-
61
-
62
-
63
 |
 |
4.
Install the
cover
.
5.
Follow the procedures in
After Working Inside Your Computer
.
Related Links
Removing The Optical Drive
Removing the Hard Drive
1.
Follow the procedures in
Before Working Inside Your Computer
.
2.
Remove the
cover
.
3.
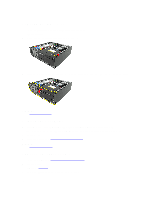
Remove the hard drive from the chassis.
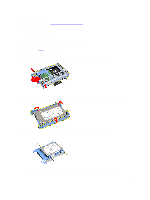
4.
Press the retention clips inwards and slide the hard-drive bracket from the drive cage.
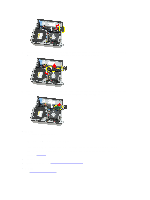
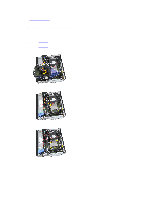
5.
Flex the hard-drive bracket and then remove the single 3.5 inch hard drive or two 2.5 inch hard drives from the
bracket.
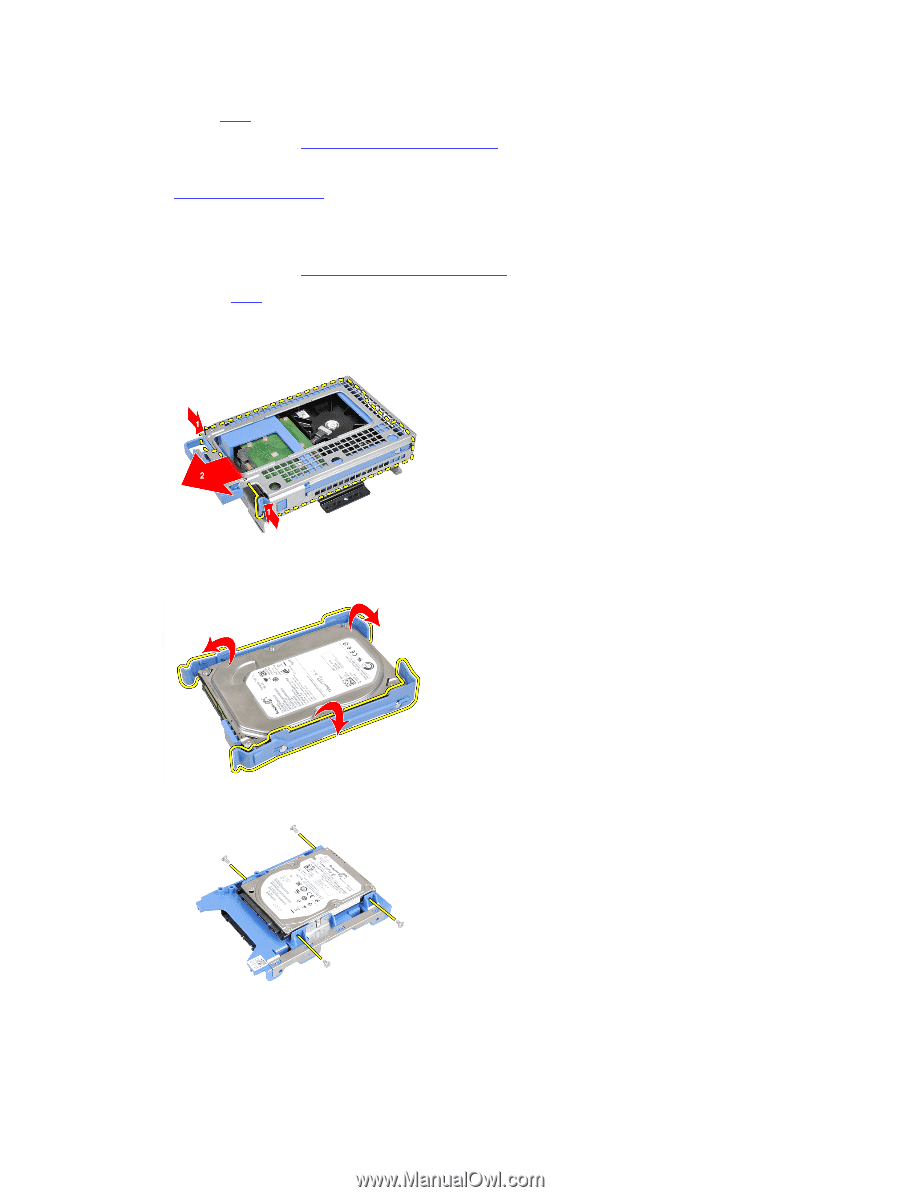
6.
Release the screws that secure the 2.5 inch hard drive to the top of the hard-drive bracket.
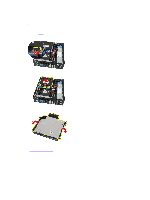
7.
Release the screws that secure the 2.5 inch hard drive to the underside of the hard-drive bracket.
13