Dell OptiPlex 3010 User Manual - Page 14
Installing The Hard Drive, Removing the Memory
 |
View all Dell OptiPlex 3010 manuals
Add to My Manuals
Save this manual to your list of manuals |
Page 14 highlights
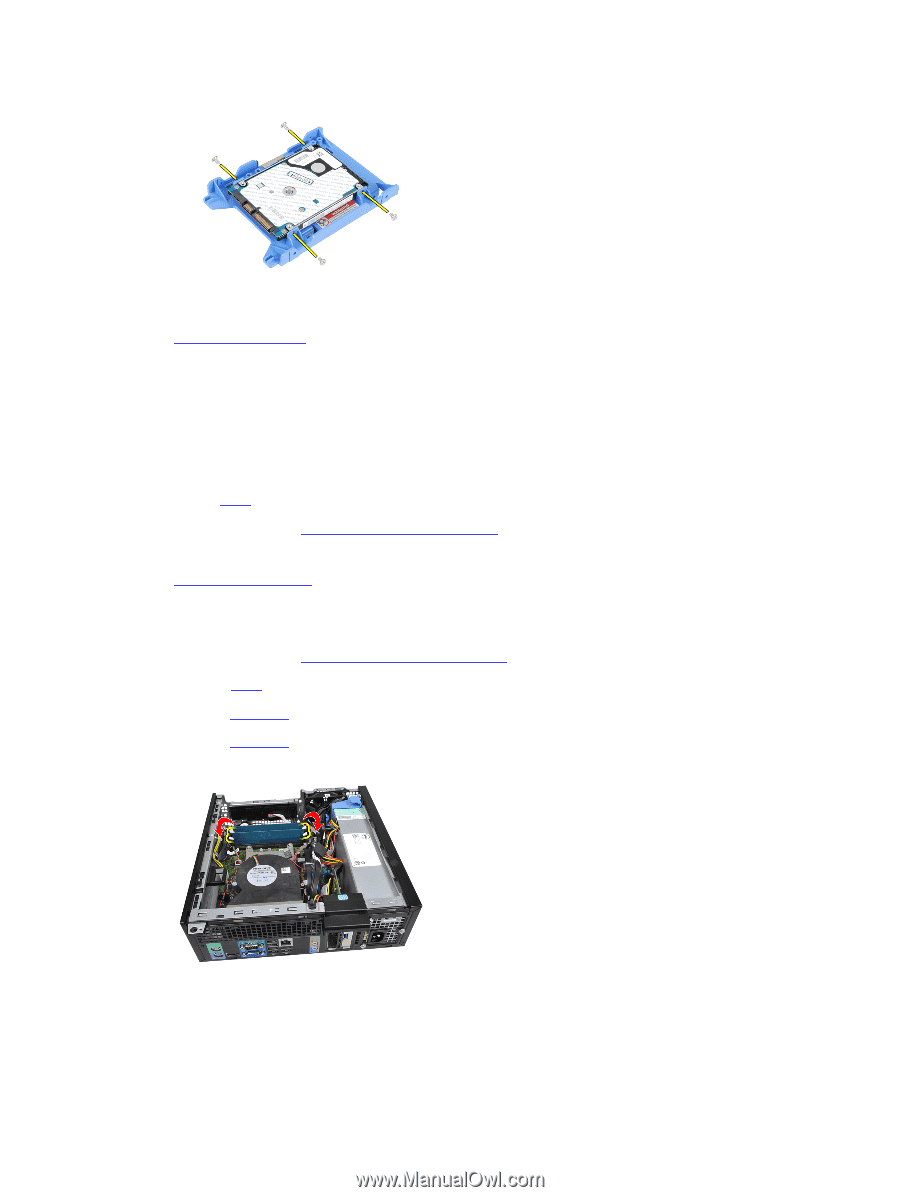
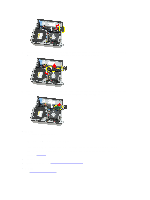
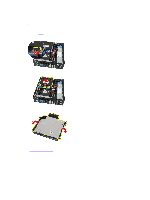
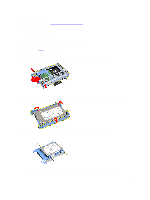
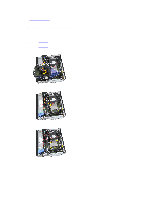
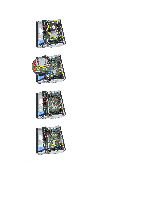
Related Links Installing the Hard Drive Installing The Hard Drive 1. Tighten the screws to secures the two hard drives to the hard drive bracket. 2. Flex the hard-drive bracket and then insert the single hard drive or two hard drives into the bracket. 3. Press the retention clips inwards and slide the hard-drive bracket into the drive cage. 4. Install the cover. 5. Follow the procedures in After Working Inside Your Computer. Related Links Removing The Hard Drive Removing the Memory 1. Follow the procedures in Before Working Inside Your Computer. 2. Remove the cover. 3. Remove the front bezel. 4. Remove the drive cage. 5. Release the memory-retention clips on each side of the memory modules. 6. Lift the memory modules out of the connectors on the system board. 14
-
 1
1 -
2
-
3
-
4
-
5
-
6
-
7
-
8
-
 9
9 -
 10
10 -
 11
11 -
 12
12 -
 13
13 -
 14
14 -
 15
15 -
 16
16 -
 17
17 -
 18
18 -
 19
19 -
20
-
21
-
22
-
23
-
24
-
25
-
26
-
27
-
28
-
29
-
30
-
31
-
32
-
33
-
34
-
35
-
36
-
37
-
38
-
39
-
40
-
41
-
42
-
43
-
44
-
45
-
46
-
47
-
48
-
49
-
50
-
51
-
52
-
53
-
54
-
55
-
56
-
57
-
58
-
59
-
60
-
61
-
62
-
63
 |
 |