Denon 4802R Owners Manual - Page 73
LISTENING TO THE RADIO, Auto tuning, Manual tuning
 |
UPC - 081757505345
View all Denon 4802R manuals
Add to My Manuals
Save this manual to your list of manuals |
Page 73 highlights
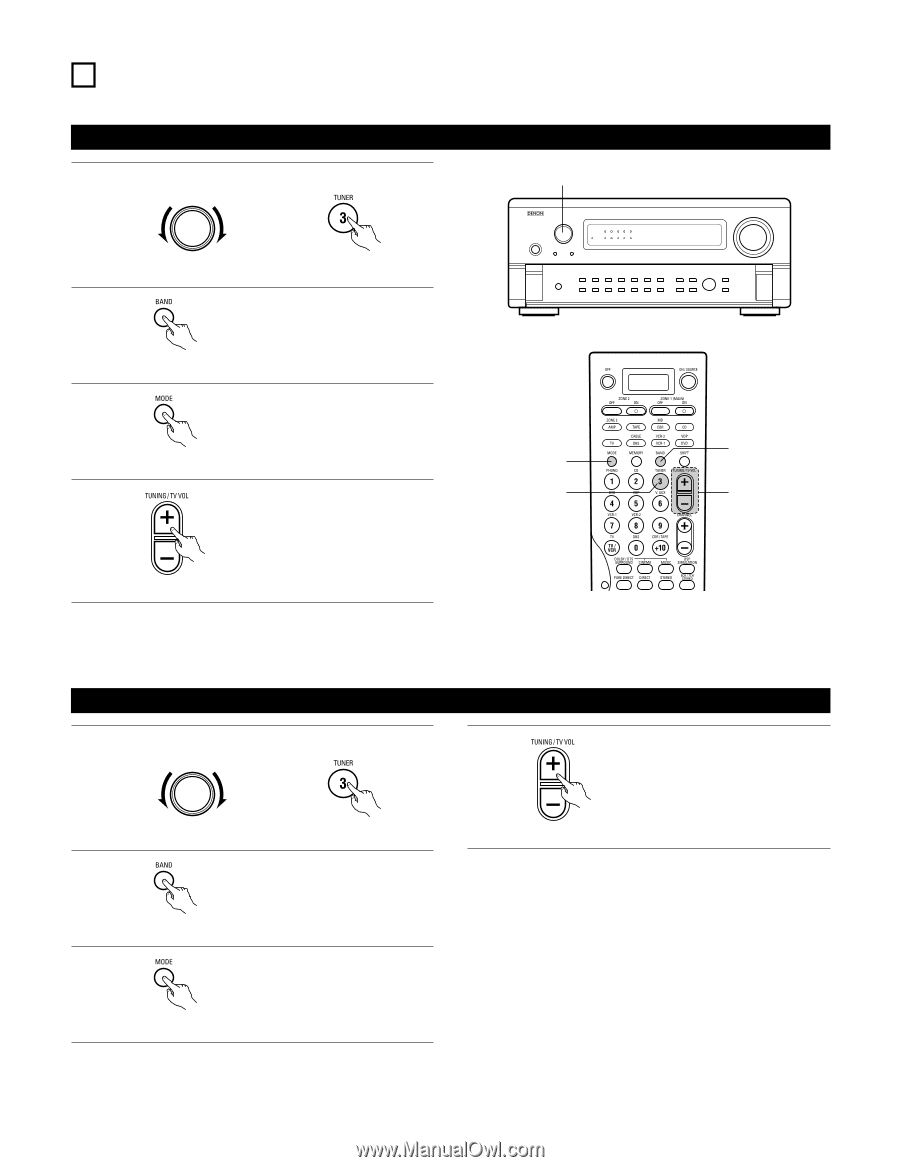
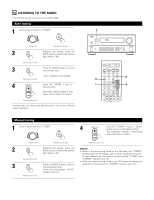
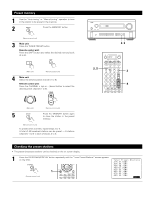
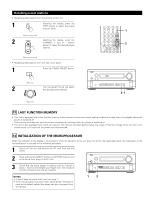
12 LISTENING TO THE RADIO • Check that the remote control unit is set to AMP. Auto tuning 1 Set the input function to "TUNER". 1 INPUT SELECTOR (Main unit) (Remote control unit) 2 Watching the display, press the BAND button to select the desired band (AM or FM). (Remote control unit) 3 Press the MODE button to set the auto tuning mode. (Remote control unit) "Auto" appears on the display. 4 Press the TUNING + (up) or - (down) button. Automatic searching begins, then stops when a station is tuned in. (Remote control unit) If tuning does not stop at the desired station, use to the "Manual tuning" operation. AMP 2 3 1 4 Manual tuning 1 Set the input function to "TUNER". INPUT SELECTOR 4 Press the TUNING + (up) or - (down) button to tune in the desired station. The frequency changes continuously when the button is held in. (Main unit) (Remote control unit) (Remote control unit) 2 Watching the display, press the BAND button to select the desired NOTES: • When in the auto tuning mode on the FM band, the "STEREO" band (AM or FM). indicator lights on the display when a stereo broadcast is tuned in. At open frequencies, the noise is muted and the "TUNED" and (Remote control unit) "STEREO" indicators turn off. • When the manual tuning mode is set, FM stereo broadcasts are 3 Press the MODE button to set the manual tuning mode. received in monaural and the "STEREO" indicator turns off. Check that the display's "AUTO" indicator turns off. (Remote control unit) 73
-
 1
1 -
2
-
3
-
4
-
5
-
6
-
7
-
8
-
9
-
10
-
11
-
12
-
13
-
14
-
15
-
16
-
17
-
18
-
19
-
20
-
21
-
22
-
23
-
24
-
25
-
26
-
27
-
28
-
29
-
30
-
31
-
32
-
33
-
34
-
35
-
36
-
37
-
38
-
39
-
40
-
41
-
42
-
43
-
44
-
45
-
46
-
47
-
48
-
49
-
50
-
51
-
52
-
53
-
54
-
55
-
56
-
57
-
58
-
59
-
60
-
61
-
62
-
63
-
64
-
65
-
66
-
67
-
 68
68 -
 69
69 -
 70
70 -
 71
71 -
 72
72 -
 73
73 -
 74
74 -
 75
75 -
 76
76 -
 77
77 -
 78
78 -
79
-
80
-
81
-
82
-
83
-
84
-
85
-
86
-
87
-
88
-
89
-
90
 |
 |