Epson Stylus Pro 9000 User Manual - Color Calibration - Page 28
Creating a Color Profile, Select an empty block in the EPSON Printer Calibrator dialog
 |
View all Epson Stylus Pro 9000 manuals
Add to My Manuals
Save this manual to your list of manuals |
Page 28 highlights
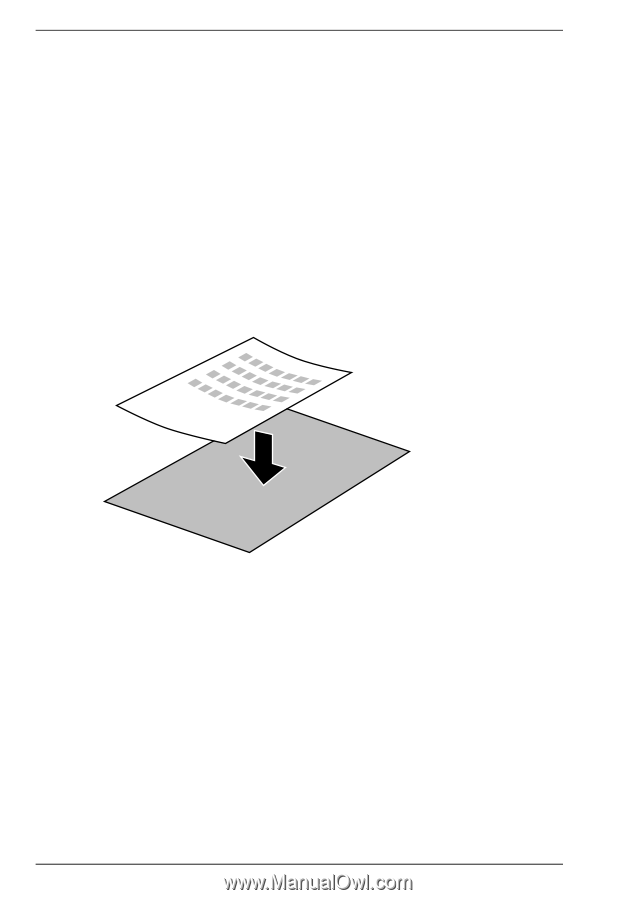
Creating a Color Profile To make a color profile, you must use the calibration sheet you printed in the previous section. Make sure your Color Calibrator has been calibrated as described in "Calibrating the EPSON Color Calibrator" on page 3-2, then follow the steps below: 1. Place the calibration sheet you printed in the previous section on a flat surface, with the included black base paper behind it. Note: Wait for at least 30 minutes after printing a calibration sheet before using it to create a color profile. 2. Select an empty block in the EPSON Printer Calibrator dialog box by clicking it with your mouse. 3. Place the sensor tip of the calibrator on the corresponding block of the calibration sheet. Note: Make sure the sensor tip is placed flat and firmly on the sheet. 3-8 Calibrating Your Printing System
-
 1
1 -
2
-
3
-
4
-
5
-
6
-
7
-
8
-
9
-
10
-
11
-
12
-
13
-
14
-
15
-
16
-
17
-
18
-
19
-
20
-
21
-
22
-
 23
23 -
 24
24 -
 25
25 -
 26
26 -
 27
27 -
 28
28 -
 29
29 -
 30
30 -
 31
31 -
 32
32 -
 33
33 -
34
-
35
-
36
-
37
-
38
-
39
-
40
-
41
-
42
-
43
-
44
 |
 |