HP 11kVA HP Monitored Power Distribution Unit User Guide - Page 68
System, Setting General System Settings, Enable/Disable Firmware Upgrade
 |
View all HP 11kVA manuals
Add to My Manuals
Save this manual to your list of manuals |
Page 68 highlights
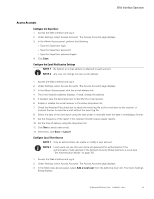
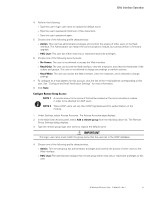
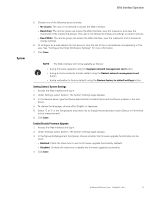
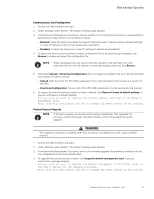
Web Interface Operation System 5. Choose one of the following security levels: l No Access: The user is not allowed to access the Web interface. l Read-Only: The remote group can access the Web interface, view the measures, and view the thresholds of the outlets and groups. This user is not allowed to change any settings or perform actions. l Read/Write: The remote group can access the Web interface, view the measures, and is allowed to change settings. 6. To configure an e-mail address for this account, click the link of the e-mail address corresponding to this user. See "Configure the Email Notification Settings" for more information. 7. Click Save. NOTE The Web interface will not be available as follows: l during firmware upgrades using the Upgrade network management card button. l during a communications module restart using the Restart network management card button. l during restoration to factory defaults using the Restore factory to default settings button. Setting General System Settings 1. Access the Web interface and log in. 2. Under Settings, select System. The System Settings page displays. 3. In the General panel, type the Device Administrator Contact Name and the Device location in the text boxes. 4. To change the language, choose either English or Japanese. 5. Select °C or °F in the Temperature drop-down list to change the temperature scale (Celsius or Fahrenheit unit of measurement). 6. Click Save. Enable/Disable Firmware Upgrade 1. Access the Web interface and log in. 2. Under Settings, select System. The System Settings page displays. 3. In the Network Management Card panel, choose whether the firmware upgrade functionality can be used: l Enabled: Check the check box to use the firmware upgrade functionality (default). l Disabled: Uncheck the check box to disable the firmware upgrade functionality. 4. Click Save. HP Monitored PDU User's Guide P-164000281-Rev 1 62
-
 1
1 -
2
-
3
-
4
-
5
-
6
-
7
-
8
-
9
-
10
-
11
-
12
-
13
-
14
-
15
-
16
-
17
-
18
-
19
-
20
-
21
-
22
-
23
-
24
-
25
-
26
-
27
-
28
-
29
-
30
-
31
-
32
-
33
-
34
-
35
-
36
-
37
-
38
-
39
-
40
-
41
-
42
-
43
-
44
-
45
-
46
-
47
-
48
-
49
-
50
-
51
-
52
-
53
-
54
-
55
-
56
-
57
-
58
-
59
-
60
-
61
-
62
-
 63
63 -
 64
64 -
 65
65 -
 66
66 -
 67
67 -
 68
68 -
 69
69 -
 70
70 -
 71
71 -
 72
72 -
 73
73 -
74
-
75
-
76
-
77
-
78
-
79
-
80
-
81
-
82
-
83
-
84
-
85
-
86
-
87
-
88
-
89
-
90
-
91
-
92
-
93
-
94
-
95
-
96
-
97
-
98
-
99
-
100
-
101
-
102
-
103
-
104
-
105
-
106
-
107
-
108
-
109
-
110
-
111
-
112
-
113
-
114
-
115
-
116
-
117
-
118
-
119
-
120
 |
 |
