HP 3520 HP Deskjet 3500 Series printer - (English) User Guide - Page 43
photographs, guidelines, preparing to print, printing photographs - how to scan to computer
 |
View all HP 3520 manuals
Add to My Manuals
Save this manual to your list of manuals |
Page 43 highlights
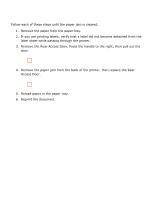
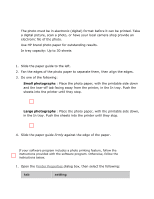
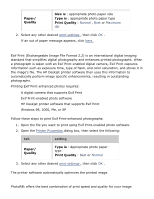
photographs guidelines q The photo must be in electronic (digital) format before it can be printed. Take a digital picture, scan a photo, or have your local camera shop provide an electronic file of the photo. q Use HP brand photo paper for outstanding results. q In tray capacity: Up to 30 sheets preparing to print 1. Slide the paper guide to the left. 2. Fan the edges of the photo paper to separate them, then align the edges. 3. Do one of the following: r Small photographs : Place the photo paper, with the printable side down and the tear-off tab facing away from the printer, in the In tray. Push the sheets into the printer until they stop. r Large photographs : Place the photo paper, with the printable side down, in the In tray. Push the sheets into the printer until they stop. 4. Slide the paper guide firmly against the edge of the paper. printing photographs If your software program includes a photo printing feature, follow the instructions provided with the software program. Otherwise, follow the instructions below. 1. Open the Printer Properties dialog box, then select the following: tab setting
-
 1
1 -
2
-
3
-
4
-
5
-
6
-
7
-
8
-
9
-
10
-
11
-
12
-
13
-
14
-
15
-
16
-
17
-
18
-
19
-
20
-
21
-
22
-
23
-
24
-
25
-
26
-
27
-
28
-
29
-
30
-
31
-
32
-
33
-
34
-
35
-
36
-
37
-
 38
38 -
 39
39 -
 40
40 -
 41
41 -
 42
42 -
 43
43 -
 44
44 -
 45
45 -
 46
46 -
 47
47 -
 48
48 -
49
-
50
-
51
-
52
-
53
-
54
-
55
-
56
-
57
-
58
-
59
-
60
-
61
-
62
-
63
-
64
-
65
 |
 |
