HP Designjet 8000 HP Designjet 8000s Printer Series - User's Guide - Page 105
Prepare for extended power down two to four weeks
 |
View all HP Designjet 8000 manuals
Add to My Manuals
Save this manual to your list of manuals |
Page 105 highlights
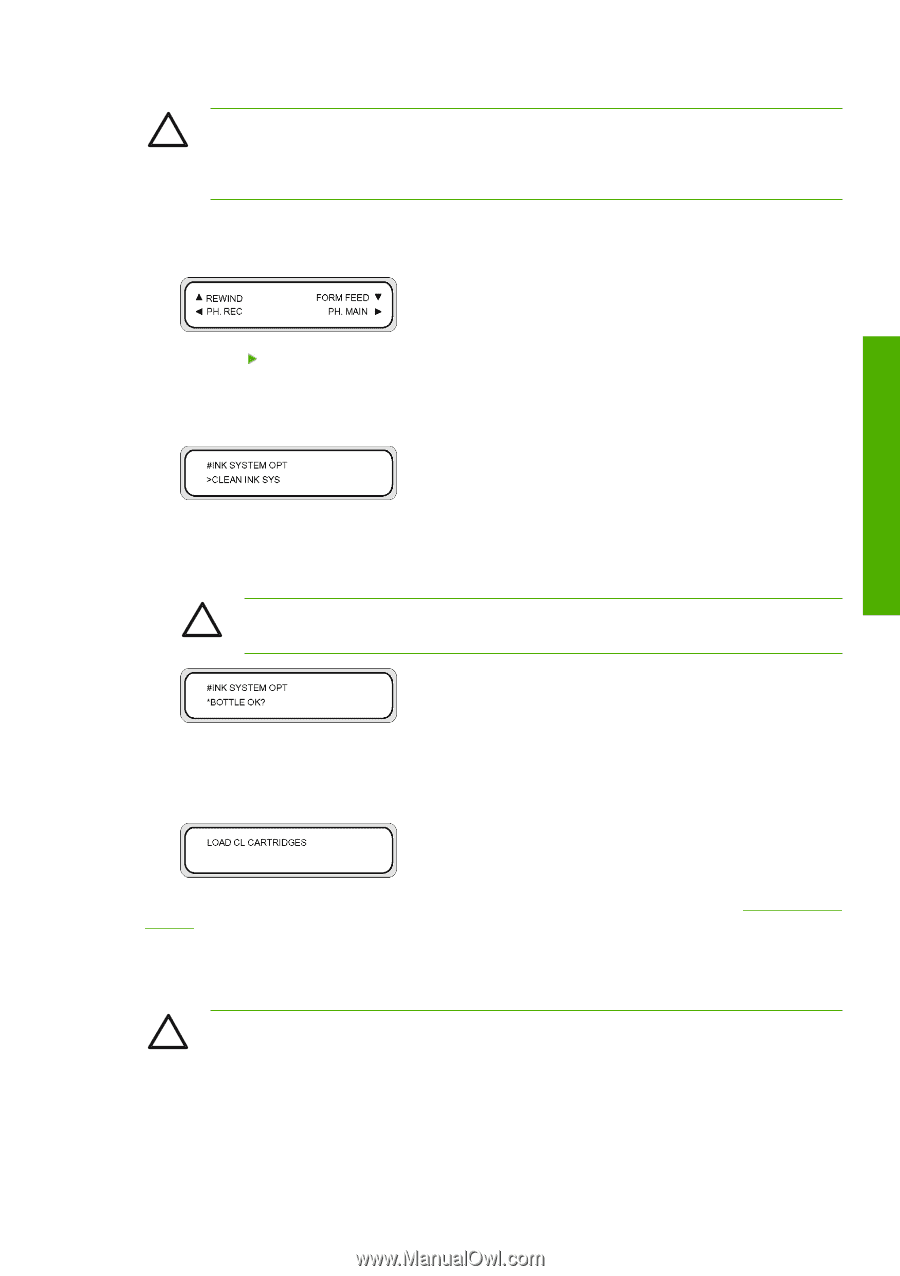
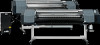
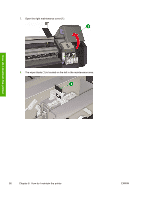
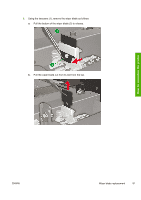
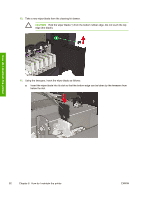
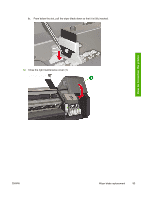
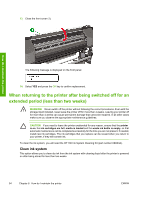
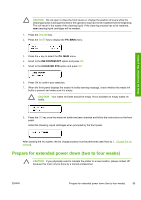
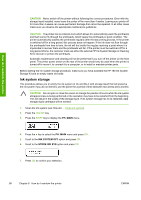
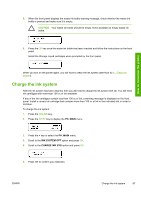
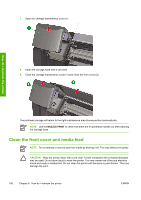
How do I maintain the printer CAUTION Do not open or close the front covers or change the position of levers while the cleaning process is being performed or the operation may have to be restarted from the beginning. This will result in the waste of the cleaning liquid. If the cleaning process has to be restarted, new cleaning liquid cartridges will be needed. 1. Press the ONLINE key. 2. Press the SHIFT key to display the PH. MAIN menu. 3. Press the key to select the PH. MAIN menu. 4. Scroll to the INK SYSTEM OPT option and press OK. 5. Scroll to the CLEAN INK SYS option and press OK. 6. Press OK to confirm your selection. 7. When the front panel displays the waste ink bottle warning message, check whether the waste ink bottle is present and make sure it is empty. CAUTION Your waste ink bottle should be empty. Have available an empty waste ink bottle. 8. Press the OK key once the waste ink bottle has been checked and follow the instructions on the front panel. Install the Cleaning Liquid cartridges when prompted by the front panel. After cleaning the ink system, the ink charge process must be performed (see How do I... Charge the ink system). Prepare for extended power down (two to four weeks) CAUTION If you physically need to relocate the printer to a new location, please contact HP because this must only be done by a trained professional. ENWW Prepare for extended power down (two to four weeks) 95
-
 1
1 -
2
-
3
-
4
-
5
-
6
-
7
-
8
-
9
-
10
-
11
-
12
-
13
-
14
-
15
-
16
-
17
-
18
-
19
-
20
-
21
-
22
-
23
-
24
-
25
-
26
-
27
-
28
-
29
-
30
-
31
-
32
-
33
-
34
-
35
-
36
-
37
-
38
-
39
-
40
-
41
-
42
-
43
-
44
-
45
-
46
-
47
-
48
-
49
-
50
-
51
-
52
-
53
-
54
-
55
-
56
-
57
-
58
-
59
-
60
-
61
-
62
-
63
-
64
-
65
-
66
-
67
-
68
-
69
-
70
-
71
-
72
-
73
-
74
-
75
-
76
-
77
-
78
-
79
-
80
-
81
-
82
-
83
-
84
-
85
-
86
-
87
-
88
-
89
-
90
-
91
-
92
-
93
-
94
-
95
-
96
-
97
-
98
-
99
-
 100
100 -
 101
101 -
 102
102 -
 103
103 -
 104
104 -
 105
105 -
 106
106 -
 107
107 -
 108
108 -
 109
109 -
 110
110 -
111
-
112
-
113
-
114
-
115
-
116
-
117
-
118
-
119
-
120
-
121
-
122
-
123
-
124
-
125
-
126
-
127
-
128
-
129
-
130
-
131
-
132
-
133
-
134
-
135
-
136
-
137
-
138
-
139
-
140
-
141
-
142
-
143
-
144
-
145
-
146
-
147
-
148
-
149
-
150
-
151
-
152
-
153
-
154
-
155
-
156
-
157
-
158
-
159
-
160
-
161
-
162
-
163
-
164
-
165
-
166
-
167
-
168
-
169
-
170
-
171
-
172
-
173
-
174
-
175
-
176
-
177
-
178
-
179
-
180
-
181
-
182
-
183
-
184
-
185
-
186
-
187
-
188
-
189
-
190
-
191
-
192
-
193
-
194
-
195
-
196
-
197
-
198
-
199
-
200
-
201
-
202
-
203
-
204
-
205
-
206
-
207
-
208
-
209
-
210
-
211
-
212
-
213
-
214
-
215
-
216
-
217
-
218
-
219
-
220
-
221
-
222
-
223
-
224
-
225
-
226
-
227
-
228
-
229
-
230
 |
 |