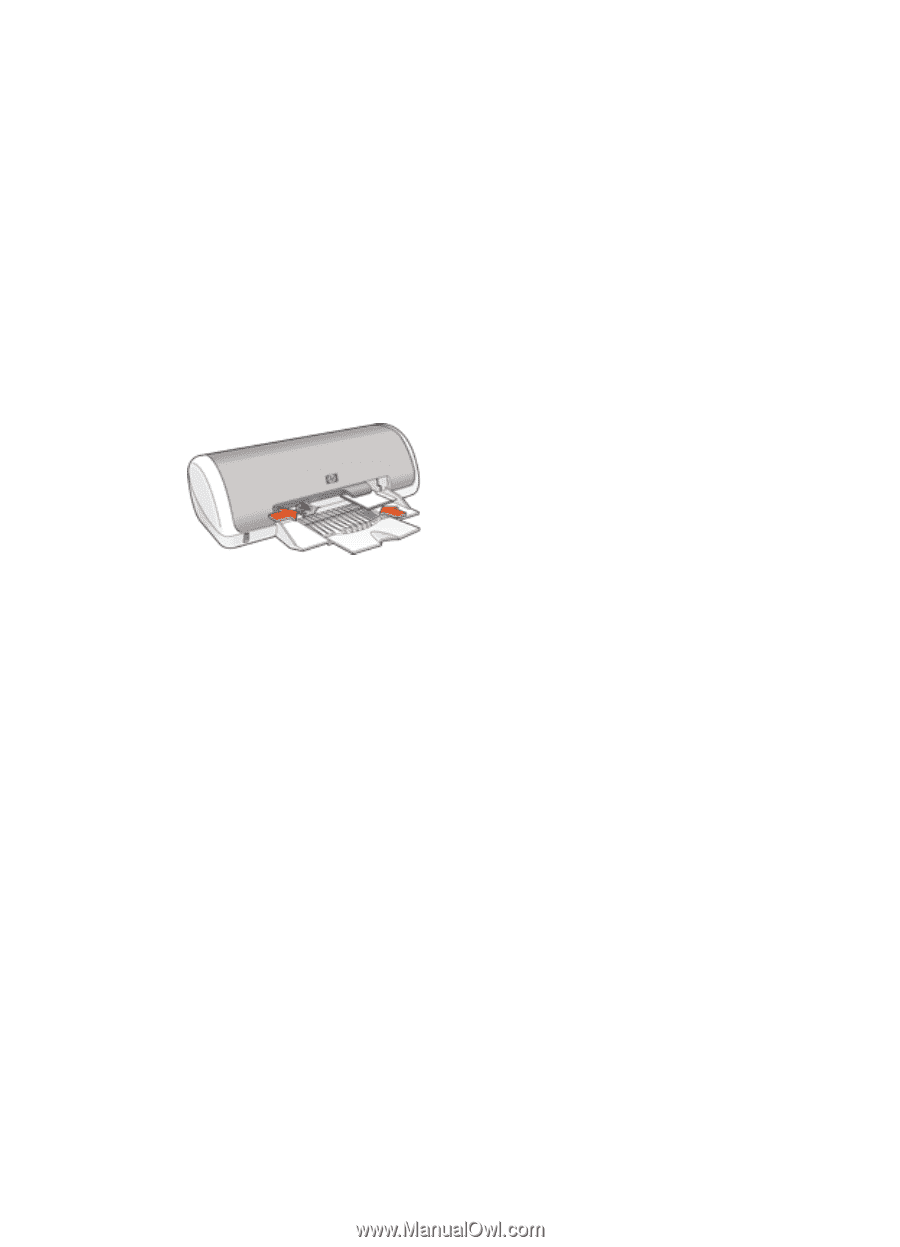
HP Deskjet D1330 User Guide - Microsoft Windows 9x - Page 27
Print transparencies, Prepare to print, Print, Paper/Quality, Size is, 5x7in., Type is
 |
View all HP Deskjet D1330 manuals
Add to My Manuals
Save this manual to your list of manuals |
Page 27 highlights
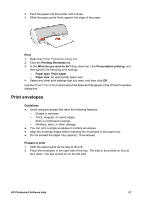
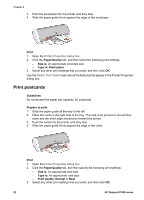
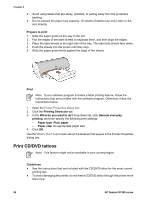
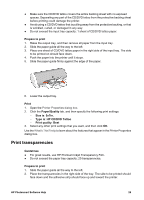
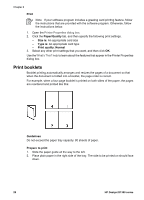
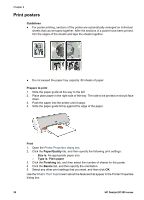
● Make sure the CD/DVD tattoo covers the entire backing sheet with no exposed spaces. Separating any part of the CD/DVD tattoo from the protective backing sheet before printing could damage the printer. ● Avoid using a CD/DVD tattoo that is pulling away from the protective backing, or that is wrinkled, curled, or damaged in any way. ● Do not exceed the input tray capacity: 1 sheet of CD/DVD tattoo paper. Prepare to print 1. Raise the output tray, and then remove all paper from the input tray. 2. Slide the paper guide all the way to the left. 3. Place one sheet of CD/DVD tattoo paper in the right side of the input tray. The side to be printed on should face down. 4. Push the paper into the printer until it stops. 5. Slide the paper guide firmly against the edge of the paper. 6. Lower the output tray. Print 1. Open the Printer Properties dialog box. 2. Click the Paper/Quality tab, and then specify the following print settings: - Size is: 5x7in. - Type is: HP CD/DVD Tattoo - Print quality: Best 3. Select any other print settings that you want, and then click OK. Use the What's This? help to learn about the features that appear in the Printer Properties dialog box. Print transparencies Guidelines ● For great results, use HP Premium Inkjet Transparency Film. ● Do not exceed the paper tray capacity: 20 transparencies. Prepare to print 1. Slide the paper guide all the way to the left. 2. Place the transparencies in the right side of the tray. The side to be printed should face down and the adhesive strip should face up and toward the printer. HP Photosmart Software Help 25
-
 1
1 -
2
-
3
-
4
-
5
-
6
-
7
-
8
-
9
-
10
-
11
-
12
-
13
-
14
-
15
-
16
-
17
-
18
-
19
-
20
-
21
-
 22
22 -
 23
23 -
 24
24 -
 25
25 -
 26
26 -
 27
27 -
 28
28 -
 29
29 -
 30
30 -
 31
31 -
 32
32 -
33
-
34
-
35
-
36
-
37
-
38
-
39
-
40
-
41
-
42
-
43
-
44
-
45
-
46
-
47
-
48
-
49
-
50
-
51
-
52
-
53
-
54
-
55
-
56
-
57
-
58
-
59
-
60
-
61
-
62
-
63
-
64
-
65
-
66
-
67
-
68
-
69
-
70
-
71
-
72
-
73
-
74
-
75
-
76
-
77
-
78
-
79
-
80
 |
 |