HP Indigo WS6000 Writing Head Service Instructions -- CA393-00150Document P/N: - Page 10
WHEL name change — for new writing head installation on HP Indigo w7200 Digital Press only
 |
View all HP Indigo WS6000 manuals
Add to My Manuals
Save this manual to your list of manuals |
Page 10 highlights
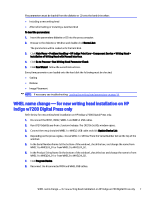
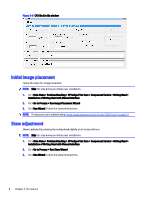
The parameters must be loaded from the diskette or CD onto the hard drive when: ● Installing a new writing head ● After reformatting or installing a new hard disk To load the parameters: 1. Insert the parameters diskette or CD into the press computer. 2. Browse to the diskette or CD drive and double-click Normal.bat. The parameters will be loaded onto the hard disk. 3. Click Main Menu > Problem Handling > HP Indigo Print Care > Component Service > Writing Head > Installation of Writing Head with Manual Interface. 4. Click Go to Process > Run Writing Head Parameter Check. 5. Click Run Wizard. Follow the wizard instructions. Every time parameters are loaded onto the hard disk the following must be checked: ● Scaling ● Deskew ● Image Placement NOTE: If necessary see troubleshooting: Loading the writing head parameters on page 14. WHEL name change - for new writing head installation on HP Indigo w7200 Digital Press only Refer below for new writing head installation on HP Indigo w7200 Digital Press only. 1. Disconnect the MCN1, MCN2, WHEL1 and WHEL2 USB cables. 2. Run CP210xSetIDs.exe from c:\unicorn\release. The CP210x Set IDs window opens. 3. Connect the newly installed WHEL1 or WHEL2 USB cable and click Update Device List. 4. Depending on the press engine, choose WHEL1 or WHEL2 from the Serial Number list (at the top of the window). 5. In the Serial Number frame (at the bottom of the window), check the box, and change the name from WHEL1 to WHEL24_01 or from WHEL2 to WHEL24_02. 6. In the Product String frame (in the bottom of the window), check the box and change the name to from WHEL1 to WHEL24_01 or from WHEL2 to WHEL24_02. 7. Click Program Device. 8. Reconnect the disconnected MCN and WHEL USB cables. WHEL name change - for new writing head installation on HP Indigo w7200 Digital Press only 7
-
 1
1 -
2
-
3
-
4
-
 5
5 -
 6
6 -
 7
7 -
 8
8 -
 9
9 -
 10
10 -
 11
11 -
 12
12 -
 13
13 -
 14
14 -
 15
15 -
16
-
17
-
18
-
19
-
20
-
21
-
22
-
23
-
24
-
25
-
26
-
27
-
28
-
29
-
30
 |
 |