HP Indigo ws4500 Rewinder Service - Page 19
Reinstalling the splicing table, At the rear of the rewinder
 |
View all HP Indigo ws4500 manuals
Add to My Manuals
Save this manual to your list of manuals |
Page 19 highlights
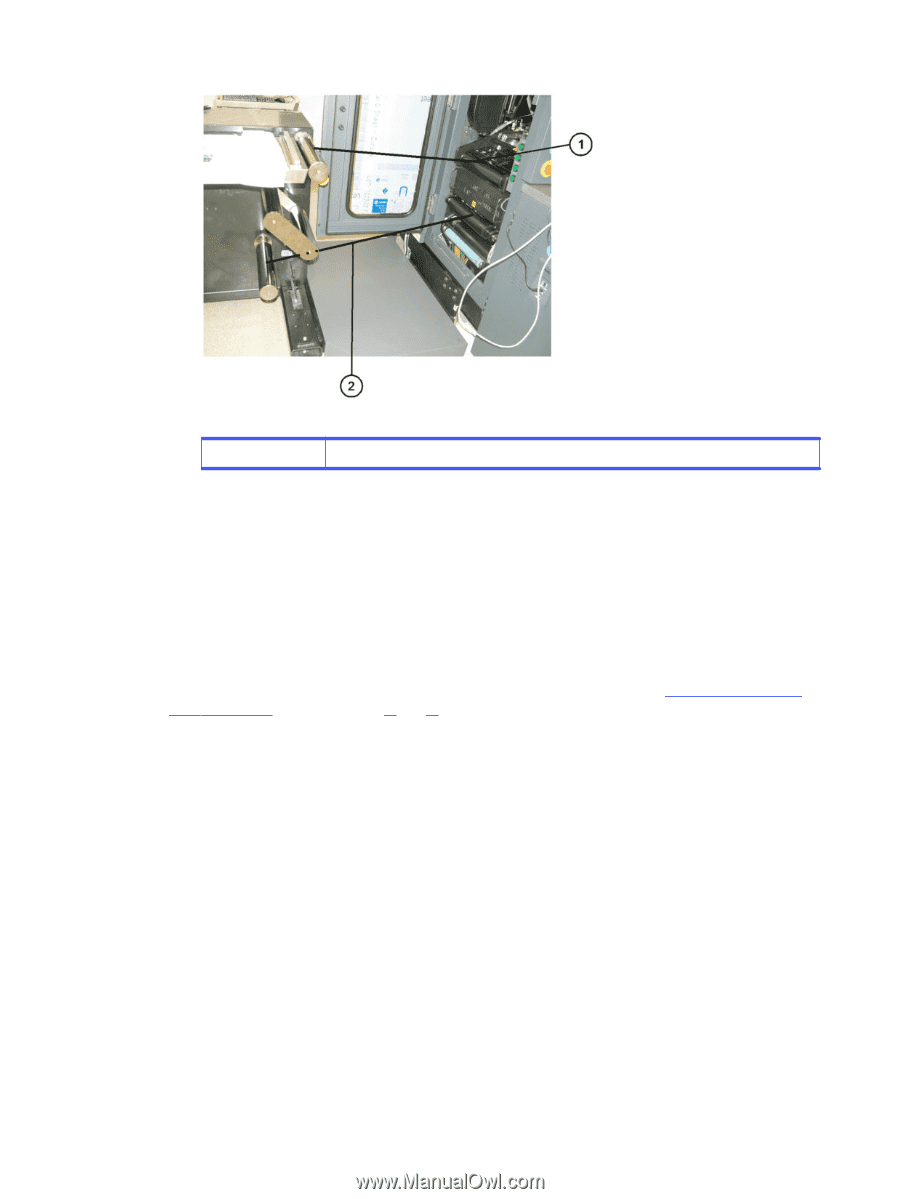
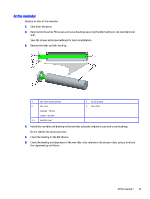
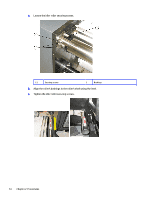
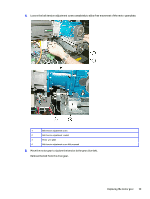
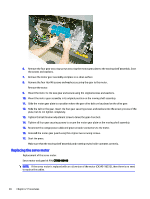
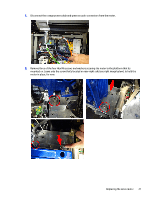
1, 2 Position of alignment jig 7. Start the press and rewinder. Reinstalling the splicing table It explains how to reinstall the splicing table. At the rear of the rewinder Reinstall the splicing table at the rear of the rewinder. 1. Support the splicing table with the table arms held next to the front of the rewinder wall. 2. Make sure that the pneumatic plate is released and lowered as described in the "Removing the splicing table on page 11" procedure, steps5. and 6.. 3. Install the six sets of Hex M6 screws and washers to secure the splicing table arms. Do not tighten the screws at this stage. 4. Make sure to route all input and output air tubes from the rear of the rewinder wall to the front in preparation for connections to the air clamps. 5. Tighten the screws securing the table arms. 6. Connect the input and output air tubes to the air clamps. Make sure to connect the correct input and output tubes to their respective input and output at the clamps. 7. Attach the air tubes to the splicing table using tie wraps. 8. Restart the press. 16 Chapter 2 Procedures
-
 1
1 -
2
-
3
-
4
-
5
-
6
-
7
-
8
-
9
-
10
-
11
-
12
-
13
-
 14
14 -
 15
15 -
 16
16 -
 17
17 -
 18
18 -
 19
19 -
 20
20 -
 21
21 -
 22
22 -
 23
23 -
 24
24 -
25
-
26
-
27
-
28
-
29
-
30
-
31
-
32
-
33
-
34
-
35
-
36
-
37
-
38
-
39
-
40
-
41
-
42
-
43
-
44
-
45
-
46
-
47
-
48
-
49
-
50
-
51
-
52
-
53
-
54
-
55
-
56
-
57
-
58
-
59
-
60
-
61
-
62
-
63
-
64
-
65
-
66
-
67
-
68
-
69
-
70
-
71
-
72
-
73
-
74
-
75
-
76
-
77
-
78
-
79
-
80
-
81
-
82
-
83
-
84
-
85
-
86
-
87
-
88
 |
 |