HP Indigo ws4500 Rewinder Service - Page 80
Rewinder 12P controller, Adjusting the rewinder I2P controller
 |
View all HP Indigo ws4500 manuals
Add to My Manuals
Save this manual to your list of manuals |
Page 80 highlights
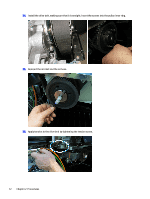
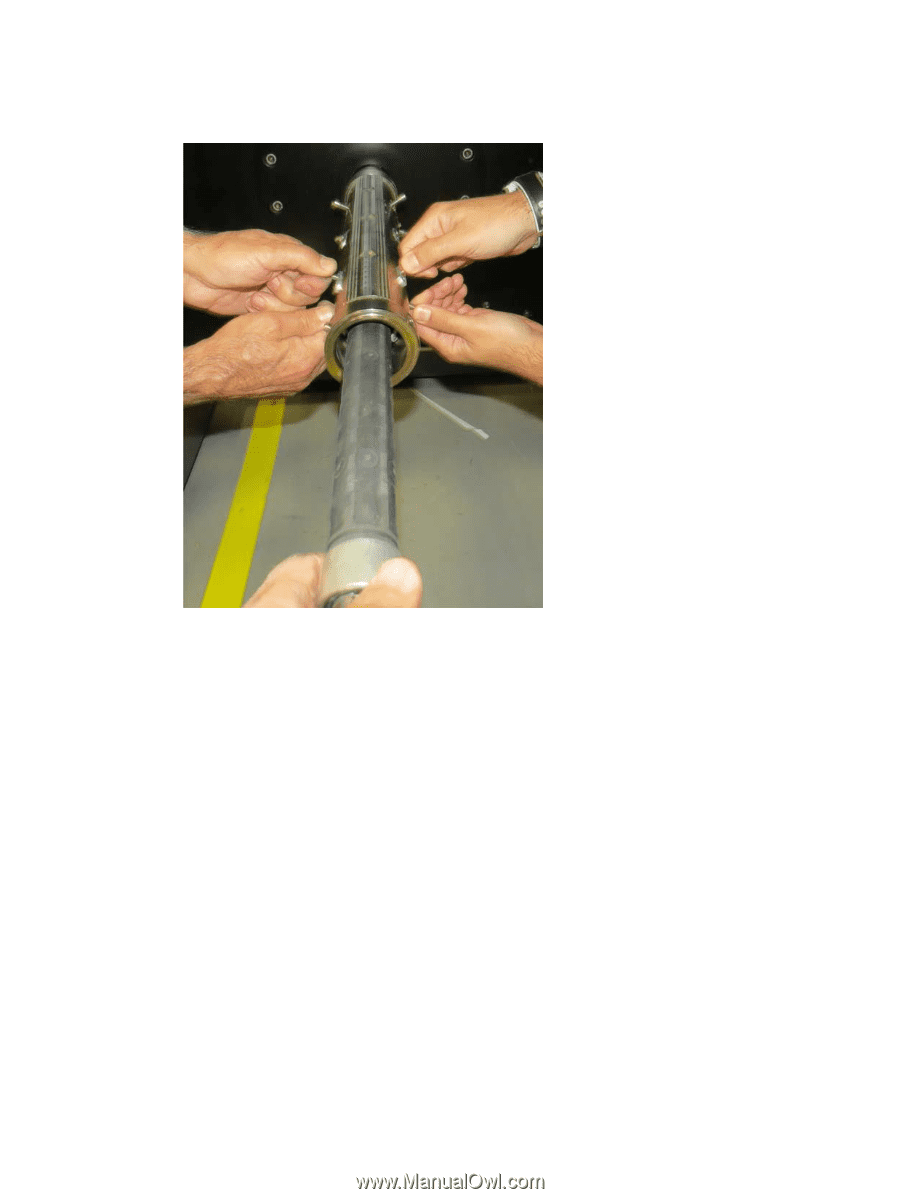
6. When the inner end of the balloon has passed the inner pistons, pull out the screws on the outer pistons and pull the balloon out of the shaft. 7. Insert the new balloon. Pull the outer screws when starting to insert the new balloon and then pull the inner screws to complete the insertion of the balloon. 8. Reinstall the pressure plates and the end cap. Rewinder 12P controller It explains how to adjust and modify the rewinder 12P controller. Adjusting the rewinder I2P controller Adjust the rewinder 12P controller as shown below. Rewinder 12P controller 77
-
 1
1 -
2
-
3
-
4
-
5
-
6
-
7
-
8
-
9
-
10
-
11
-
12
-
13
-
14
-
15
-
16
-
17
-
18
-
19
-
20
-
21
-
22
-
23
-
24
-
25
-
26
-
27
-
28
-
29
-
30
-
31
-
32
-
33
-
34
-
35
-
36
-
37
-
38
-
39
-
40
-
41
-
42
-
43
-
44
-
45
-
46
-
47
-
48
-
49
-
50
-
51
-
52
-
53
-
54
-
55
-
56
-
57
-
58
-
59
-
60
-
61
-
62
-
63
-
64
-
65
-
66
-
67
-
68
-
69
-
70
-
71
-
72
-
73
-
74
-
 75
75 -
 76
76 -
 77
77 -
 78
78 -
 79
79 -
 80
80 -
 81
81 -
 82
82 -
 83
83 -
 84
84 -
 85
85 -
86
-
87
-
88
 |
 |
6.
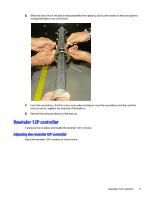
When the inner end of the balloon has passed the inner pistons, pull out the screws on the outer pistons
and pull the balloon out of the shaft.
7.
Insert the new balloon. Pull the outer screws when starting to insert the new balloon and then pull the
inner screws to complete the insertion of the balloon.
8.
Reinstall the pressure plates and the end cap.
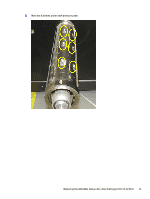
Rewinder 12P controller
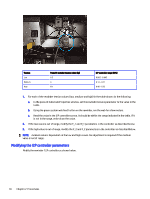
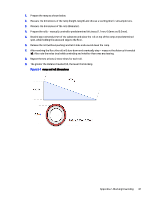
It explains how to adjust and modify the rewinder 12P controller.
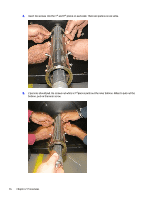
Adjusting the rewinder I2P controller
Adjust the rewinder 12P controller as shown below.
Rewinder 12P controller
77