JVC GR-D33 Instruction Manual - Page 6
JVC GR-D33 - MiniDV Camcorder With 16x Optical Zoom Manual
 |
UPC - 074101484793
View all JVC GR-D33 manuals
Add to My Manuals
Save this manual to your list of manuals |
Page 6 highlights
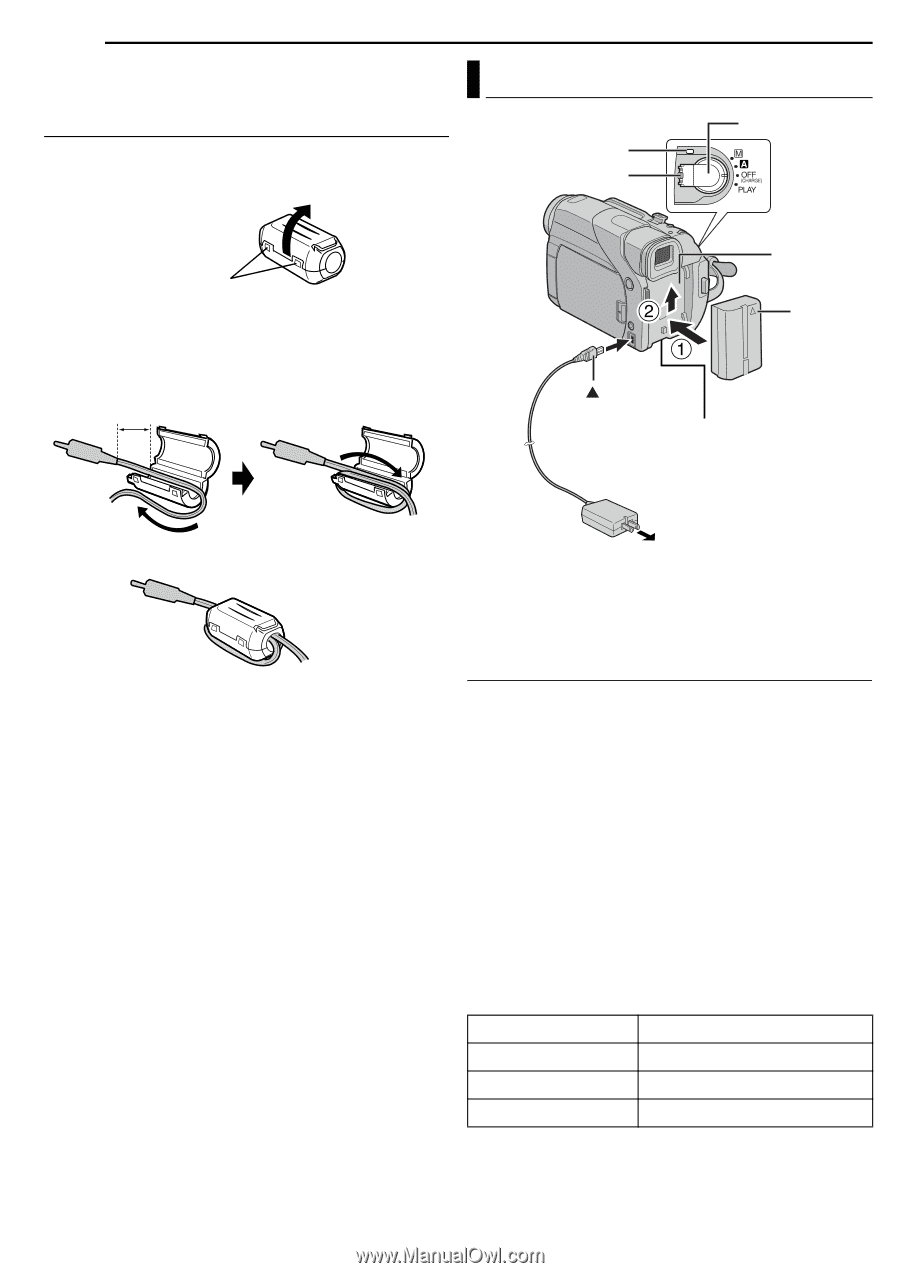
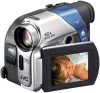
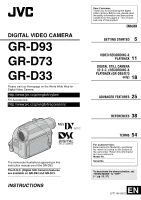
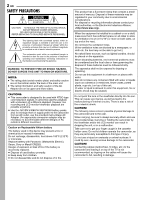
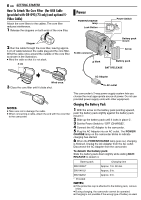
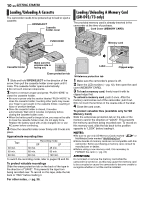
6 EN GETTING STARTED How To Attach The Core Filter (for USB Cable (provided with GR-D93/73 only) and optional SVideo Cable) Attach the core filters to the cables. The core filter reduces interference. 1 Release the stoppers on both ends of the core filter. Power POWER/CHARGE lamp Lock Button Power Switch Stopper 2 Run the cable through the core filter, leaving approx. 3 cm of cable between the cable plug and the core filter. Wind the cable once around the outside of the core filter as shown in the illustration. ● Wind the cable so that it is not slack. 3 cm To DC connector Mark Battery pack mount Arrow Battery pack BATT.RELEASE AC Adapter Wind once. 3 Close the core filter until it clicks shut. To AC outlet NOTES: ● Take care not to damage the cable. ● When connecting a cable, attach the end with the core filter to the camcorder. This camcorder's 2-way power supply system lets you choose the most appropriate source of power. Do not use provided power supply units with other equipment. Charging The Battery Pack 1 With the arrow on the battery pack pointing upward, push the battery pack slightly against the battery pack mount a. 2 Slide up the battery pack until it locks in place b. 3 Set the Power Switch to "OFF (CHARGE)". 4 Connect the AC Adapter to the camcorder. 5 Plug the AC Adapter into an AC outlet. The POWER/ CHARGE lamp on the camcorder blinks to indicate charging has started. 6 When the POWER/CHARGE lamp goes out, charging is finished. Unplug the AC Adapter from the AC outlet. Disconnect the AC Adapter from the camcorder. To detach the battery pack Slide the battery pack down slightly while sliding BATT. RELEASE to detach it. Battery pack Charging time BN-V408U* Approx. 1 hr. 30 min. BN-V416U Approx. 3 hr. BN-V428U Approx. 5 hr. * Provided NOTES: ● If the protective cap is attached to the battery pack, remove it first. ● During charging, the camcorder cannot be operated. ● Charging is not possible if the wrong type of battery is used.
-
 1
1 -
 2
2 -
 3
3 -
 4
4 -
 5
5 -
 6
6 -
 7
7 -
 8
8 -
 9
9 -
 10
10 -
 11
11 -
 12
12 -
13
-
14
-
15
-
16
-
17
-
18
-
19
-
20
-
21
-
22
-
23
-
24
-
25
-
26
-
27
-
28
-
29
-
30
-
31
-
32
-
33
-
34
-
35
-
36
-
37
-
38
-
39
-
40
-
41
-
42
-
43
-
44
-
45
-
46
-
47
-
48
-
49
-
50
-
51
-
52
-
53
-
54
-
55
-
56
 |
 |