Kenmore 8027 Use and Care Guide - Page 18
If;ql
 |
UPC - 719192272088
View all Kenmore 8027 manuals
Add to My Manuals
Save this manual to your list of manuals |
Page 18 highlights
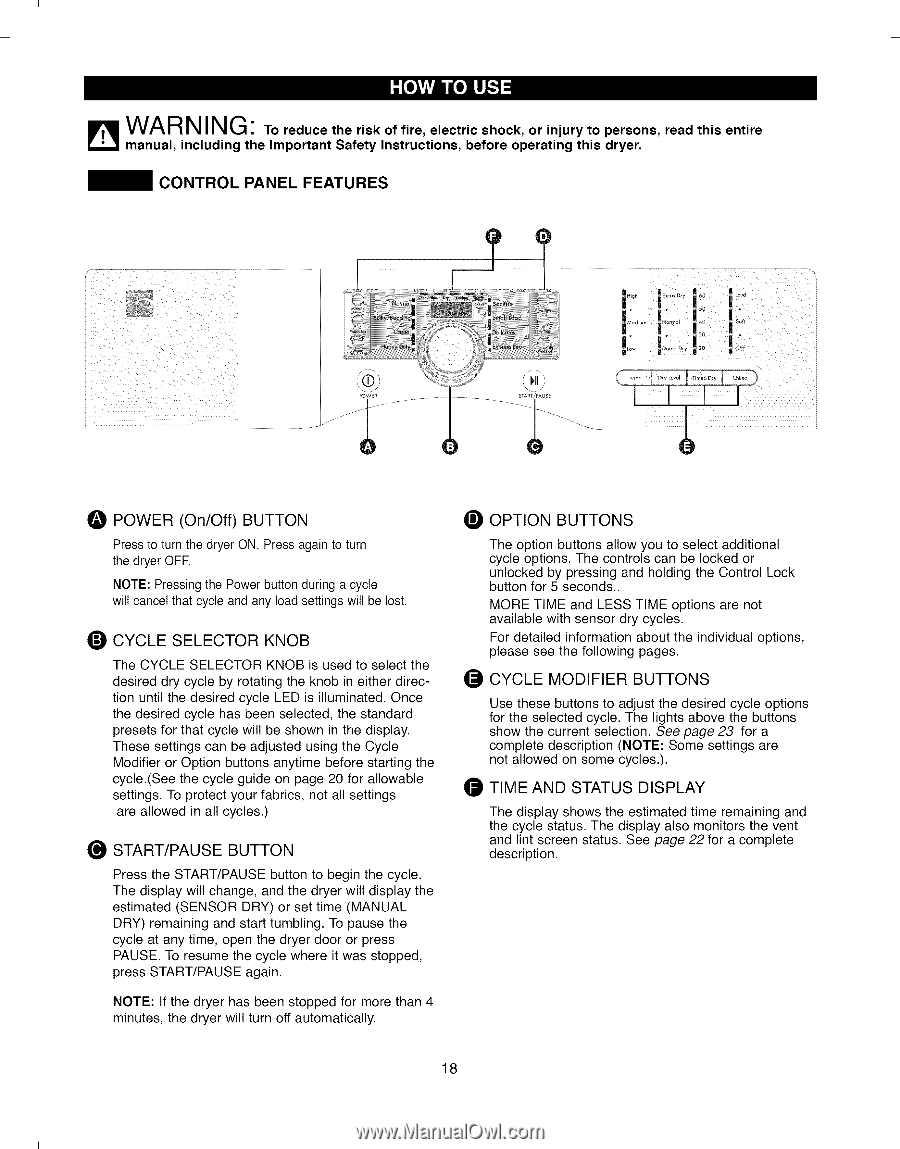
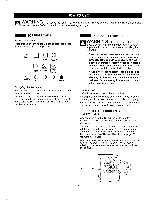
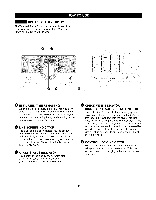
I I If;qlWARNING" To reduce the risk of fire, electric shock, or injury to persons, read this entire manual, including the Important Safety Instructions, before operating this dryer. CONTROL PANEL FEATURES 0 POWER (On/Off) BUTTON Press to turn the dryer ON. Press again to turn the dryer OFF. NOTE: Pressing the Power button during a cycle wilt cancel that cycle and any load settings wilt be lost. O CYCLE SELECTOR KNOB The CYCLE SELECTOR KNOB is used to select the desired dry cycle by rotating the knob in either direction until the desired cycle LED is illuminated. Once the desired cycle has been selected, the standard presets for that cycle will be shown in the display. These settings can be adjusted using the Cycle Modifier or Option buttons anytime before starting the cycle.(See the cycle guide on page 20 for allowable settings. To protect your fabrics, not all settings are allowed in all cycles.) O START/PAUSE BUTTON Press the START/PAUSE button to begin the cycle. The display will change, and the dryer will display the estimated (SENSOR DRY) or set time (MANUAL DRY) remaining and start tumbling. To pause the cycle at any time, open the dryer door or press PAUSE. To resume the cycle where it was stopped, press START/PAUSE again. NOTE: If the dryer has been stopped for more than 4 minutes, the dryer will turn off automatically. OPTION BUTTONS The option buttons allow you to select additional cycle options. The controls can be locked or unlocked by pressing and holding the Control Lock button for 5 seconds.. MORE TIME and LESS TIME options are not available with sensor dry cycles. For detailed information about the individual options, please see the following pages. O CYCLE MODIFIER BUTTONS Use these buttons to adjust the desired cycle options for the selected cycle. The lights above the buttons show the current selection. See page 23 for a complete description (NOTE: Some settings are not allowed on some cycles.). O TIME AND STATUS DISPLAY The display shows the estimated time remaining and the cycle status. The display also monitors the vent and lint screen status. See page 22 for a complete description. 18 I I
-
 1
1 -
2
-
3
-
4
-
5
-
6
-
7
-
8
-
9
-
10
-
11
-
12
-
 13
13 -
 14
14 -
 15
15 -
 16
16 -
 17
17 -
 18
18 -
 19
19 -
 20
20 -
 21
21 -
 22
22 -
 23
23 -
24
-
25
-
26
-
27
-
28
-
29
-
30
-
31
-
32
-
33
-
34
-
35
-
36
-
37
-
38
-
39
-
40
-
41
-
42
-
43
-
44
-
45
-
46
-
47
-
48
-
49
-
50
-
51
-
52
-
53
-
54
-
55
-
56
-
57
-
58
-
59
-
60
-
61
-
62
-
63
-
64
 |
 |