Kenwood C-V351 User Manual - Page 12
Setting up the GRC according to your AV CONTROL CENTER (Model Type Setup)
 |
View all Kenwood C-V351 manuals
Add to My Manuals
Save this manual to your list of manuals |
Page 12 highlights
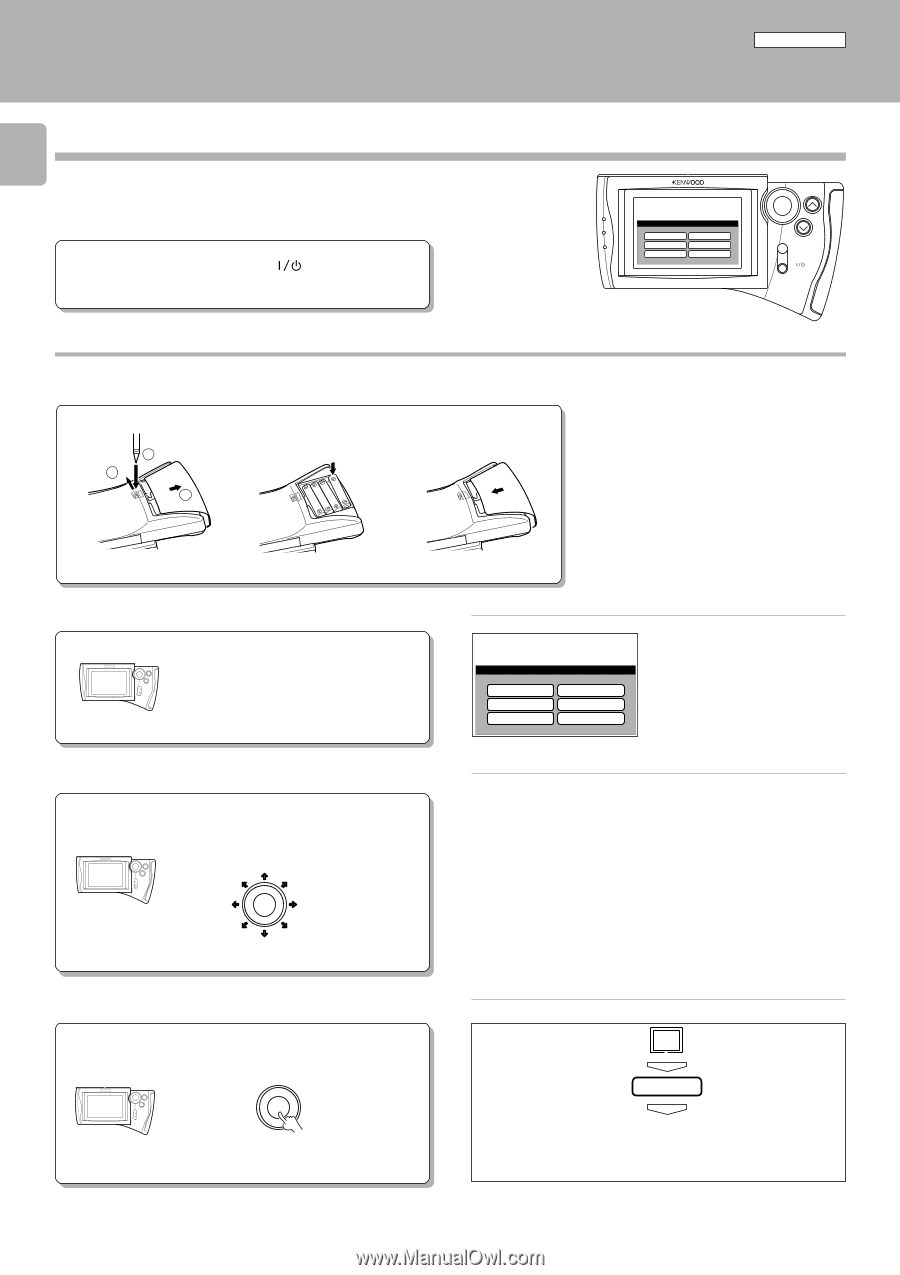
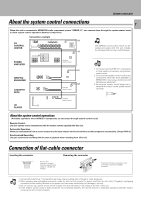
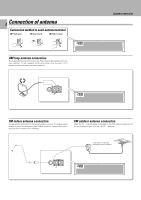
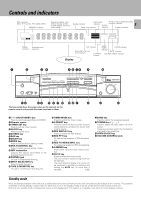
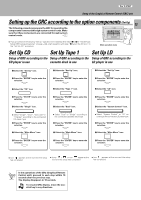
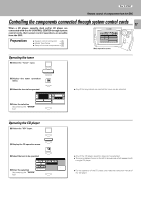
For C-V351 Setup of the Graphical Remote Control (GRC) unit C-V351/C-V301 (EN) Setting up the GRC according to your AV CONTROL CENTER (Model Type Setup) 12 Perform the following procedure after inserting batteries for the first time and every time after changing them. Preparation ÷ Press the (ON/STANDBY) key of the main unit to the ON mode. Model Type Setup Model 1 Model 2 Model 3 Model 4 Model 5 Model 6 ENTER VOLUME MUTE ON/STANDBY Main operation menu Model Type Setup (GRC setup procedure) 1 Loading batteries Caution in battery replacement 1 Remove the cover. 1 2 3 2 Insert batteries. 3 Close the cover. ÷ Insert four AA-size (R6/AA) batteries as indicated by the polarity marking. ÷ To maintain the memory of the settings you made before, complete the battery replacement operation within 30 seconds. ÷ The procedure on the left should also be performed when resetting the GRC (as a measure against its malfunction). However, in this case, wait for about five minutes after removing the batteries and before re-inserting them. 2 Check the display. The "Model Type Setup" screen appears. 3 Select "Model 2." Move the cursor. It can be moved in 8 directions depending on how you press the joystick key. ENTER The icon on which the cursor is moved blinks in reverse video. 4 Enter the selection. Press the ENTER key. ENTER Model Type Setup Model 1 Model 2 Model 3 Model 4 Model 5 Model 6 AV CONTROL CENTER Model GRC "Model Type Setup" icon C-V301 Model 2 C-V351 Model 2 To reset GRC setting 1 Select Set Up. Set Up 2 Press the ENTER key. ENTER 3 Select Reset. Reset 4 Press the ENTER key. ENTER 5 Perform the setup procedure from step "2 Check the display". ÷ The above operation clears all of the previously made settings and resets the unit to the initial condition.
-
 1
1 -
2
-
3
-
4
-
5
-
6
-
 7
7 -
 8
8 -
 9
9 -
 10
10 -
 11
11 -
 12
12 -
 13
13 -
 14
14 -
 15
15 -
 16
16 -
 17
17 -
18
-
19
-
20
-
21
-
22
-
23
-
24
-
25
-
26
-
27
-
28
-
29
-
30
-
31
-
32
-
33
-
34
-
35
-
36
-
37
-
38
-
39
-
40
-
41
-
42
-
43
-
44
-
45
-
46
-
47
-
48
-
49
-
50
-
51
-
52
-
53
-
54
-
55
-
56
 |
 |