Konica Minolta Kodak Truper 3610 User Guide - Page 70
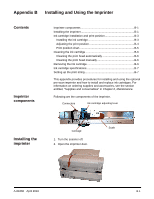
Appendix B Installing and Using the Imprinter, Imprinter components, Installing the imprinter
 |
View all Konica Minolta Kodak Truper 3610 manuals
Add to My Manuals
Save this manual to your list of manuals |
Page 70 highlights
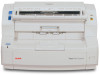
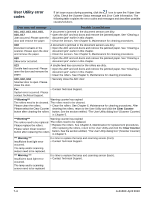
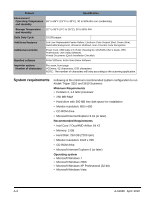
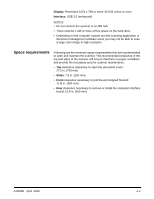
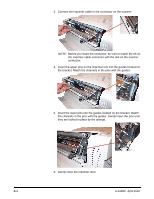
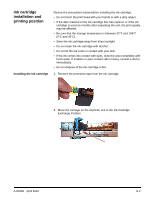
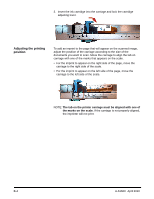
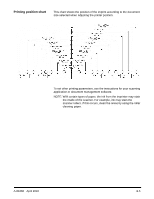
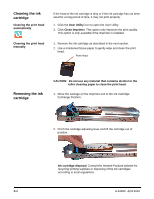
Appendix B Installing and Using the Imprinter Contents Imprinter components Imprinter components B-1 Installing the imprinter B-1 Ink cartridge installation and print position B-3 Installing the ink cartridge B-3 Adjusting the print position B-4 Print position chart B-5 Cleaning the ink cartridge B-6 Cleaning the print head automatically B-6 Cleaning the print head manually B-6 Removing the ink cartridge B-6 Ink cartridge specifications B-7 Setting up the print string B-7 This appendix provides procedures for installing and using the optional pre-scan imprinter and how to install and replace ink cartridges. For information on ordering supplies and accessories, see the section entitled, "Supplies and consumables" in Chapter 6, Maintenance. Following are the components of the imprinter. Connectors Ink cartridge adjusting lever Installing the imprinter Carriage 1. Turn the scanner off. 2. Open the imprinter door. Scale A-61660 April 2010 B-1
-
 1
1 -
2
-
3
-
4
-
5
-
6
-
7
-
8
-
9
-
10
-
11
-
12
-
13
-
14
-
15
-
16
-
17
-
18
-
19
-
20
-
21
-
22
-
23
-
24
-
25
-
26
-
27
-
28
-
29
-
30
-
31
-
32
-
33
-
34
-
35
-
36
-
37
-
38
-
39
-
40
-
41
-
42
-
43
-
44
-
45
-
46
-
47
-
48
-
49
-
50
-
51
-
52
-
53
-
54
-
55
-
56
-
57
-
58
-
59
-
60
-
61
-
62
-
63
-
64
-
 65
65 -
 66
66 -
 67
67 -
 68
68 -
 69
69 -
 70
70 -
 71
71 -
 72
72 -
 73
73 -
 74
74 -
 75
75 -
76
-
77
-
78
-
79
-
80
-
81
-
82
-
83
 |
 |