Lenovo NetVista Hardware Maintenance Manual (HMM) for Aptiva and NetVista 2255 - Page 111
CD-ROM Drive
 |
View all Lenovo NetVista manuals
Add to My Manuals
Save this manual to your list of manuals |
Page 111 highlights
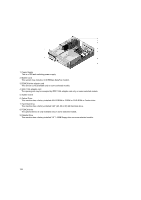
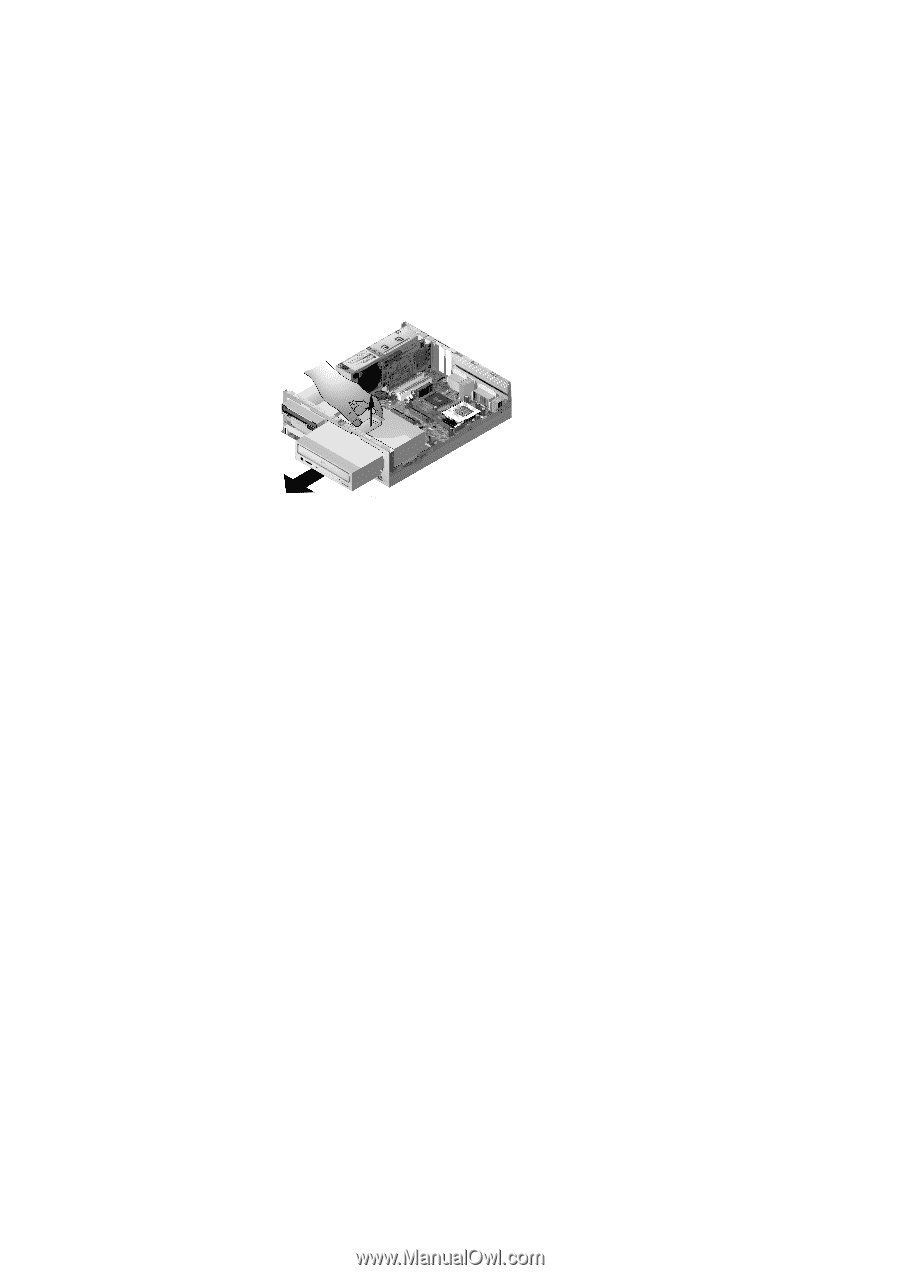
CD-ROM Drive To remove CD-ROM Drive: Disconnect the power, sound and signal cables from the CD-ROM. Pull up the latch that secures the CD-ROM drive-mounting tray. Slide the drive-mounting tray toward the front of the computer and remove it. Remove four screws (two on each side) that secure the bay holder. Pull the bay holder backward and lift it up to remove it completely. Reverse the procedure to install a new drive. 111
-
 1
1 -
2
-
3
-
4
-
5
-
6
-
7
-
8
-
9
-
10
-
11
-
12
-
13
-
14
-
15
-
16
-
17
-
18
-
19
-
20
-
21
-
22
-
23
-
24
-
25
-
26
-
27
-
28
-
29
-
30
-
31
-
32
-
33
-
34
-
35
-
36
-
37
-
38
-
39
-
40
-
41
-
42
-
43
-
44
-
45
-
46
-
47
-
48
-
49
-
50
-
51
-
52
-
53
-
54
-
55
-
56
-
57
-
58
-
59
-
60
-
61
-
62
-
63
-
64
-
65
-
66
-
67
-
68
-
69
-
70
-
71
-
72
-
73
-
74
-
75
-
76
-
77
-
78
-
79
-
80
-
81
-
82
-
83
-
84
-
85
-
86
-
87
-
88
-
89
-
90
-
91
-
92
-
93
-
94
-
95
-
96
-
97
-
98
-
99
-
100
-
101
-
102
-
103
-
104
-
105
-
 106
106 -
 107
107 -
 108
108 -
 109
109 -
 110
110 -
 111
111 -
 112
112 -
 113
113 -
 114
114 -
 115
115 -
 116
116 -
117
-
118
-
119
-
120
-
121
-
122
-
123
-
124
-
125
-
126
-
127
-
128
-
129
-
130
-
131
-
132
-
133
-
134
-
135
-
136
-
137
-
138
-
139
-
140
-
141
-
142
-
143
-
144
-
145
-
146
-
147
-
148
-
149
-
150
-
151
-
152
-
153
-
154
-
155
 |
 |
111
CD-ROM Drive
To remove CD-ROM Drive:
±
Disconnect the power, sound and signal cables from the CD-ROM.
±
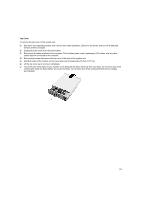
Pull up the latch that secures the CD-ROM drive-mounting tray.
±
Slide the drive-mounting tray toward the front of the computer and remove it.
±
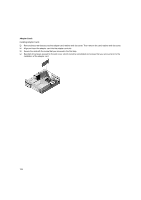
Remove four screws (two on each side) that secure the bay holder.
±
Pull the bay holder backward and lift it up to remove it completely.
±
Reverse the procedure to install a new drive.