Lexmark 854e Menus and Messages Guide - Page 71
Settings, Quality Menu, Embedded Web Server.
 |
UPC - 734646257688
View all Lexmark 854e manuals
Add to My Manuals
Save this manual to your list of manuals |
Page 71 highlights
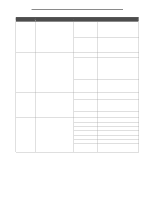
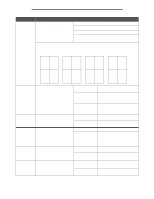
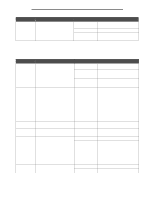
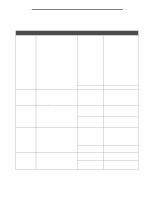
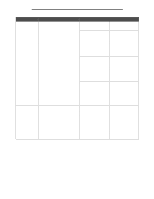
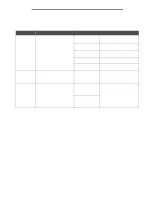
Settings Menu item Offset Pages Purpose Values and descriptions Offsets the output of each print job or each copy of a print job, making it easier to separate the documents stacked in the finisher output bin. Note: This menu item only appears when an optional finisher is installed. None* Between Copies Between Jobs Stacks all sheets directly on top of each other. Offsets each copy of a print job. Offsets each print job. Quality Menu Use these menu items to change settings that affect print quality and save toner. Printing from an application may override user default settings. Menu item Print Resolution Toner Darkness Purpose Values and descriptions To select printed output resolution. 600 dpi Produces high quality output for print jobs that are mostly text. 1200 dpi Produces highest quality output for jobs where print speed is not important and memory is abundant. 2400 Image Q* Uses line screening for print jobs that contain bitmapped images, such as scanned photos. Lightens or darkens printed output and conserves toner. A scale appears on the control panel LCD shown as follows. A vertical bar ( | ) indicates the factory default value. An arrow symbol ( V ) indicates a user default value and the V moves left or right on the scale while touching the left arrow or right arrow buttons. When the default of 8 is selected, the V covers the vertical bar as shown: -.......v..+ 1-10 (8*) • Select a lower value for finer line width, lighter grayscale images, and to lighten printed output. • Select a higher value for bolder line widths or darker grayscale images. • Select 10 for very bold text. • Select a value less than 7 to conserve toner. Brightness Adjusts the gray value of printed images. -6 to +6 (0*) Contrast Adjusts the contrast of printed images. 0-5 (0*) Enhance Fine Lines Gray Correction Enables a print mode preferable for On certain files containing fine line detail, such as architectural Off* drawings, maps, electronic circuit diagrams, and flow charts. Note: Enhance Fine Lines is not a menu item available from the control panel. This setting is only available on the PCL emulation driver or PostScript driver or on the MFP Embedded Web Server. Automatically adjusts the contrast enhancement applied to images. Auto Off* -6 is maximum decrease. +6 is maximum increase. 0 is maximum decrease. 5 is maximum increase. In the driver, select the check box. In the driver, clear the check box. In the driver, select the check box. In the driver, clear the check box. 71
-
 1
1 -
2
-
3
-
4
-
5
-
6
-
7
-
8
-
9
-
10
-
11
-
12
-
13
-
14
-
15
-
16
-
17
-
18
-
19
-
20
-
21
-
22
-
23
-
24
-
25
-
26
-
27
-
28
-
29
-
30
-
31
-
32
-
33
-
34
-
35
-
36
-
37
-
38
-
39
-
40
-
41
-
42
-
43
-
44
-
45
-
46
-
47
-
48
-
49
-
50
-
51
-
52
-
53
-
54
-
55
-
56
-
57
-
58
-
59
-
60
-
61
-
62
-
63
-
64
-
65
-
 66
66 -
 67
67 -
 68
68 -
 69
69 -
 70
70 -
 71
71 -
 72
72 -
 73
73 -
 74
74 -
 75
75 -
 76
76 -
77
-
78
-
79
-
80
-
81
-
82
-
83
-
84
-
85
-
86
-
87
-
88
-
89
-
90
-
91
-
92
-
93
-
94
-
95
-
96
-
97
-
98
-
99
-
100
-
101
-
102
-
103
-
104
-
105
-
106
-
107
-
108
-
109
-
110
-
111
-
112
-
113
-
114
-
115
-
116
-
117
-
118
-
119
-
120
 |
 |
