Lexmark E340 User's Guide - Page 97
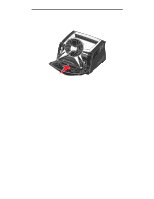
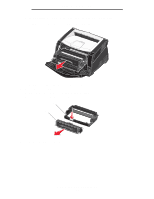
Close the front cover., place when correctly installed.
 |
View all Lexmark E340 manuals
Add to My Manuals
Save this manual to your list of manuals |
Page 97 highlights
Supplies information 5 Install the new toner cartridge by aligning the white rollers on the toner cartridge with the white arrows on the tracks of the photoconductor kit and pushing the toner cartridge in as far as it will go. The cartridge clicks into place when correctly installed. 6 Close the front cover. How to change a toner cartridge 97
-
 1
1 -
2
-
3
-
4
-
5
-
6
-
7
-
8
-
9
-
10
-
11
-
12
-
13
-
14
-
15
-
16
-
17
-
18
-
19
-
20
-
21
-
22
-
23
-
24
-
25
-
26
-
27
-
28
-
29
-
30
-
31
-
32
-
33
-
34
-
35
-
36
-
37
-
38
-
39
-
40
-
41
-
42
-
43
-
44
-
45
-
46
-
47
-
48
-
49
-
50
-
51
-
52
-
53
-
54
-
55
-
56
-
57
-
58
-
59
-
60
-
61
-
62
-
63
-
64
-
65
-
66
-
67
-
68
-
69
-
70
-
71
-
72
-
73
-
74
-
75
-
76
-
77
-
78
-
79
-
80
-
81
-
82
-
83
-
84
-
85
-
86
-
87
-
88
-
89
-
90
-
91
-
 92
92 -
 93
93 -
 94
94 -
 95
95 -
 96
96 -
 97
97 -
 98
98 -
 99
99 -
 100
100 -
 101
101 -
 102
102 -
103
-
104
-
105
-
106
-
107
-
108
-
109
-
110
-
111
-
112
-
113
-
114
-
115
-
116
-
117
-
118
 |
 |
How to change a toner cartridge
97
Supplies information
5
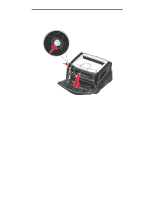
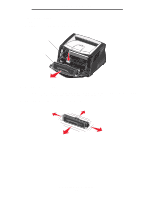
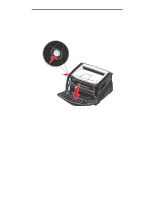
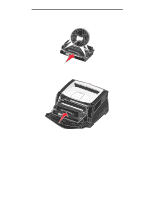
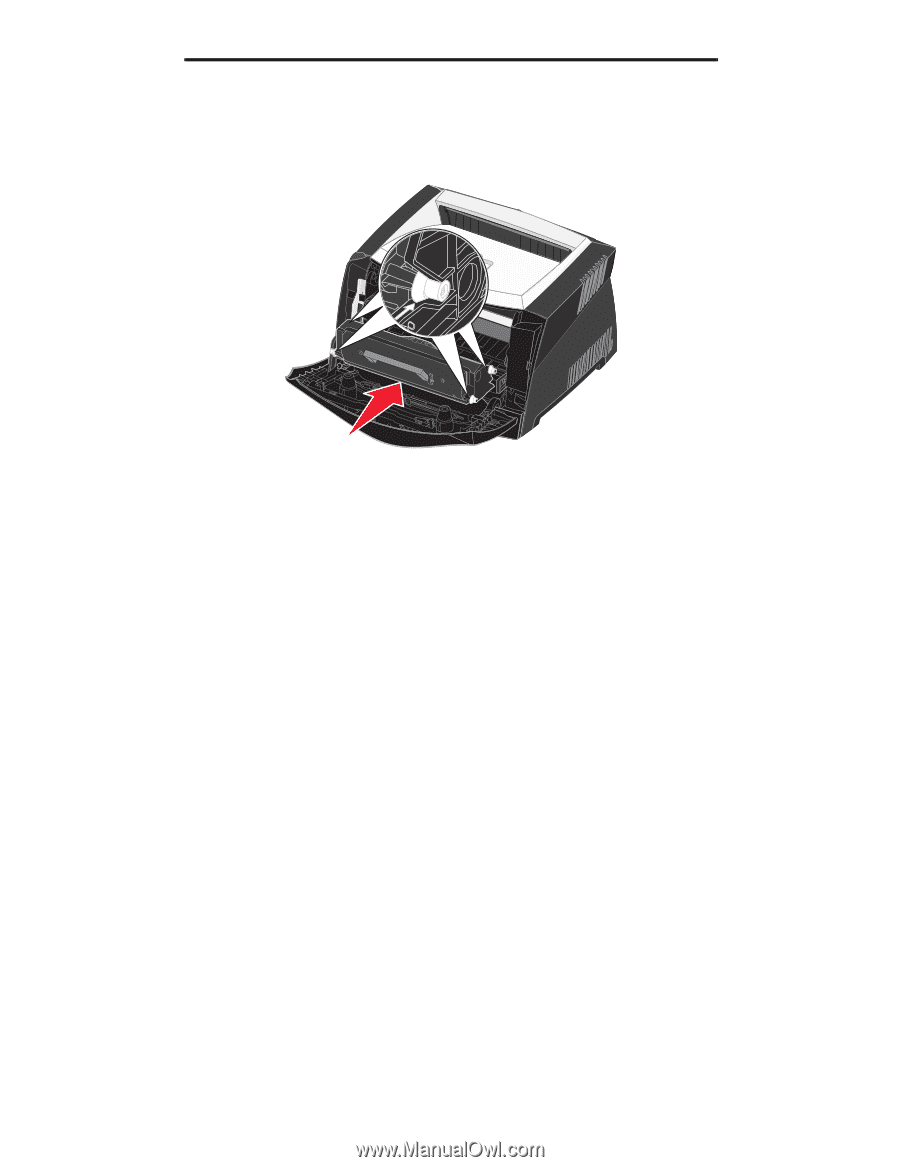
Install the new toner cartridge by aligning the white rollers on the toner cartridge with the white arrows on the
tracks of the photoconductor kit and pushing the toner cartridge in as far as it will go. The cartridge
clicks
into
place when correctly installed.
6
Close the front cover.