Linksys EPSX3 User Guide - Page 14
Add Cross Segment PrintServe - download
 |
UPC - 745883548255
View all Linksys EPSX3 manuals
Add to My Manuals
Save this manual to your list of manuals |
Page 14 highlights
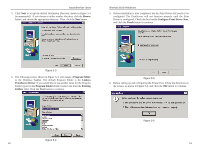
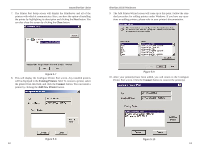
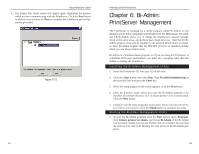
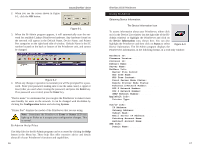
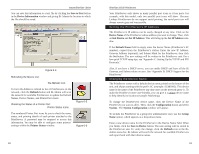
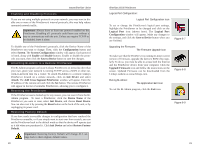
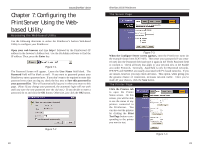
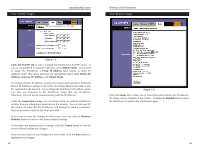
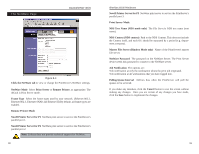
Instant EtherFast® Series Enabling and Disabling Protocols If you are not using multiple protocols on your network, you may want to disable one or more of the PrintServer's internal protocols; this may help reduce unwanted network traffic. Important: Always leave at least one protocol enabled on the PrintServer. Disabling all protocols could leave you without a way to communicate with the unit. Unless you require TCP/IP to be disabled, leave it alone. To disable one of the PrintServer's protocols, click the Device Name of the PrintServer you want to change. Then, click the Configuration button and select System. The System Configuration window will appear. Each protocol is listed, along with Enable and Disable buttons. Enable or disable the protocols you want, then click the Save to Device button to save the changes. Attaching Bi-Admin to a Remote PrintServer The Bi-Admin program can locate Linksys PrintServers on networks other than your own, given your network is running TCP/IP across a WAN or other network-to-network link via a router. To attach Bi-Admin to a remote Linksys PrintServer located on a remote network, click on Init Device and select Attach. The Add Cross Segment PrintServer window will appear. Enter the IP address of the remote unit and click the Set button. The remote PrintServer will appear in the list of available PrintServers, allowing you to configure it. Resetting the PrintServer If the PrintServer seems locked up for any reason, you can reset it from the BiAdmin program. To reset a PrintServer, click the Device Name of the PrintServer you want to reset, select Init Device, and choose Reset Device. You can also reset it by pressing the Reset button on the back of the unit, or by unplugging its power cord. Restoring Factory Default If you have made irreversible changes in configuration that have rendered the PrintServer unusable, or if you simply want to start over from scratch, you can set the PrintServer back to the default mode so that the device will operate just as it did when you purchased it. Click Init Device and select Restore Factory Default. Important: Restoring Factory Default will change ALL settings back to their original, default values. 20 EtherFast 10/100 PrintServers Logical Port Configuration: Logical Port Configuration Icon To set or change the PrintServer's logical port settings, highlight the PrintServer to be changed and click on the Logical Port icon (shown here). The Logical Port Configuration window will appear. Make any changes to the settings, and click the Save to Device button when you are finished. Upgrading the Firmware: The Firmware Upgrade Icon To make sure that the PrintServer is running its most current version of firmware, upgrade the device's ROM chip regularly. To do so, you must be able to access both the Internet and the PrintServer device from your computer. Click the Upgrade Firmware icon and follow the instructions on the screen. Updated Firmware can be downloaded from the Linksys website as www.linksys.com. Exiting Bi-Admin: The Application Exit Icon To exit the Bi-Admin program, click the Exit icon. Figure 6-7 Figure 6-8 Figure 6-9 21
-
 1
1 -
2
-
3
-
4
-
5
-
6
-
7
-
8
-
 9
9 -
 10
10 -
 11
11 -
 12
12 -
 13
13 -
 14
14 -
 15
15 -
 16
16 -
 17
17 -
 18
18 -
 19
19 -
20
-
21
-
22
-
23
-
24
-
25
-
26
-
27
-
28
-
29
-
30
-
31
-
32
-
33
-
34
-
35
-
36
-
37
-
38
-
39
-
40
 |
 |