Linksys WRT54GX2 User Guide - Page 14
Connecting the Wireless-G Broadband Router with SRX200 - power supply
 |
UPC - 745883566570
View all Linksys WRT54GX2 manuals
Add to My Manuals
Save this manual to your list of manuals |
Page 14 highlights
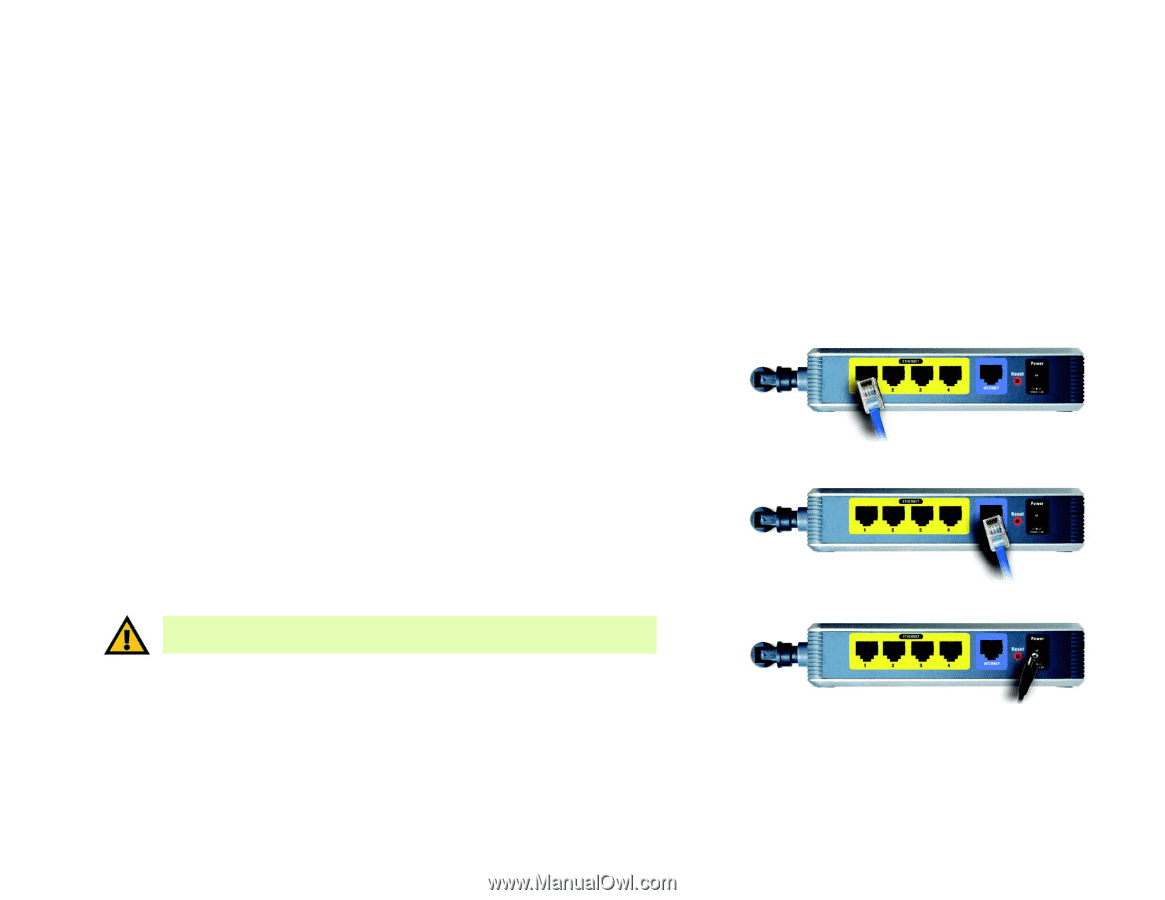
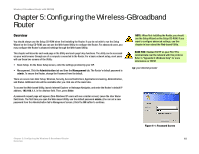
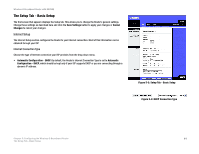
Wireless-G Broadband Router with SRX200 Chapter 4: Connecting the Wireless-G Broadband Router with SRX200 Overview Linksys recommends using the Setup Wizard on the Setup CD-ROM for first-time installation of the Router. For advanced users, you may follow the instructions in this chapter, and then configure the Router through its Webbased Utility (refer to "Chapter 5: Configuring the Wireless-G Broadband Router"). Hardware Installation for Connection to Your Broadband Modem 1. Power down your network devices. 2. Locate an optimum location for the Router. The best place for the Router is usually at the center of your wireless network, with line of sight to all of your mobile stations. 3. Fix the direction of the antennas. Try to place the Router in a position that will best cover your wireless network. Normally, the higher you place the antennas, the better the performance will be. 4. Connect your network PCs or Ethernet devices to the Router's yellow Ethernet ports using standard Ethernet network cabling. 5. Connect a standard Ethernet network cable to the Router's blue Internet port. Then, connect the other end of the Ethernet cable to your cable or DSL broadband modem. 6. Connect the AC power adapter to the Router's Power port and the other end to an electrical outlet. IMPORTANT: Make sure that you use the power adapter that is supplied with the Router. Use of a different power adapter could damage the Router. Figure 4-1: Connect a PC Figure 4-2: Connect the Modem Proceed to the next section, "Placement Options." Figure 4-3: Connect the Power Chapter 4: Connecting the Wireless-G Broadband Router with SRX200 8 Overview
-
 1
1 -
2
-
3
-
4
-
5
-
6
-
7
-
8
-
 9
9 -
 10
10 -
 11
11 -
 12
12 -
 13
13 -
 14
14 -
 15
15 -
 16
16 -
 17
17 -
 18
18 -
 19
19 -
20
-
21
-
22
-
23
-
24
-
25
-
26
-
27
-
28
-
29
-
30
-
31
-
32
-
33
-
34
-
35
-
36
-
37
-
38
-
39
-
40
-
41
-
42
-
43
-
44
-
45
-
46
-
47
-
48
-
49
-
50
-
51
-
52
-
53
-
54
-
55
-
56
-
57
-
58
-
59
-
60
-
61
-
62
-
63
-
64
-
65
-
66
-
67
-
68
-
69
-
70
-
71
-
72
-
73
-
74
-
75
-
76
-
77
-
78
-
79
-
80
-
81
-
82
-
83
-
84
-
85
 |
 |